First LEGO Castle
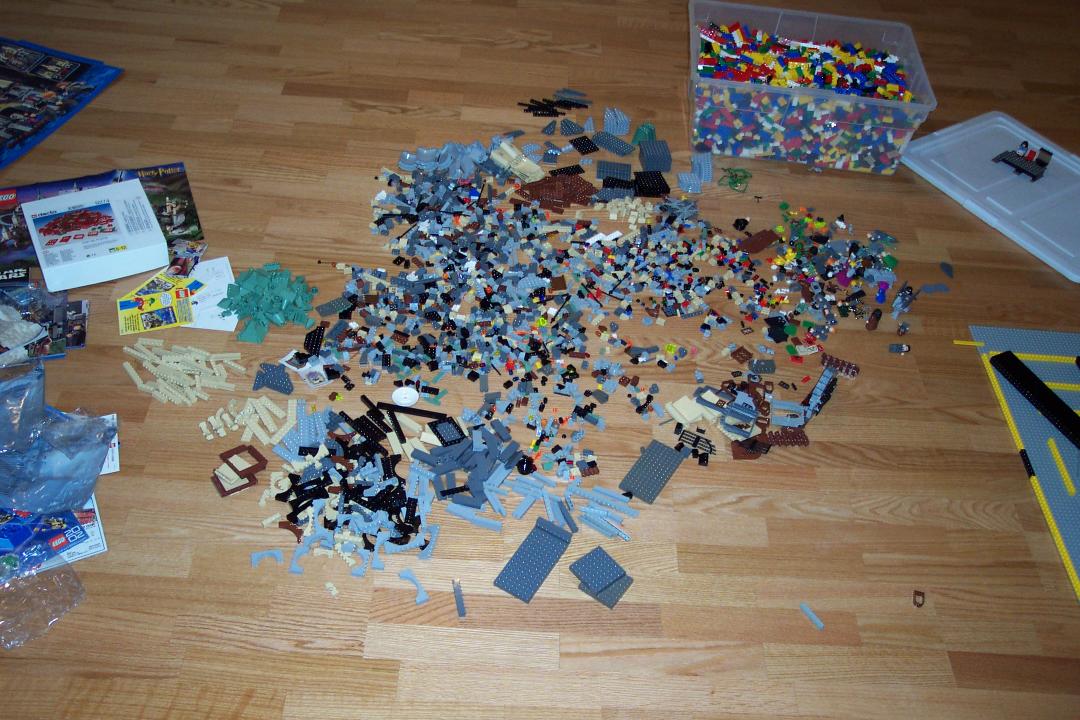
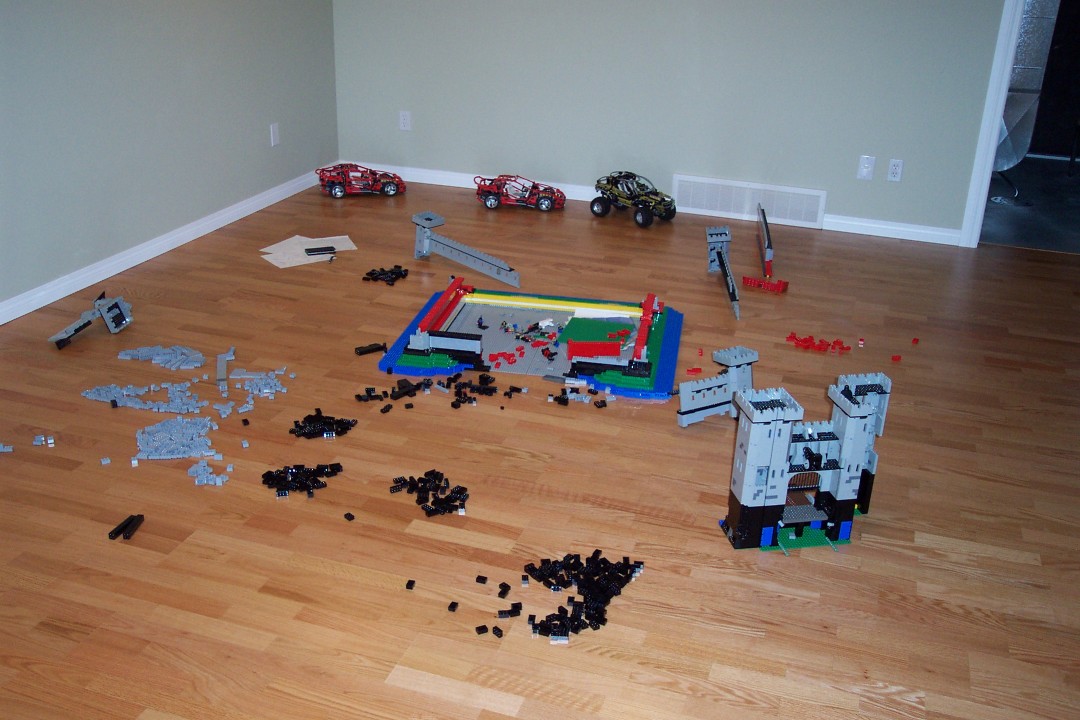
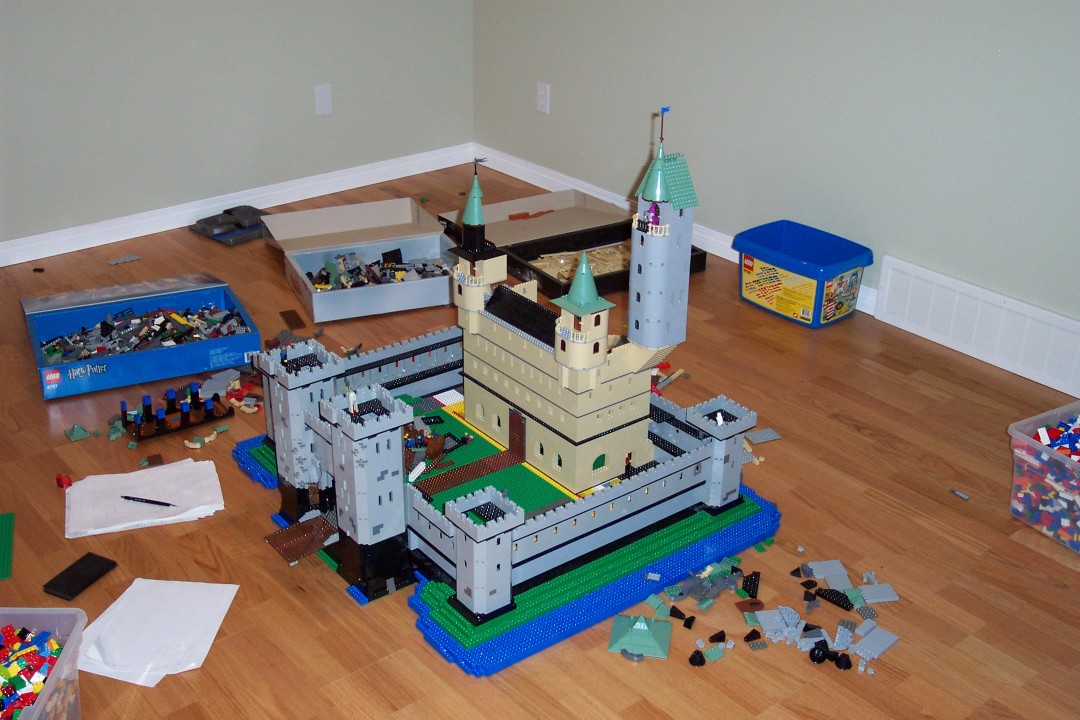
Having bought a couple of Hogwarts castles, I figured maybe I should build a castle. Initial outlay of pieces, with a 'prototype' in the centre.
Another shot of initial layout. Prototype turns out to be a bit on the small side.
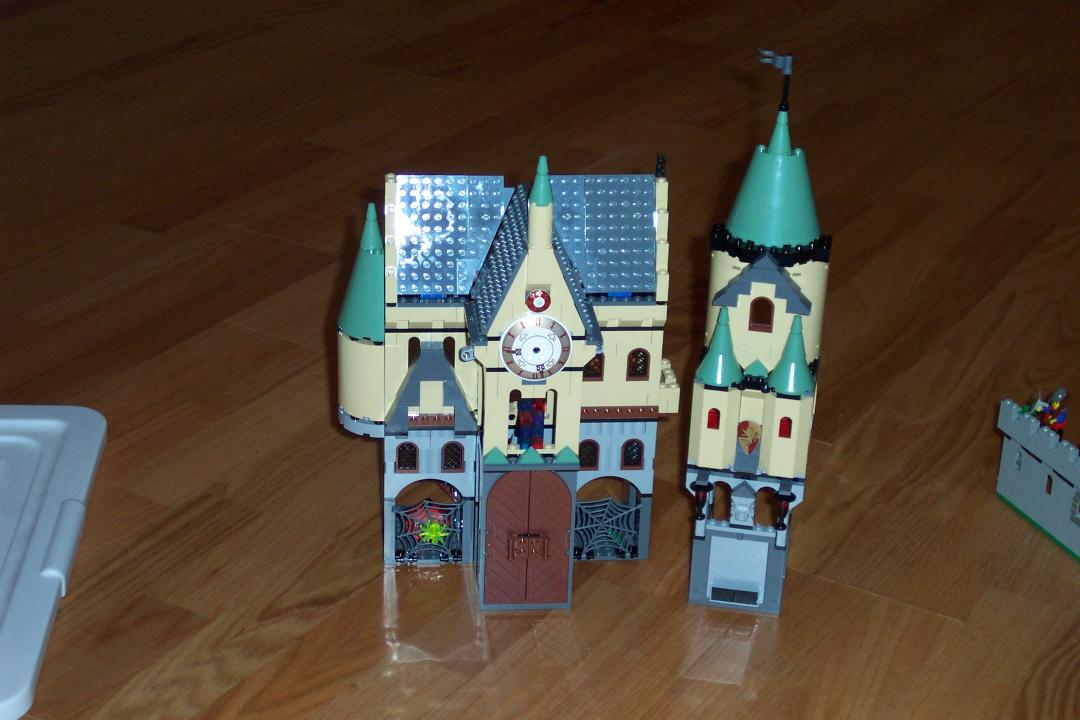
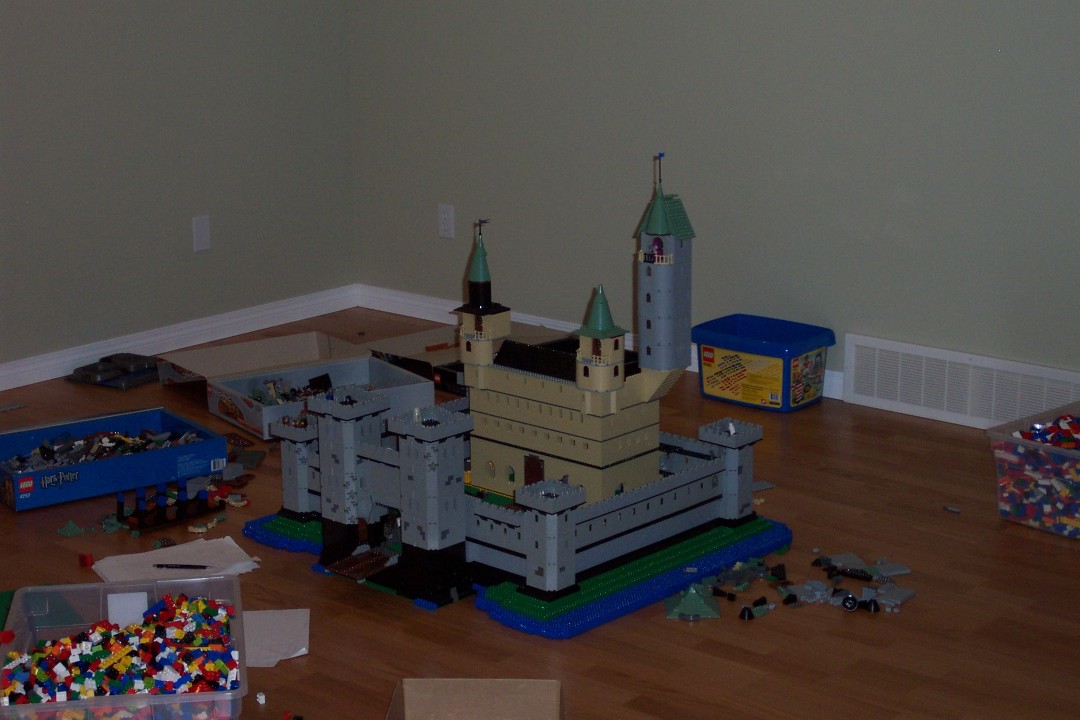
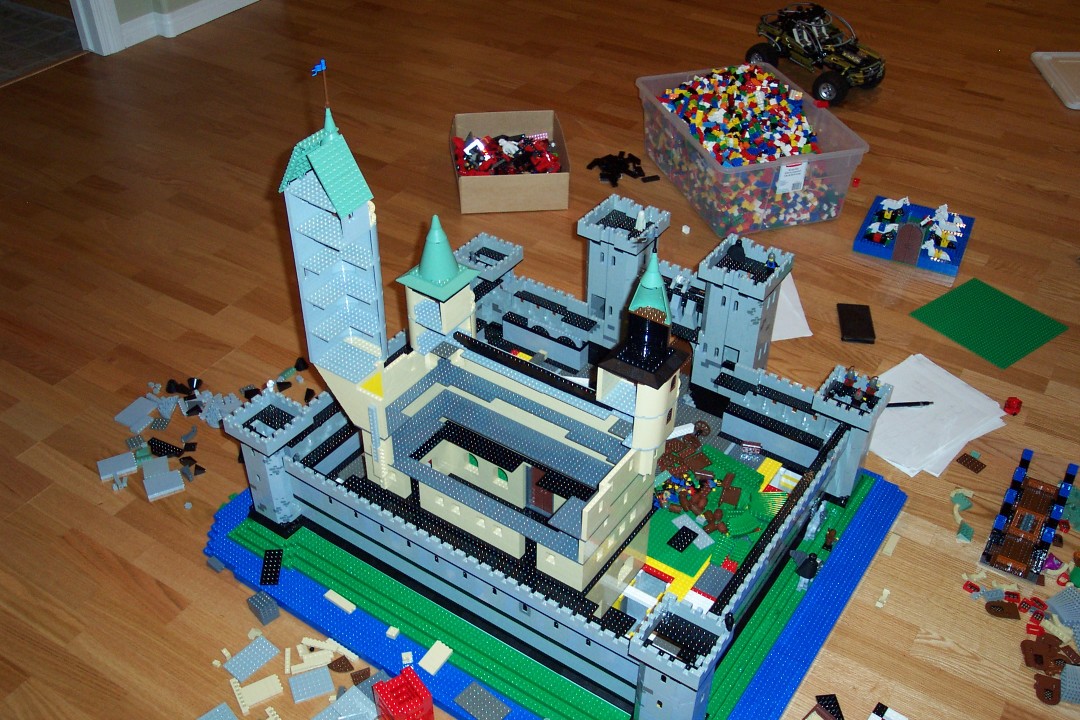
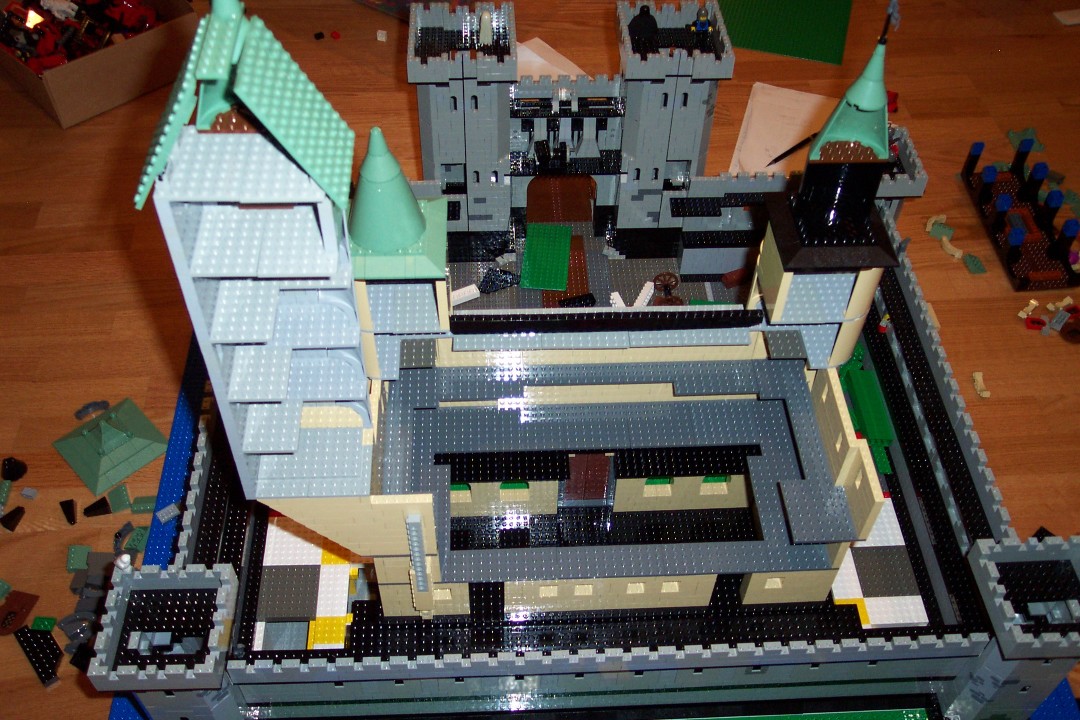
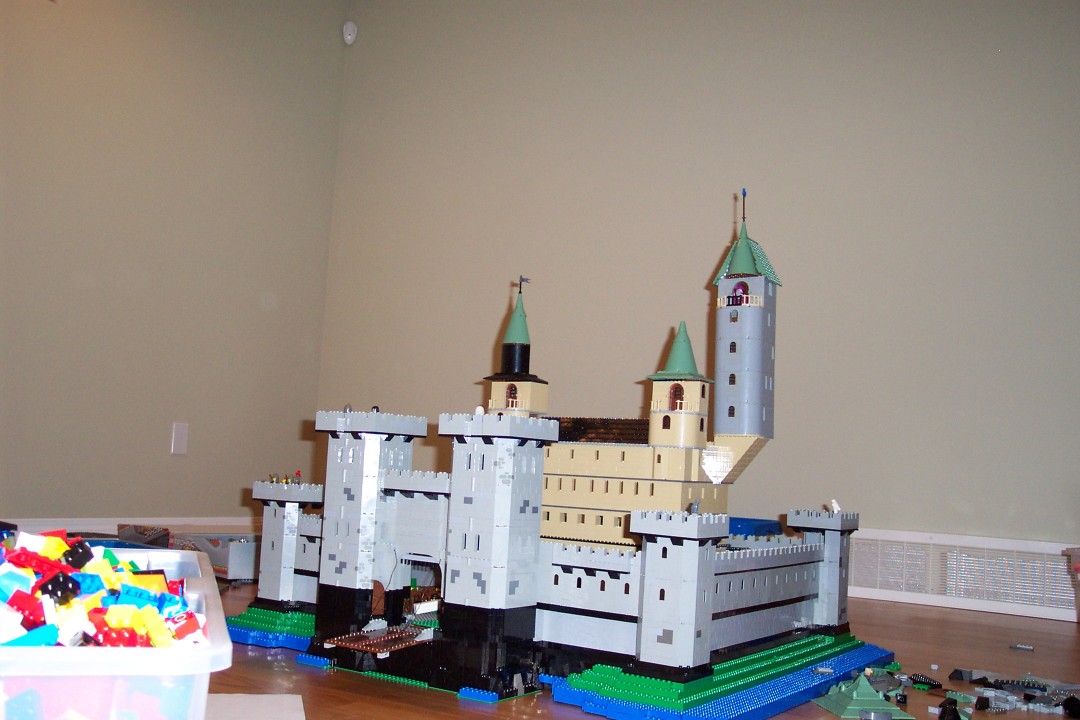
Hogwarts, as created by LEGO and assembled by me.

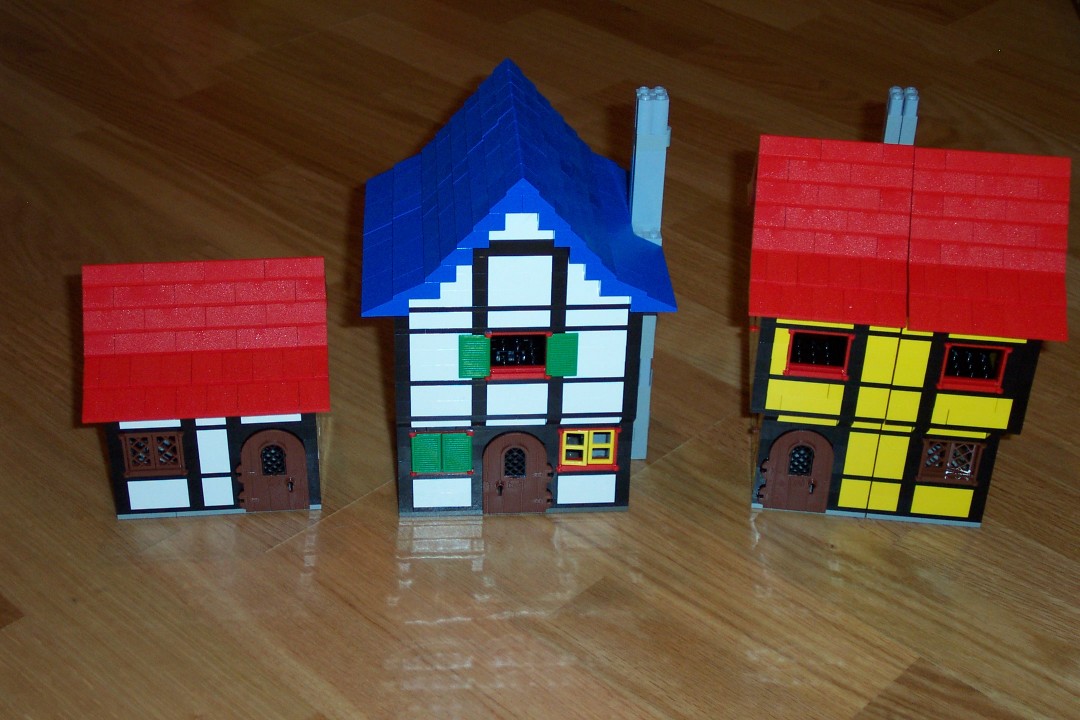
Some of my other LEGO castle bits that I've bought and assembled. Took these pictures because these castles were about to be assimilated.
Opened up abunch of the Hogwarts LEGO, and dumped them in a pile. Then got busy sorting to see what I had to work with.
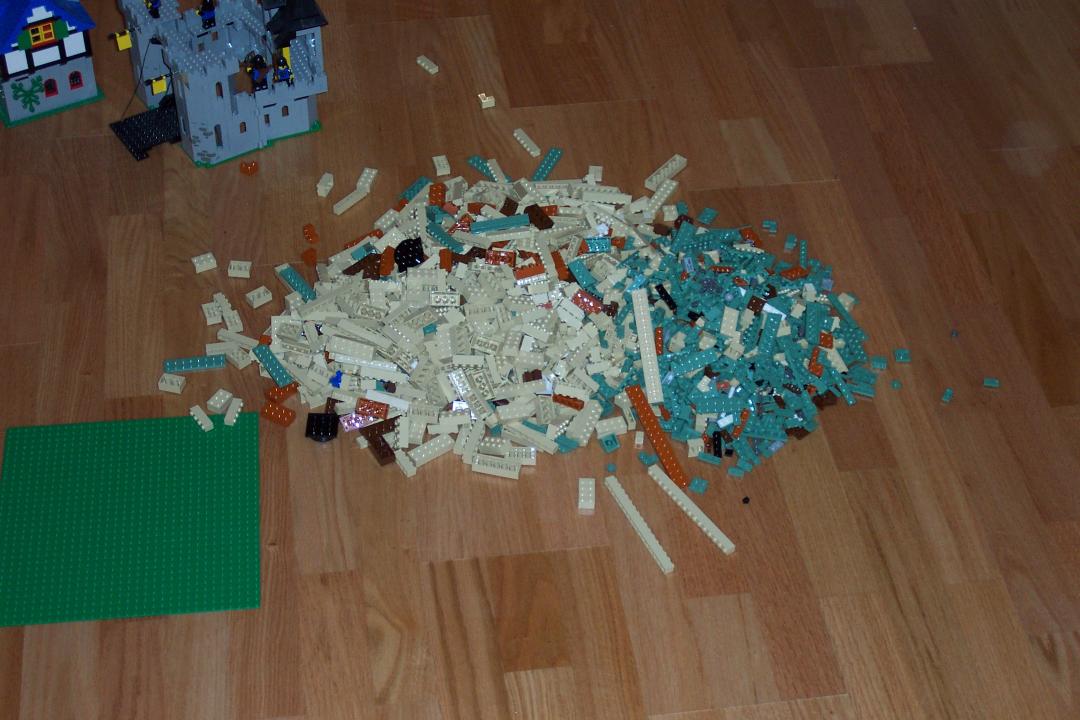
Pieces from a Yoda set, ready to turn into a castle.
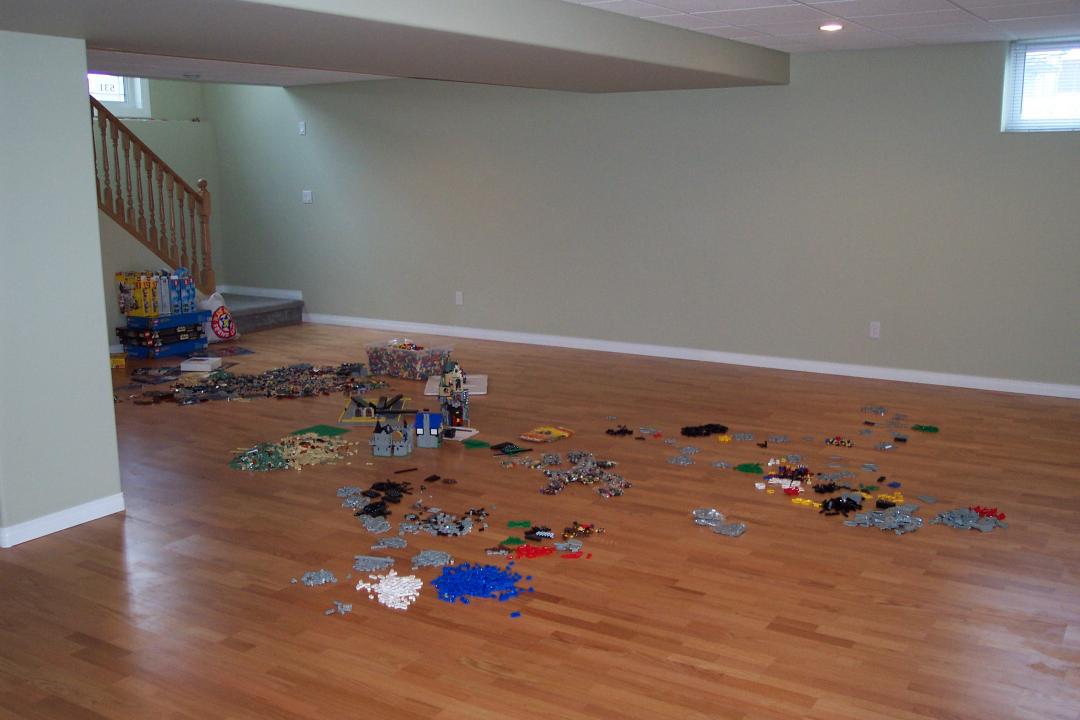
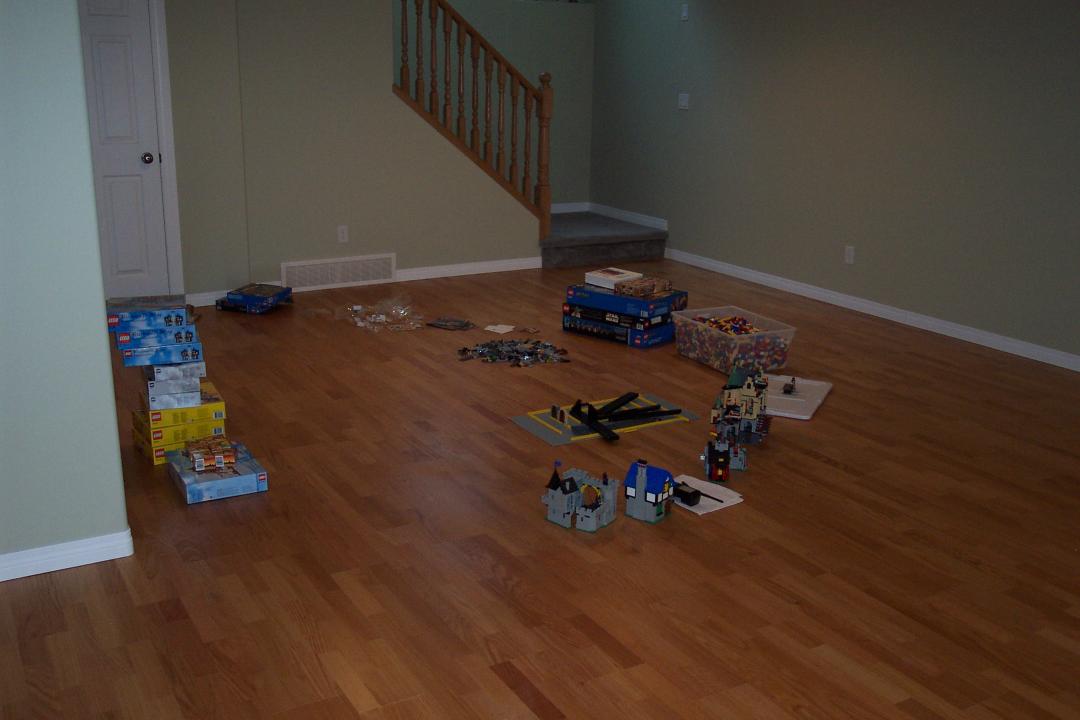
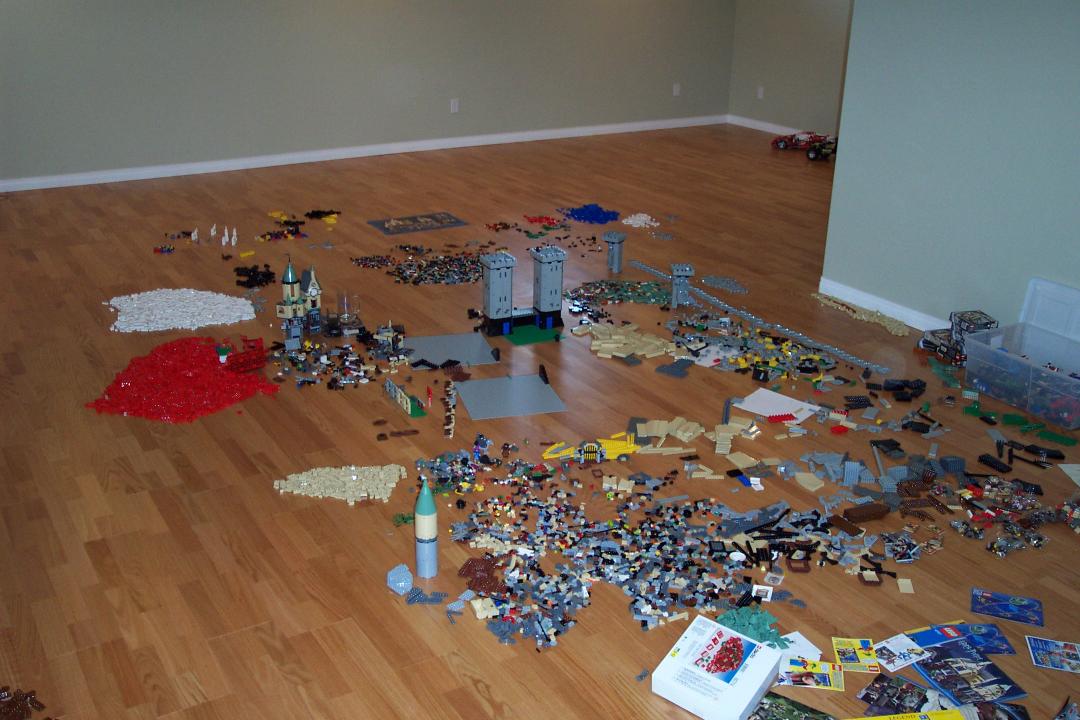
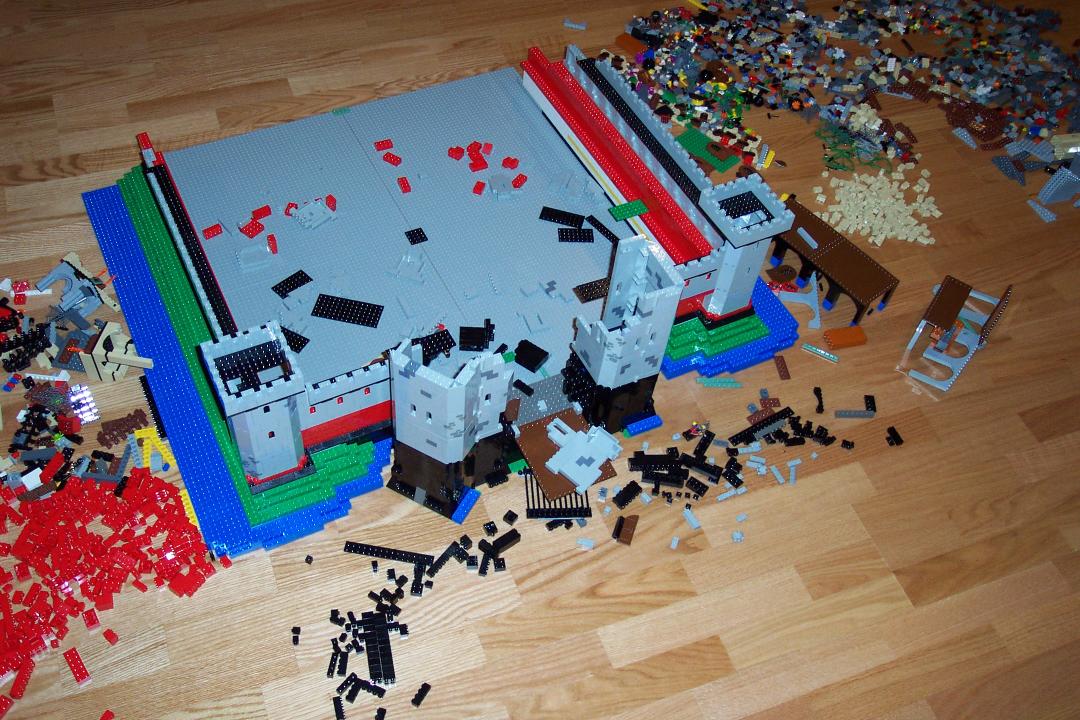
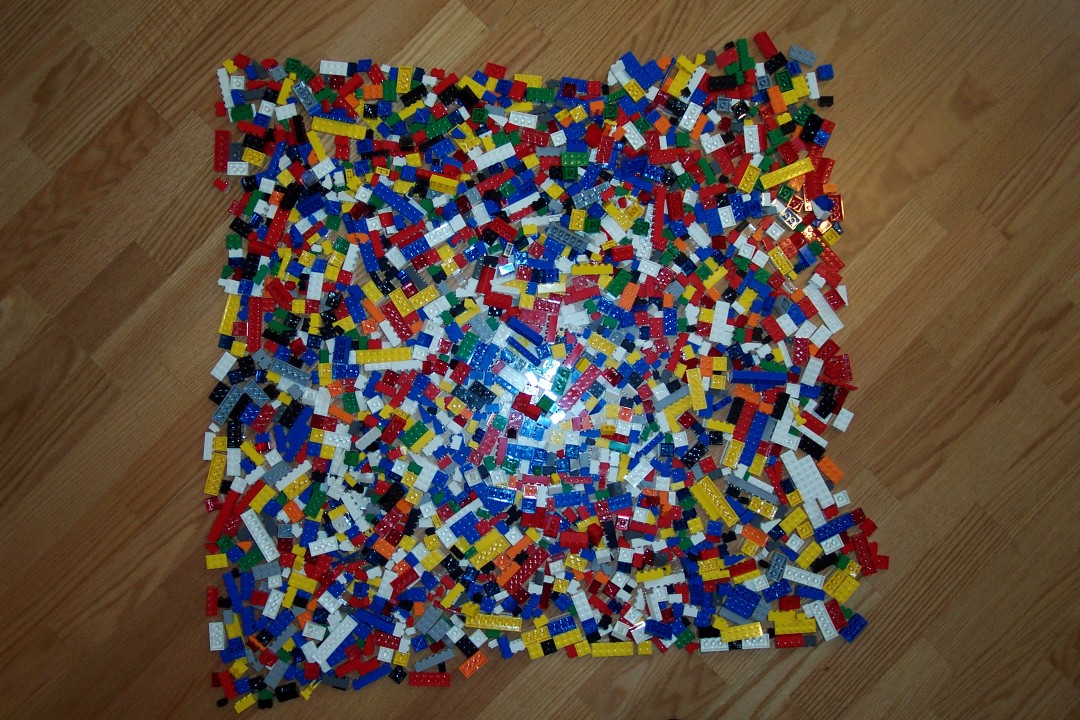
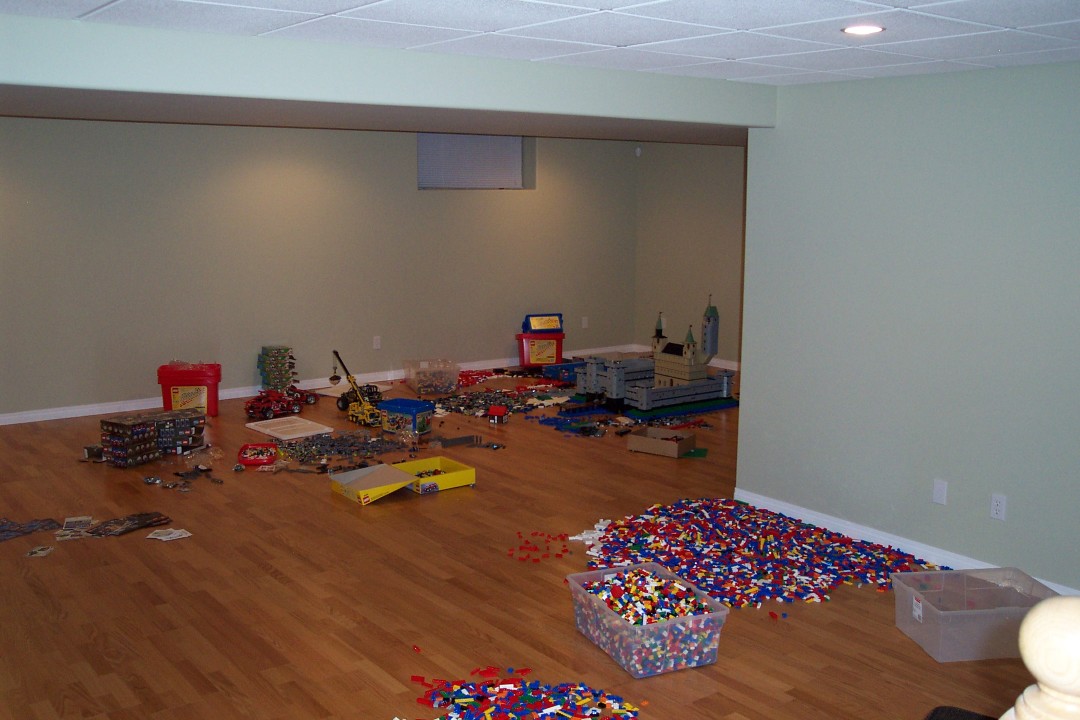
The state of the floor before I got serious :)
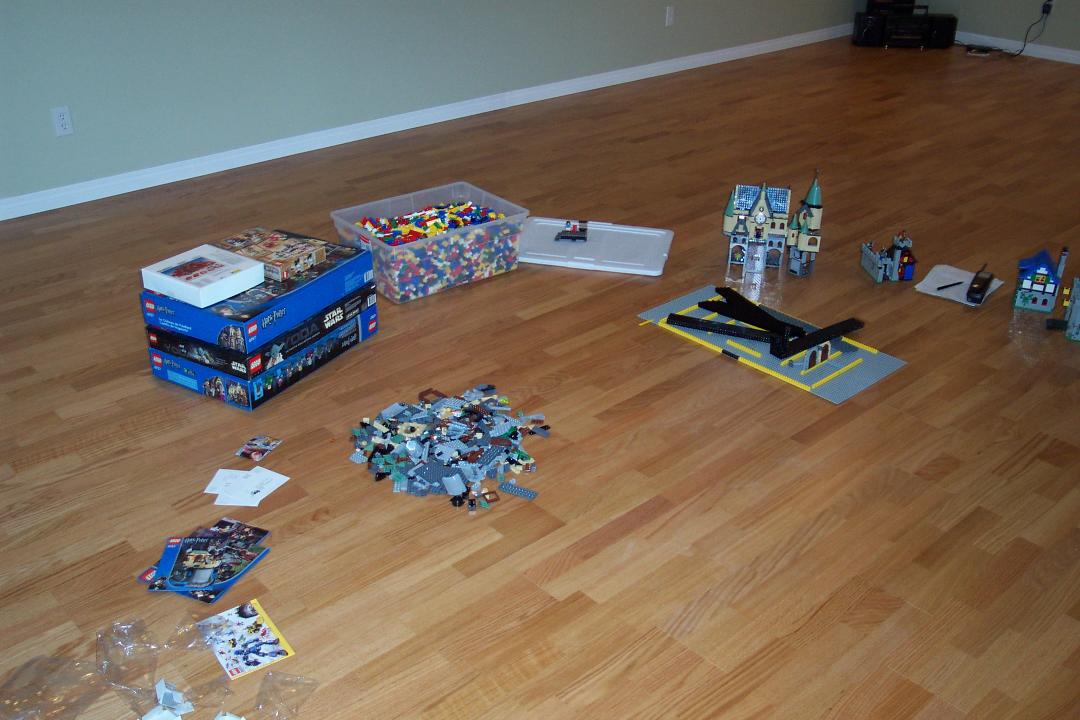
Another view of the floor, just getting warmed up.
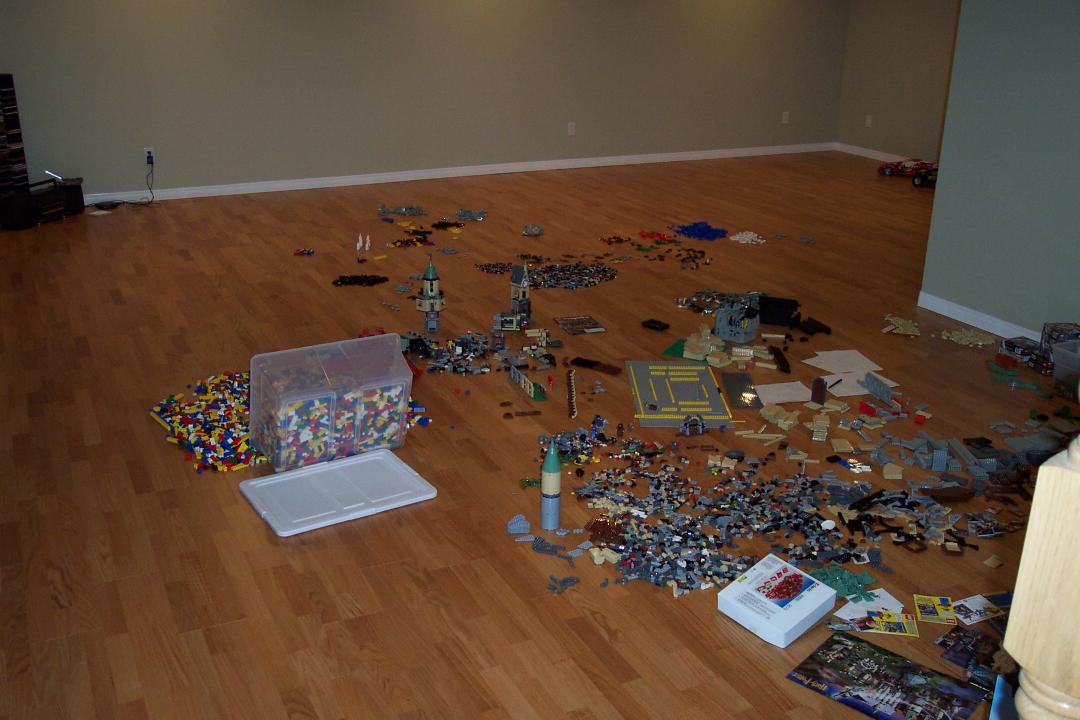
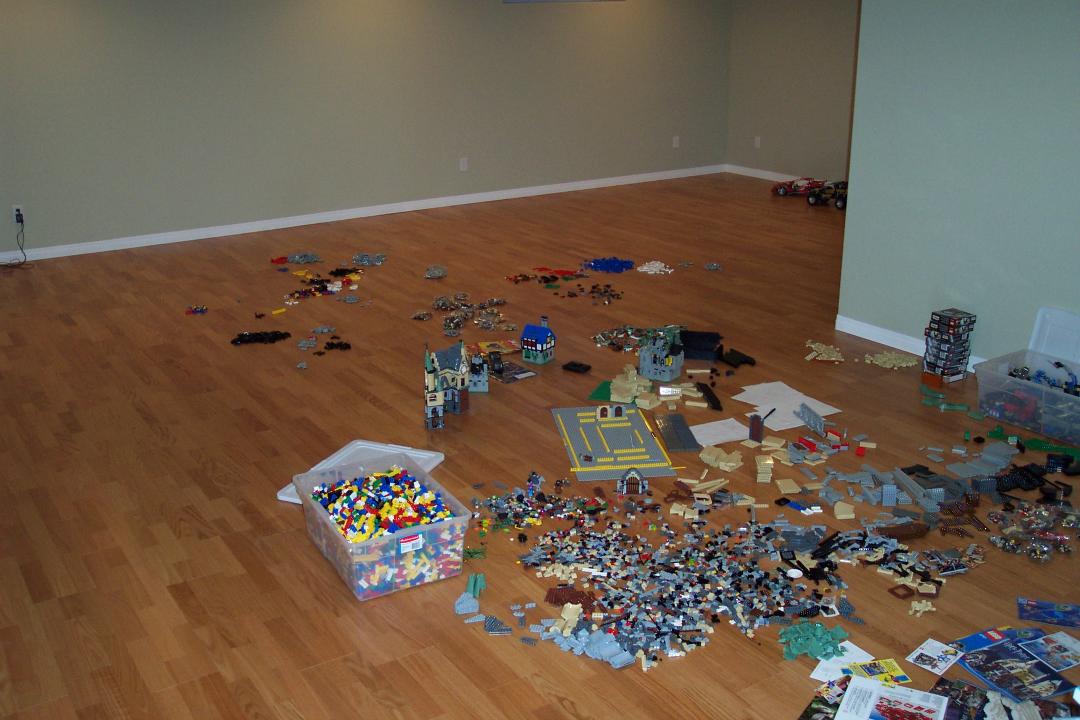
About time to bring in the tub of 'generic' LEGO bricks.
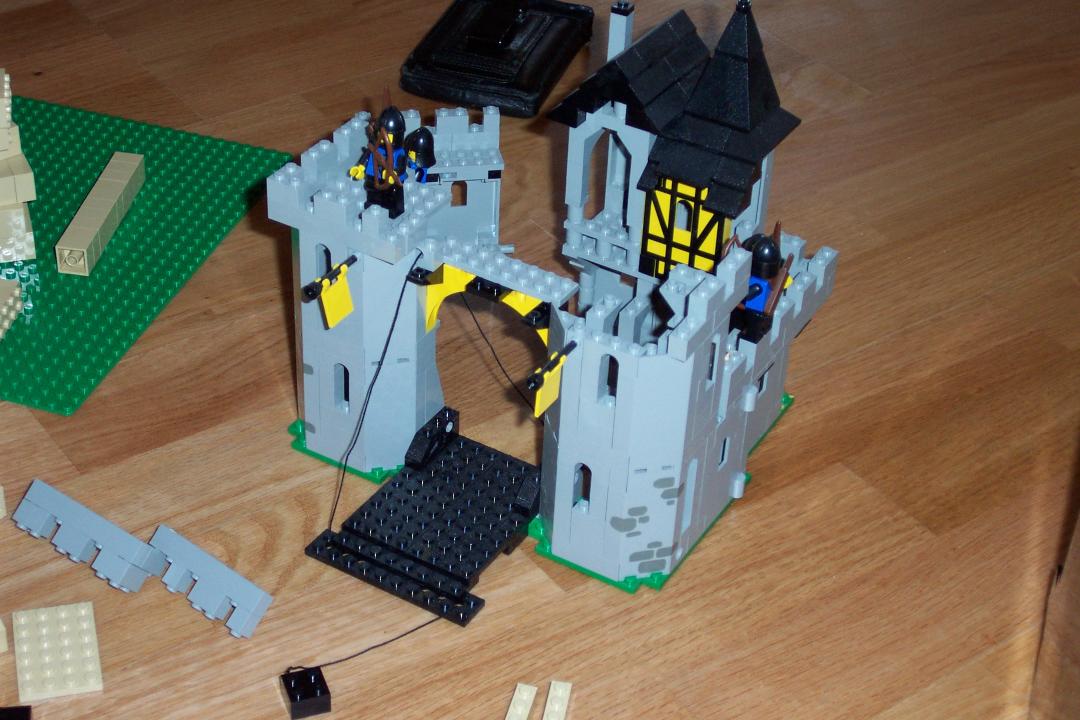
Couple pictures of the little castle.. just in case I need some ideas from it.
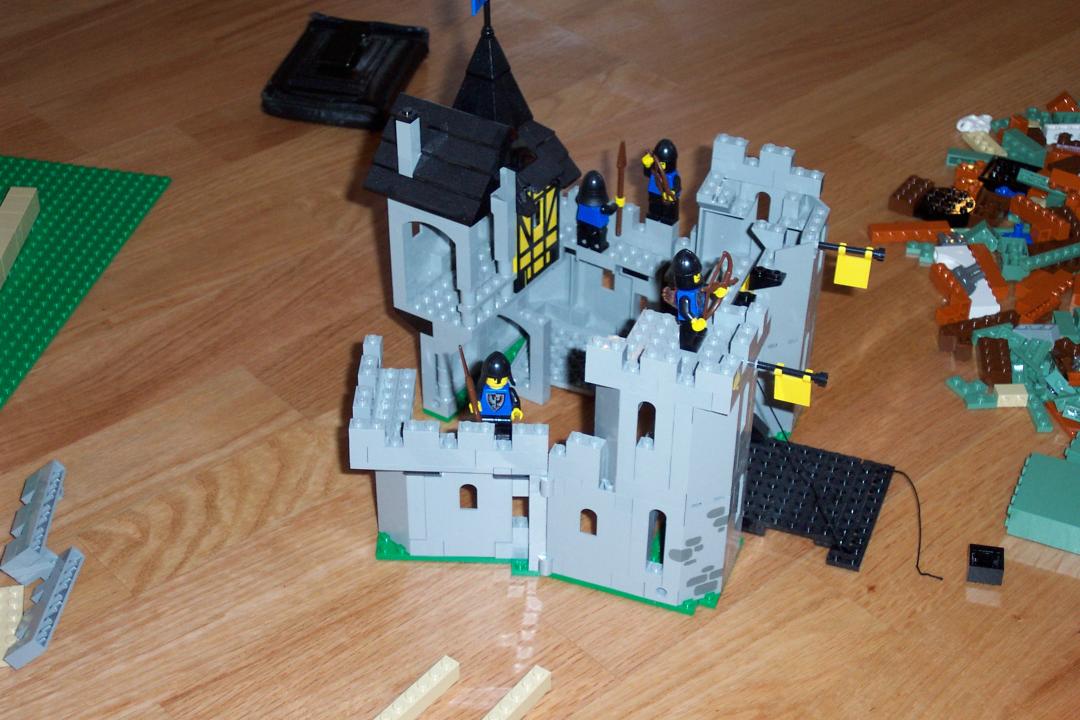
Last picture before this castle starts to lose pieces.
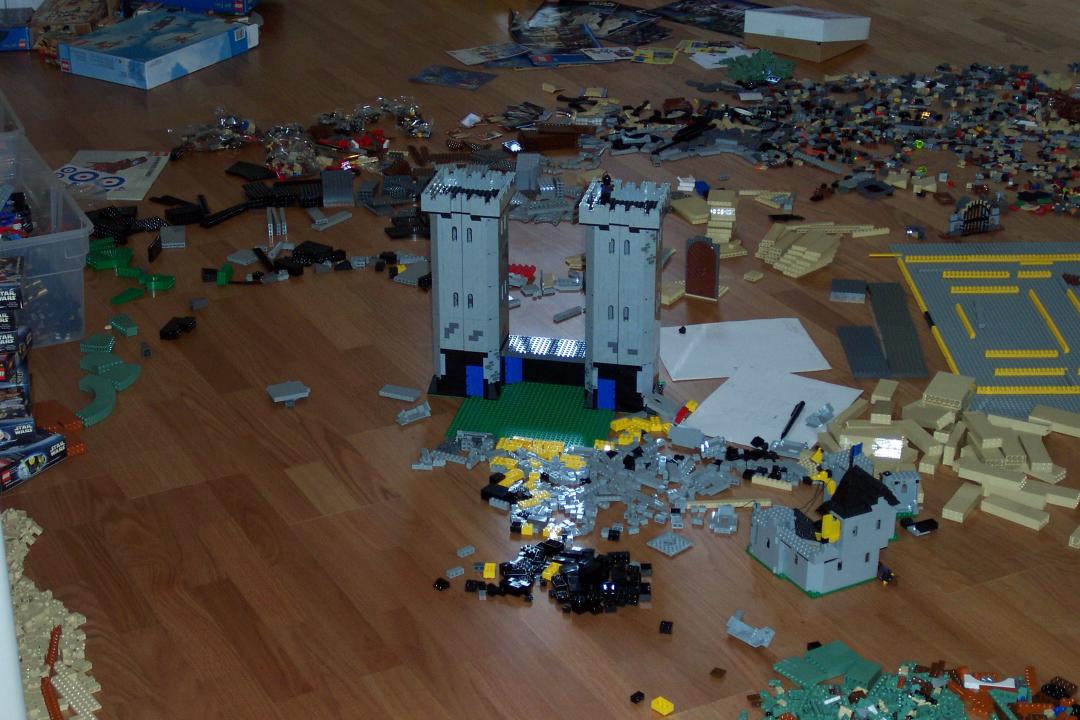
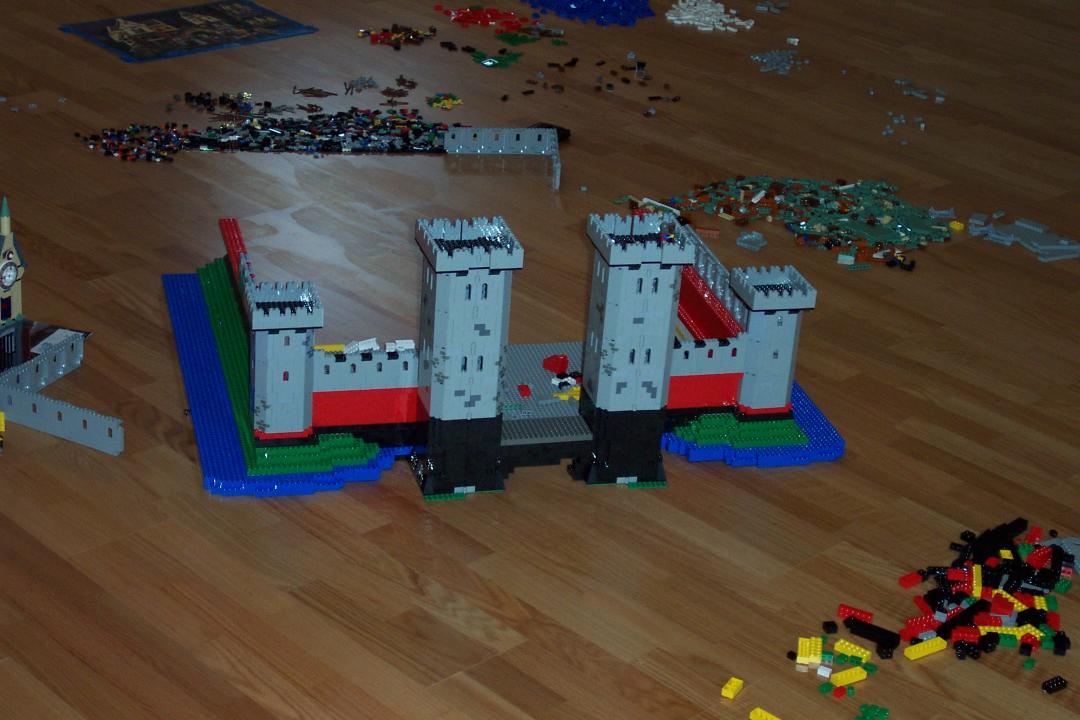
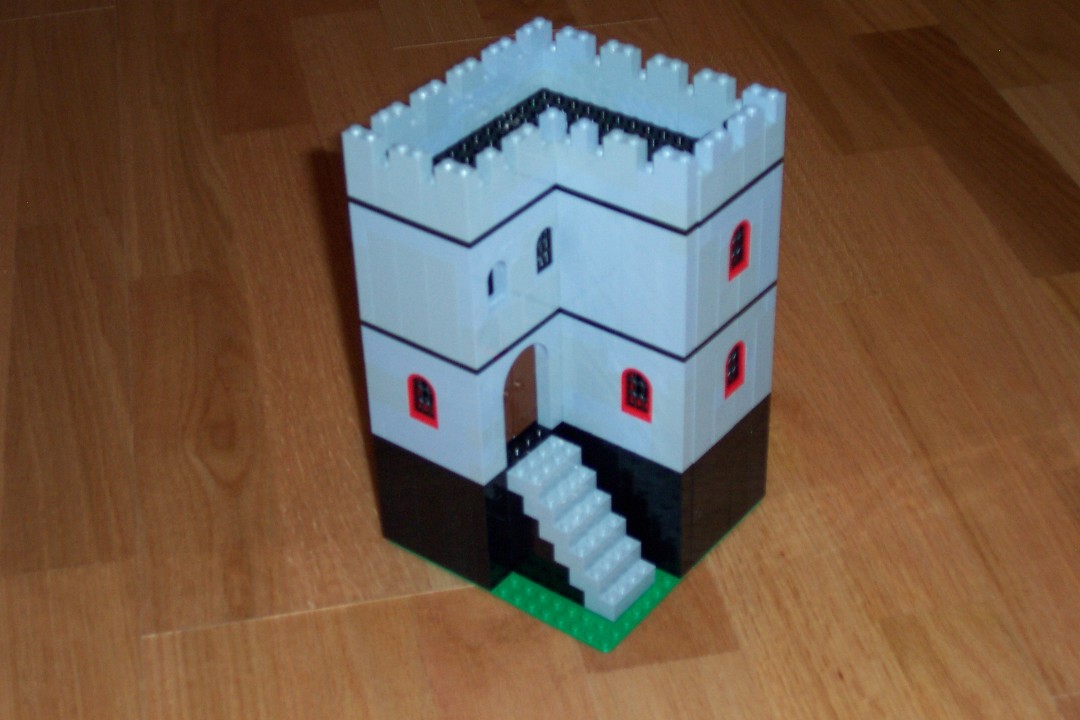
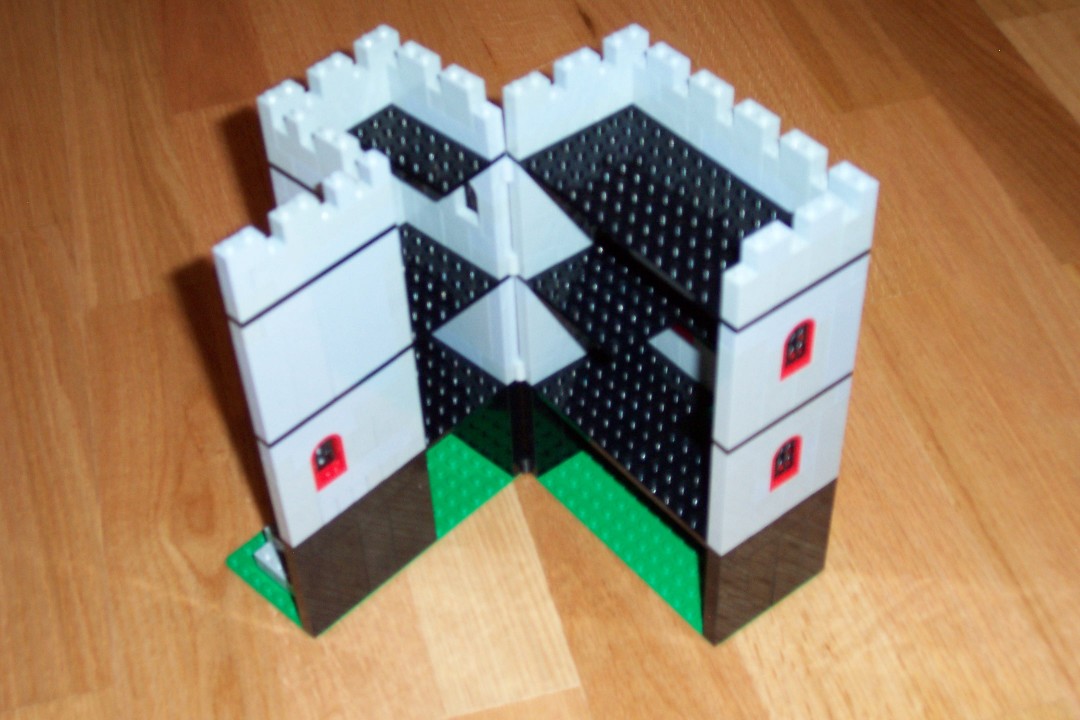
And some many hours later, the Two Towers are created. I figured these might make reasonable towers for the main entrance.
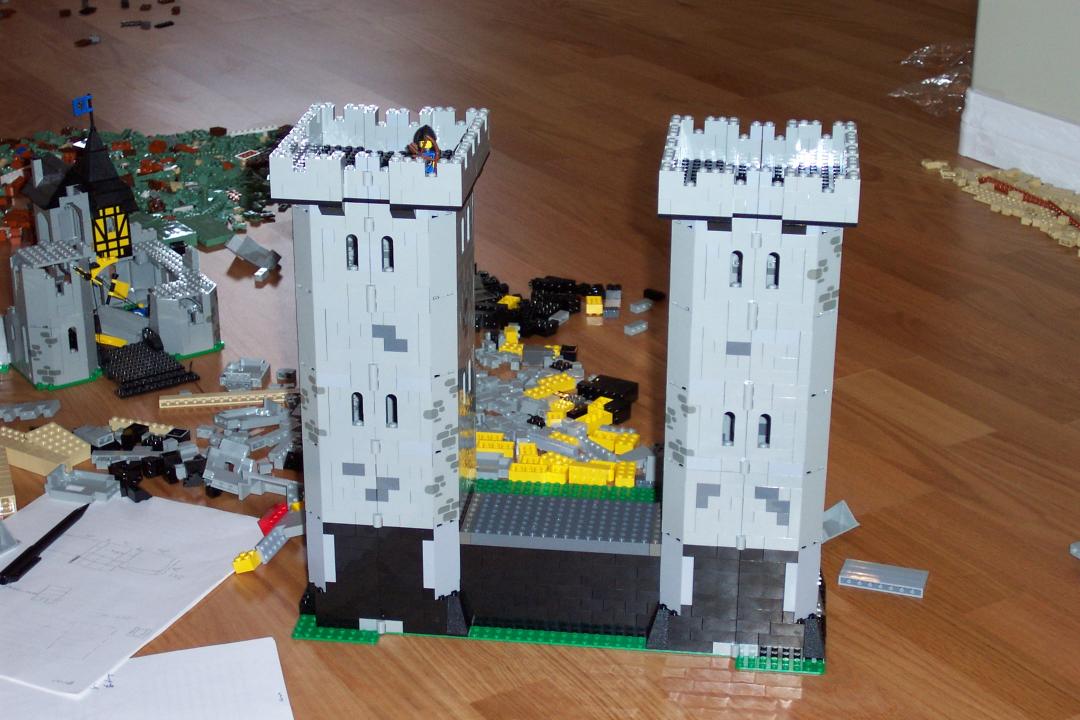
These towers open up to reveal the insides. Nothing in there yet.
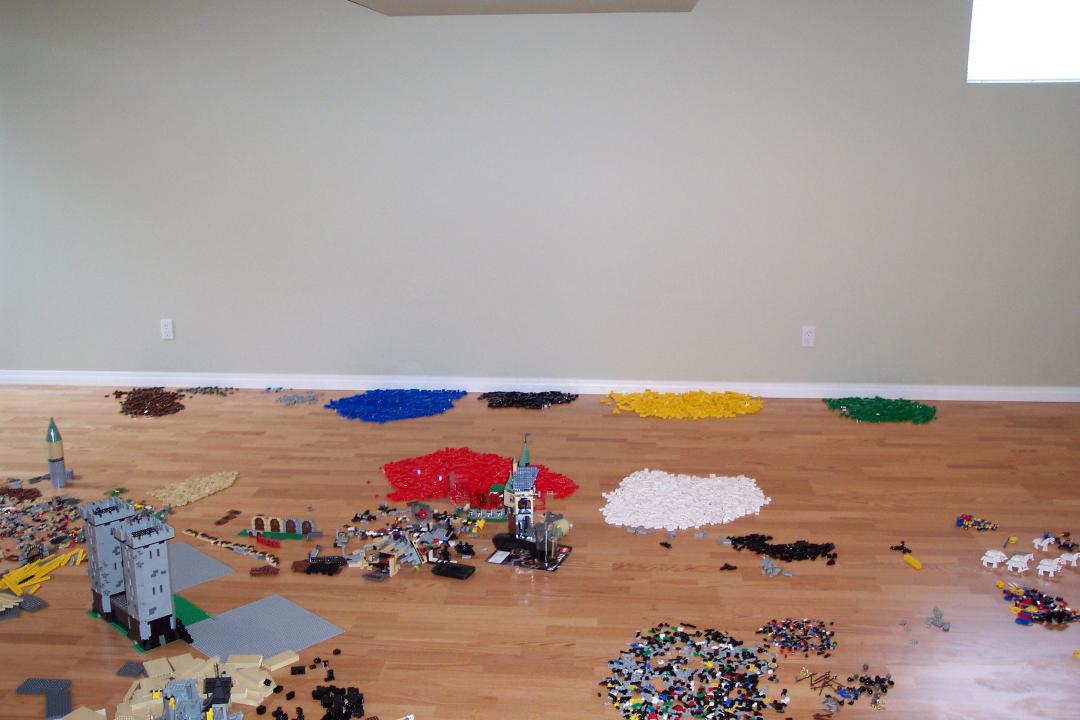
Remember that big box of LEGO bricks? Well, it takes a while to sort all those pieces, but that's what I did! Normally I don't sort my LEGO bricks before building, but for a project of this scale, I needed to know what I had, and because I'd be working with a lot of 'single colour components', I didn't want to have to spend most of my time hunting for a piece of the right colour.
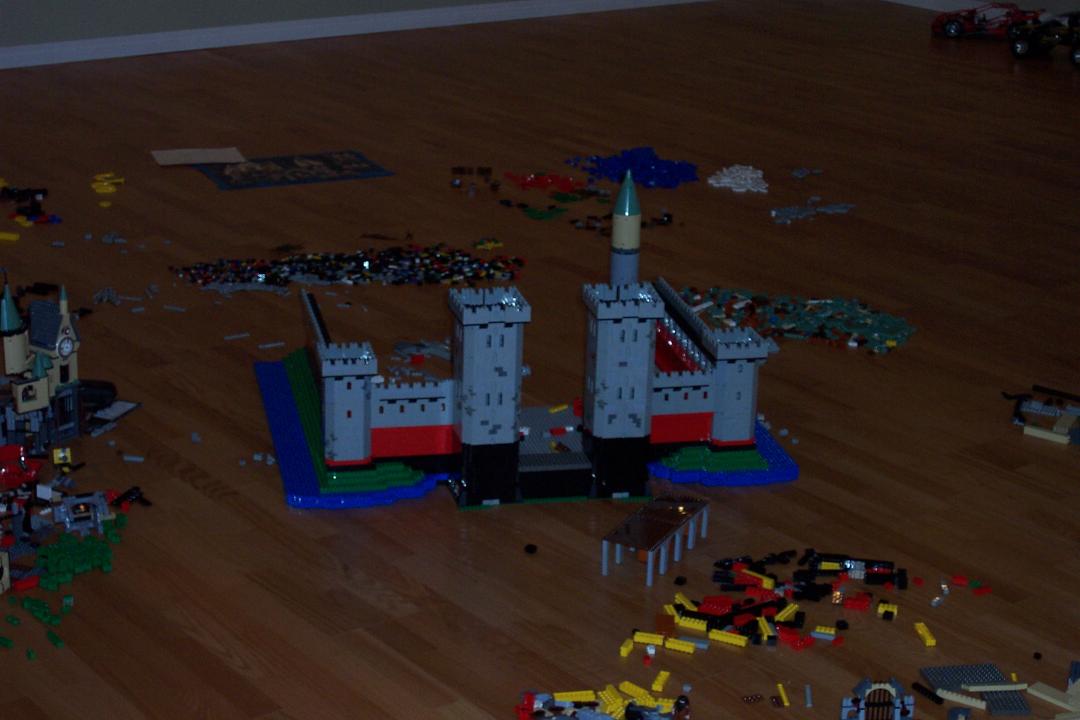
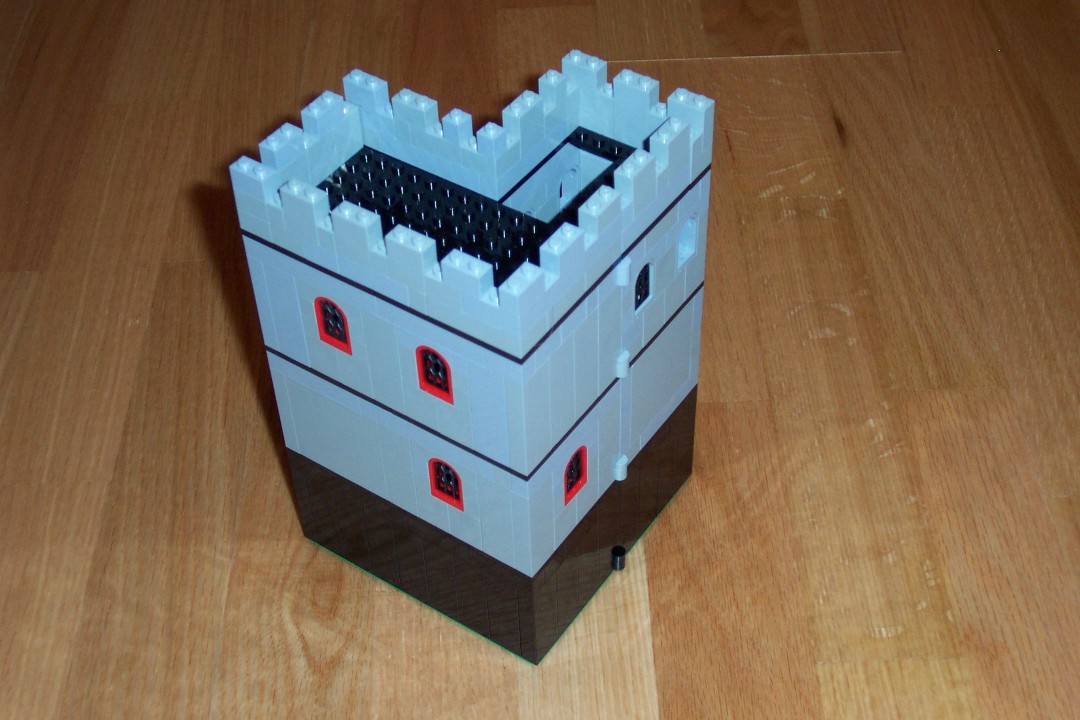
Two more 'baby' towers join the big towers. (you can just see the little towers in the mid-upper-right-hand side.)
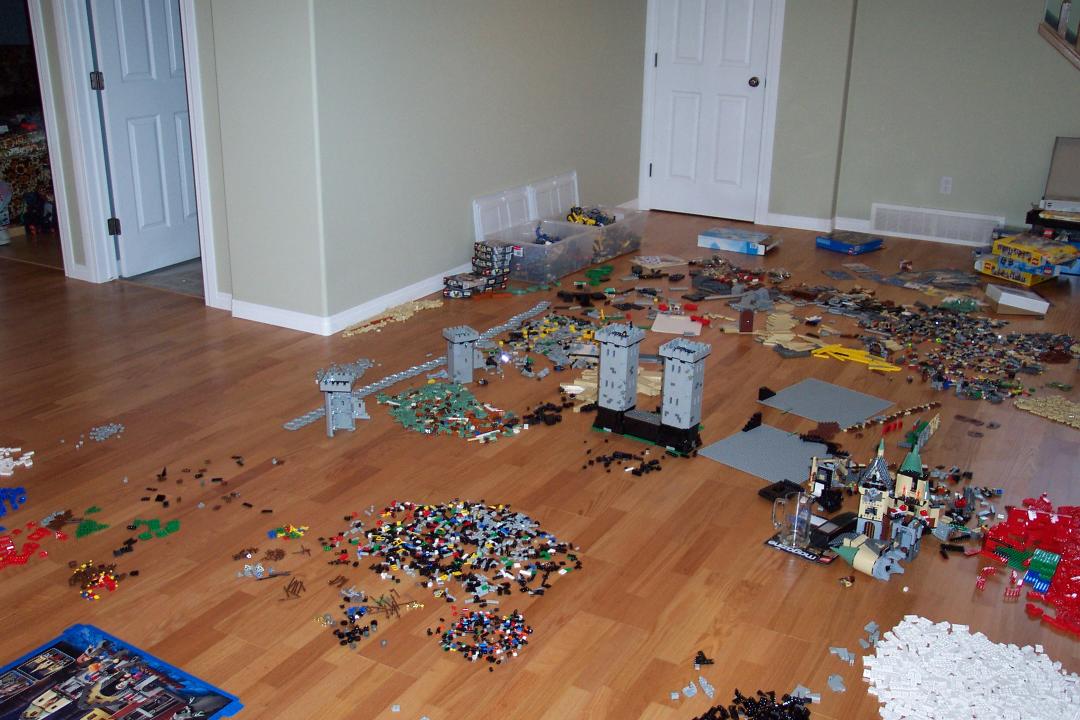
Another shot of the new towers. You can see remnants of the various castle sets in the forground.
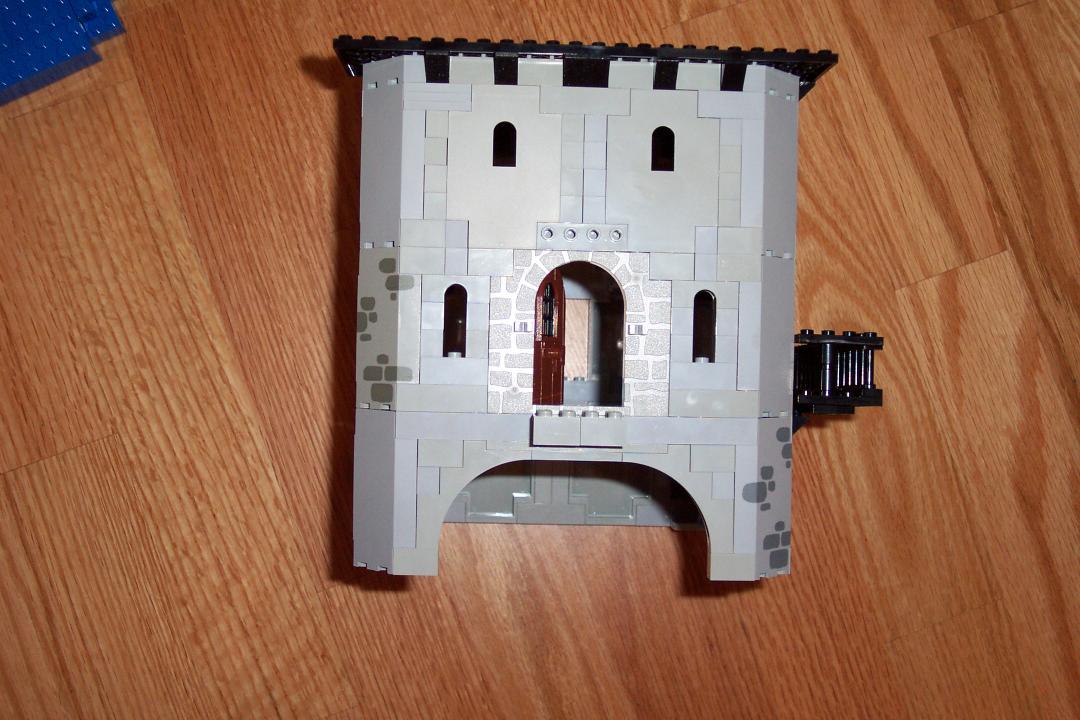
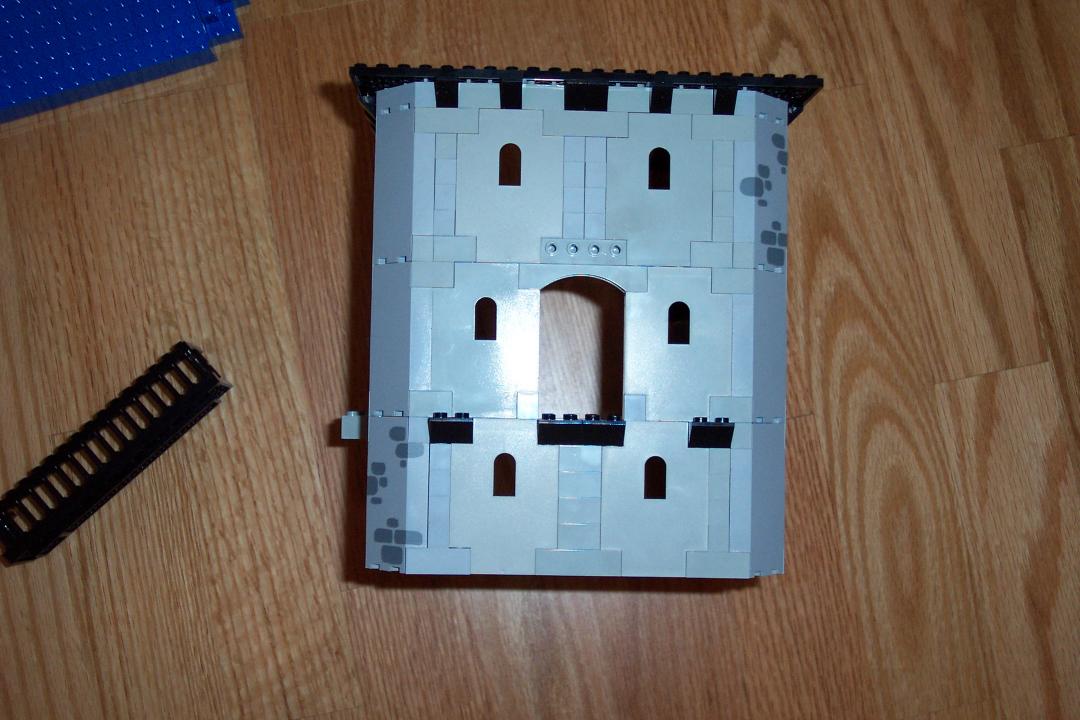
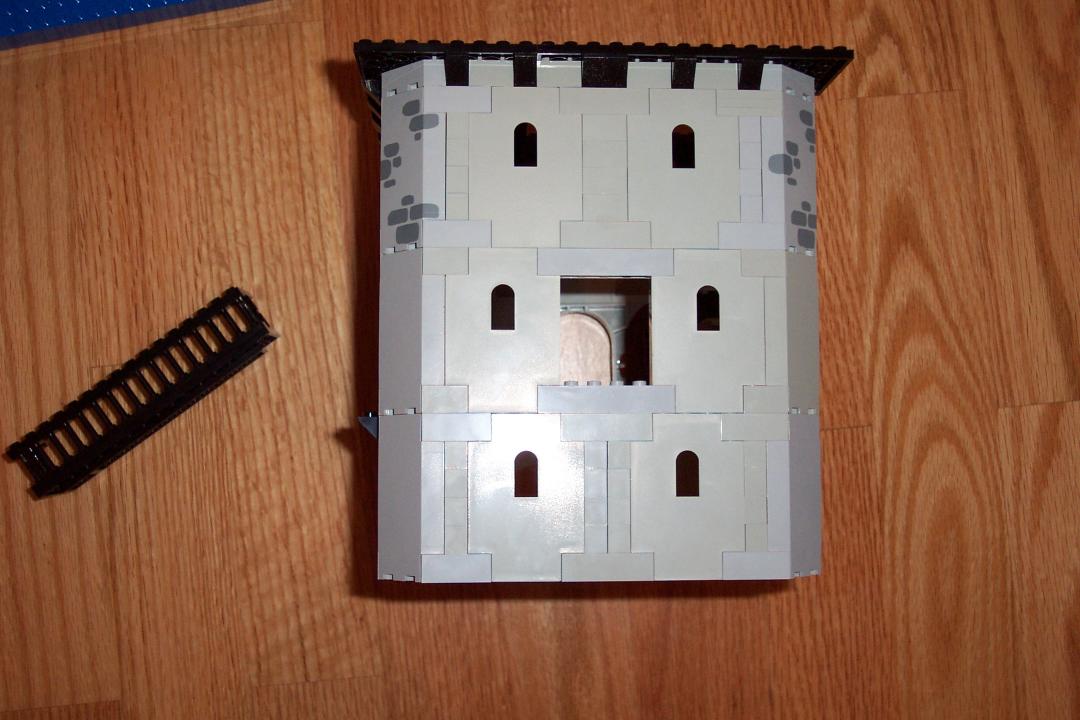
Detail of the.. um.. well, you'll see in a few more pictures :)

Another shot of the detail. Yes, boys and girls, this 'outer structure' is build quite solid, and takes a lot of pieces.

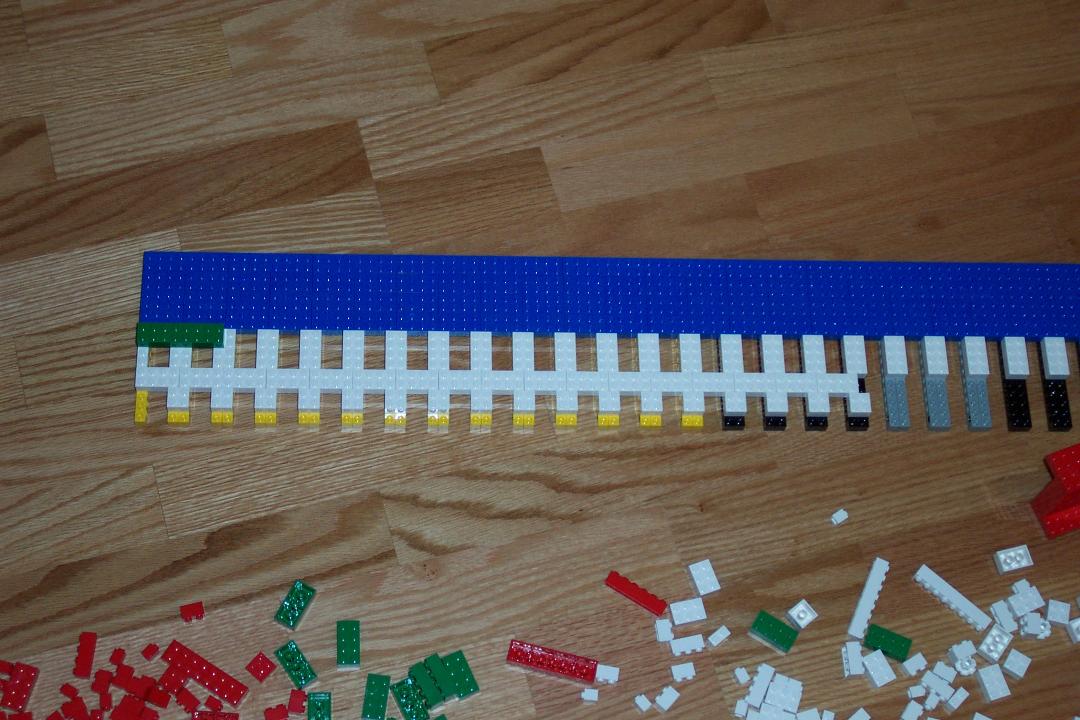
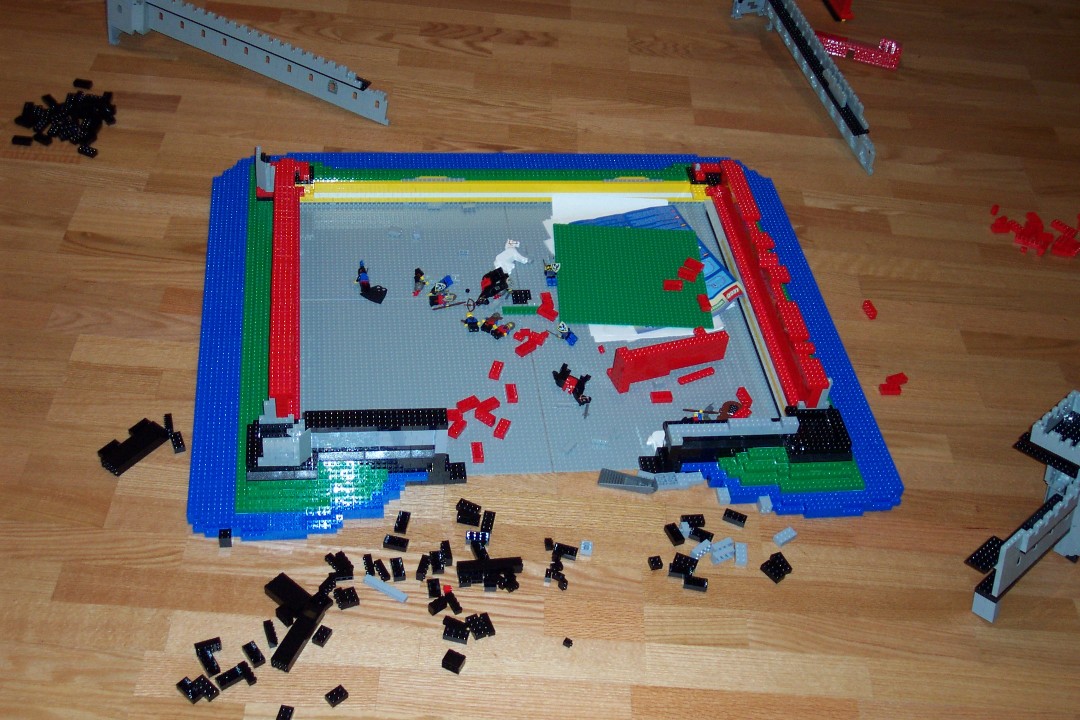
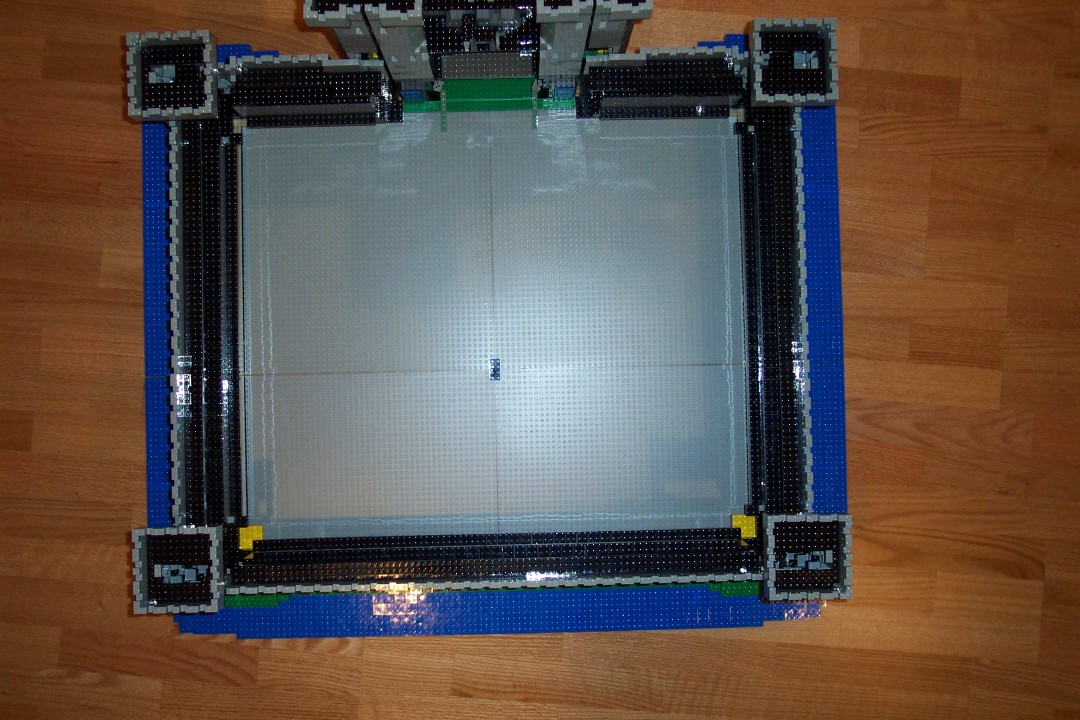
The prototype for the castle walls, done to scale.
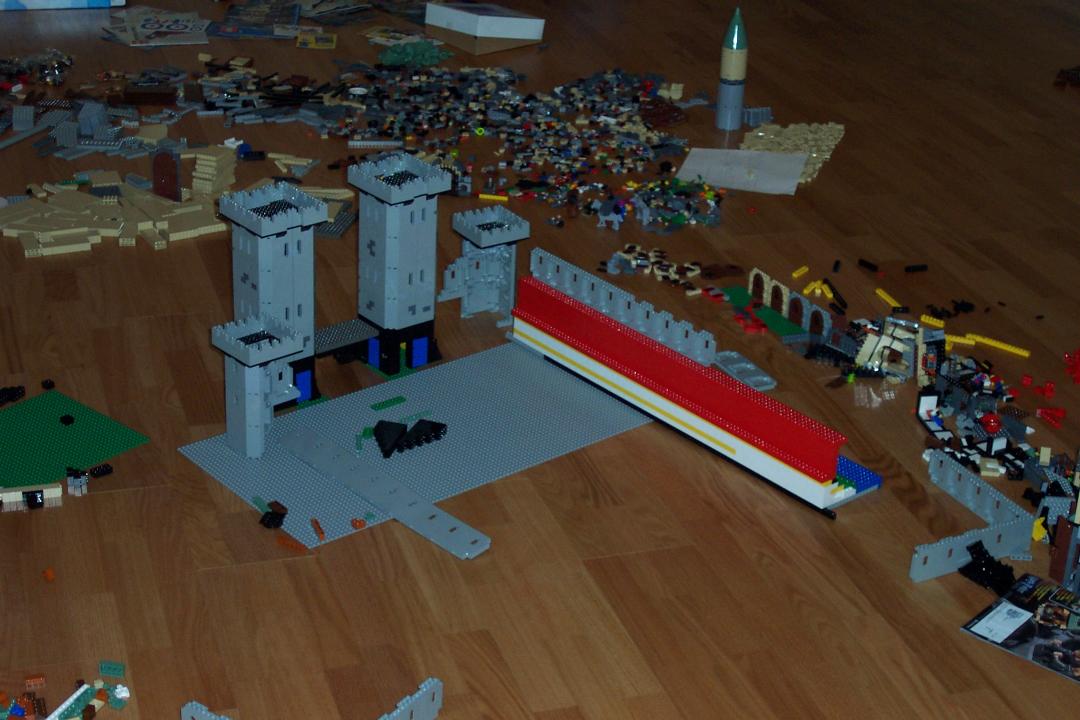
One wall, with one corner, being test-fitted.
reverse angle of the previous.
Houston, we have a corner.
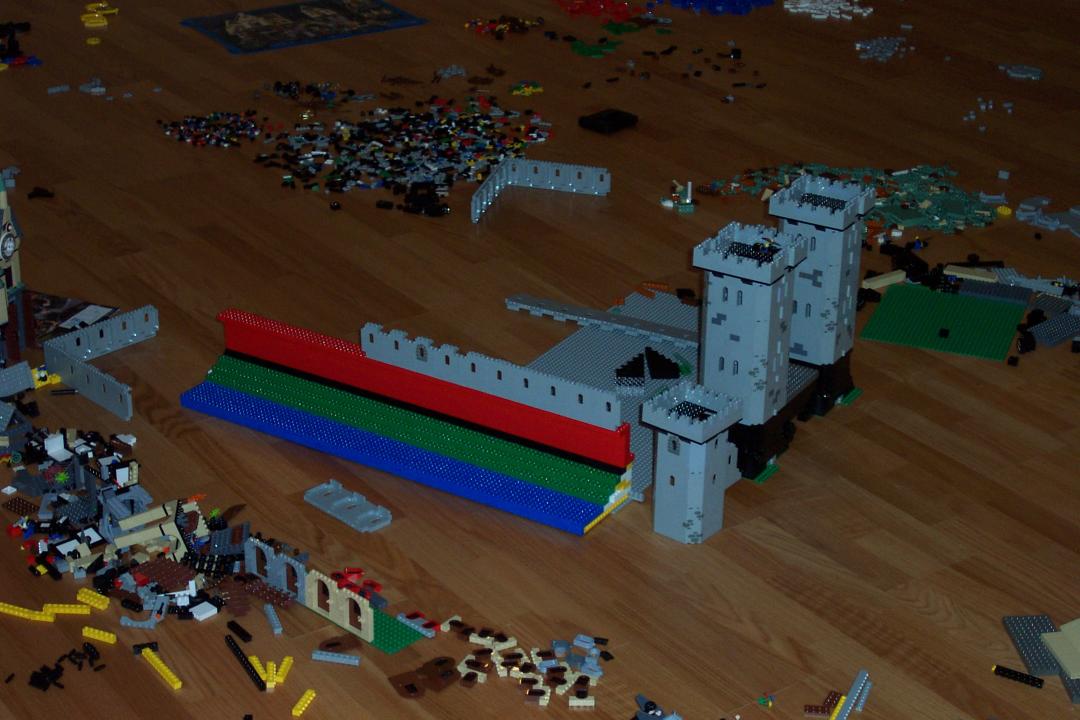
And then we had both sides up, with a bit of the front complete.
I think this was shot late (11:30pm?) at night after finishing the side walls and the front walls.
Back view of previous.
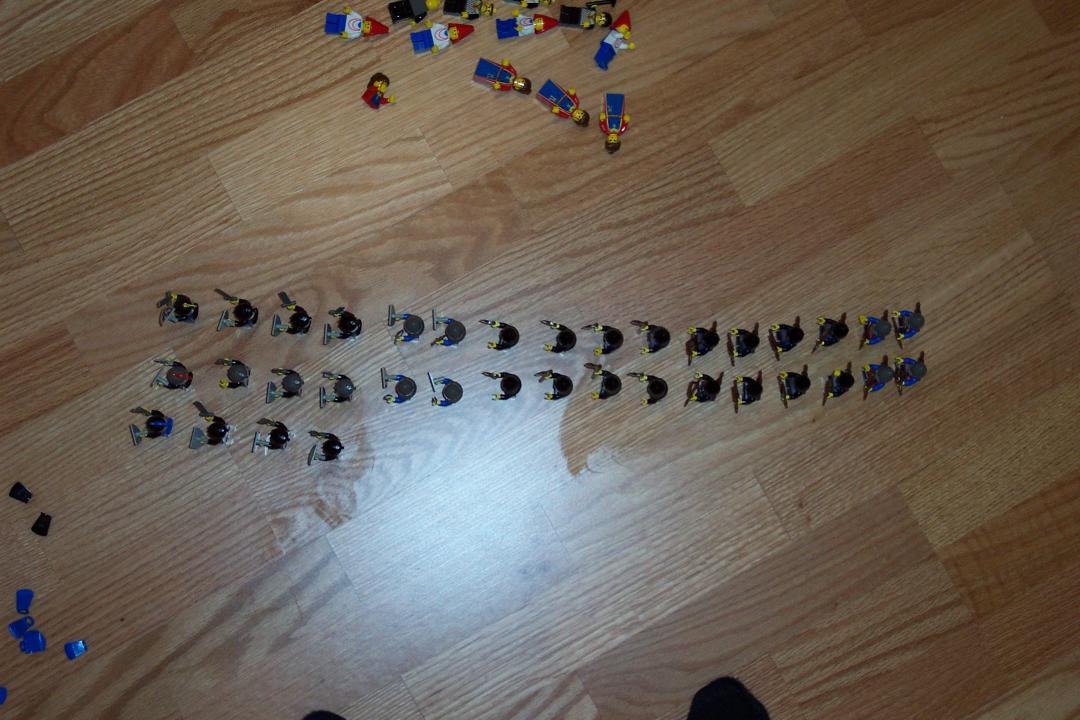
Top view of my little army :)
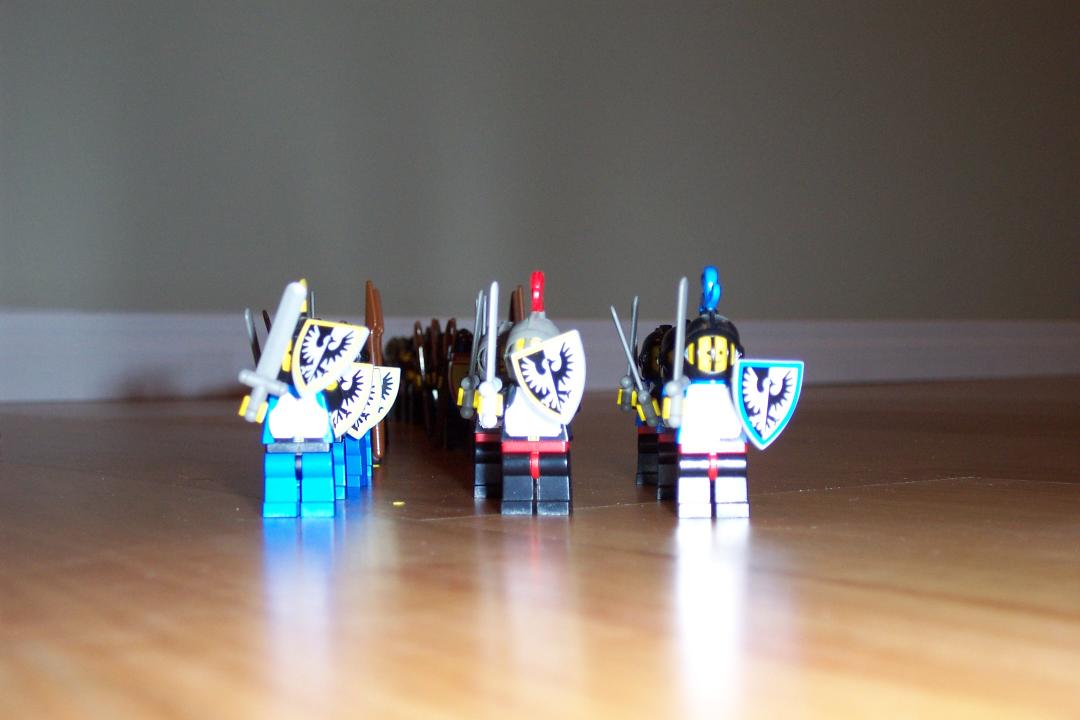
Guy on the right didn't have time to get his shield up before my flash got him.
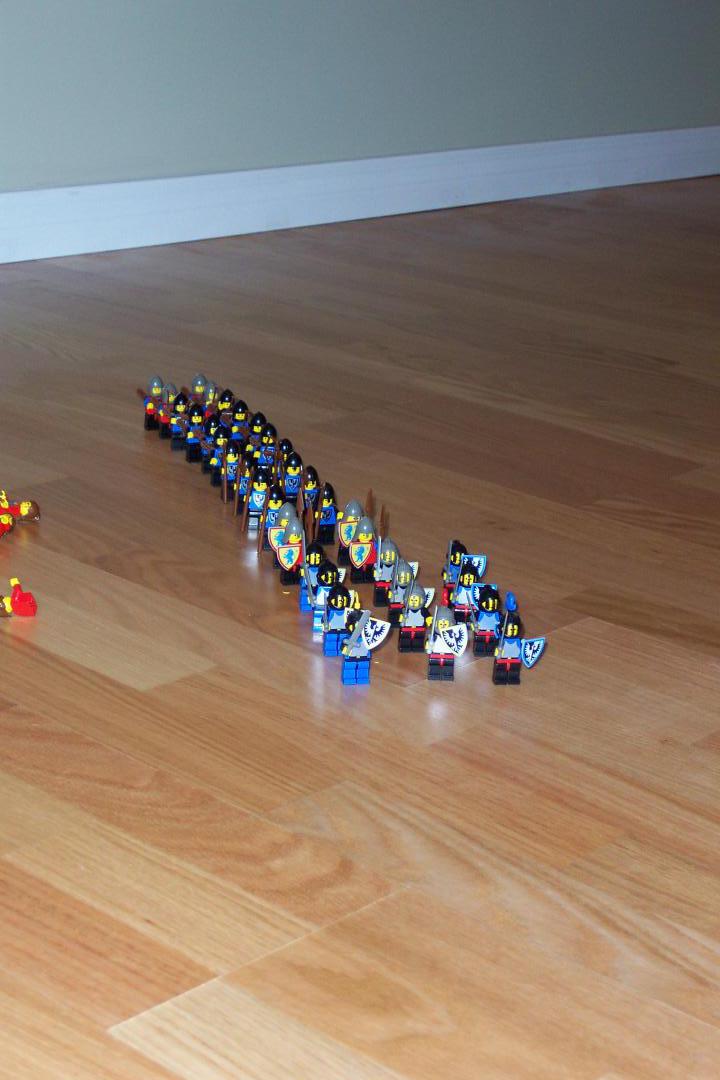
Army marching.

Testing out some ideas for the front gate.
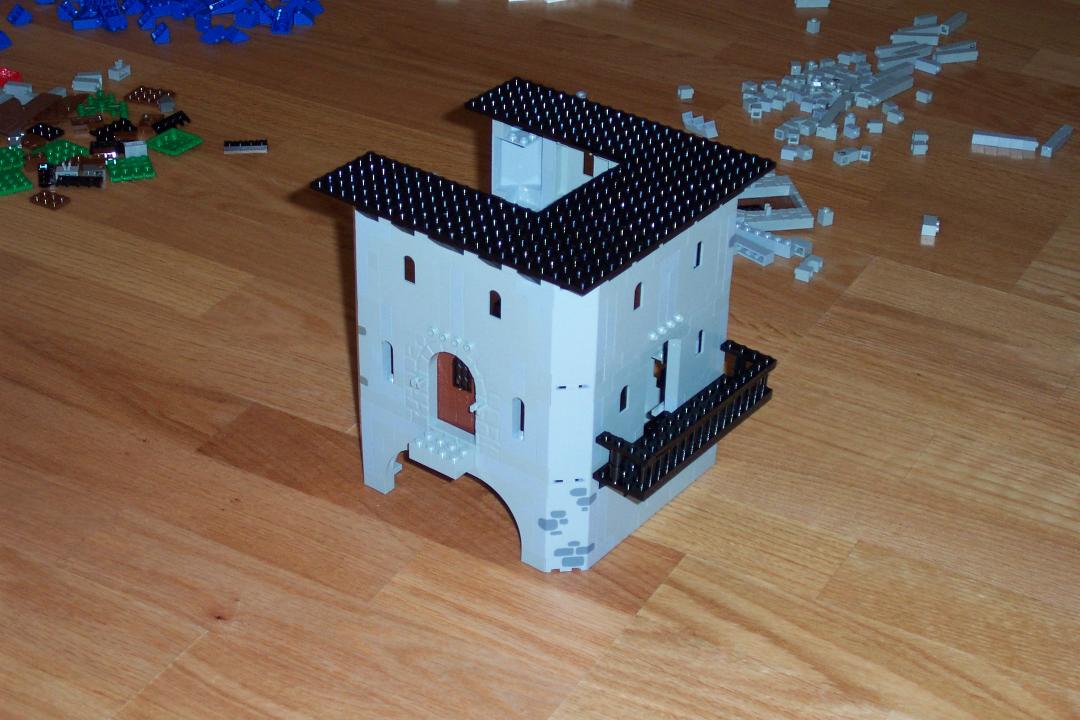
First of a few shots at a rather neat keep. Was convinced by a colleague that I really needed those pieces to finish off the back turrets of the castle.
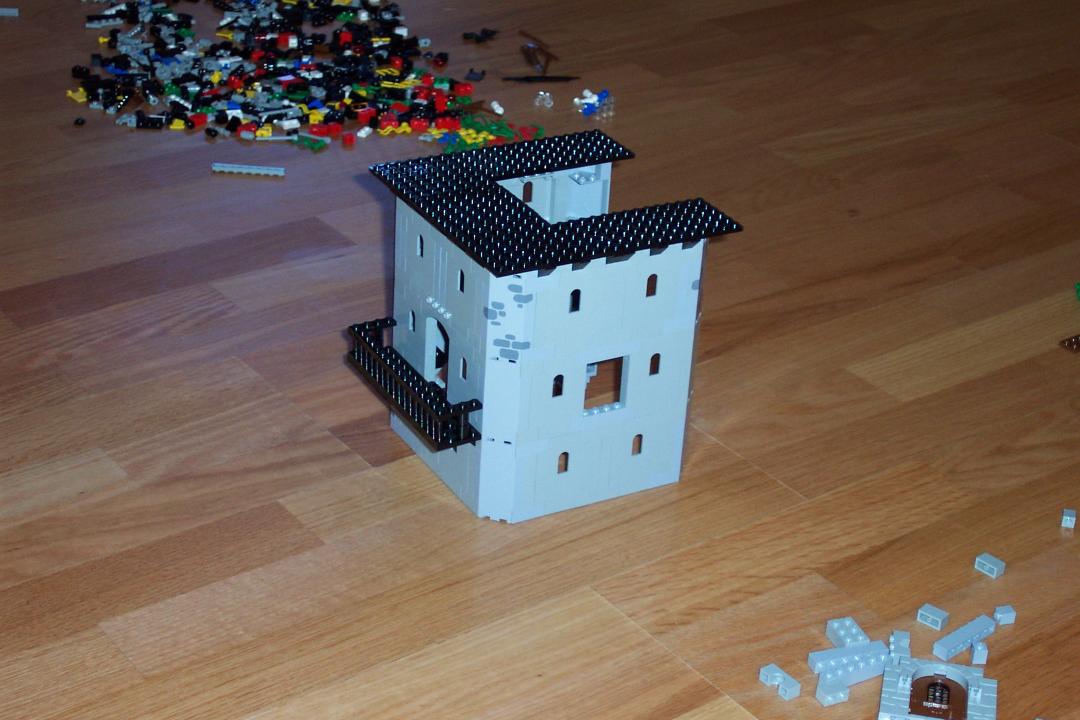
Another shot of the keep.
Another.
And still another. At this point I knew I was going to take it apart, so I wanted a bunch of pictures of it, in case I ever have to build it again.
Last one of the keep. It gets destroyed after this.
What a mess! All this to build a proper gate.
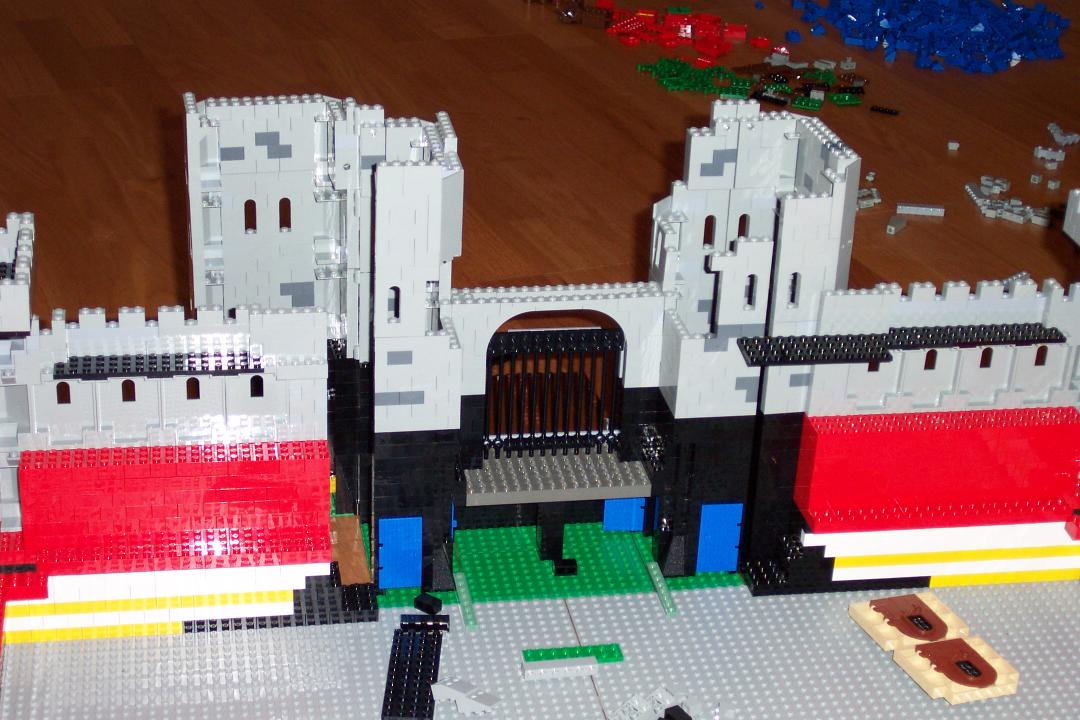
Front gate starting to take shape.
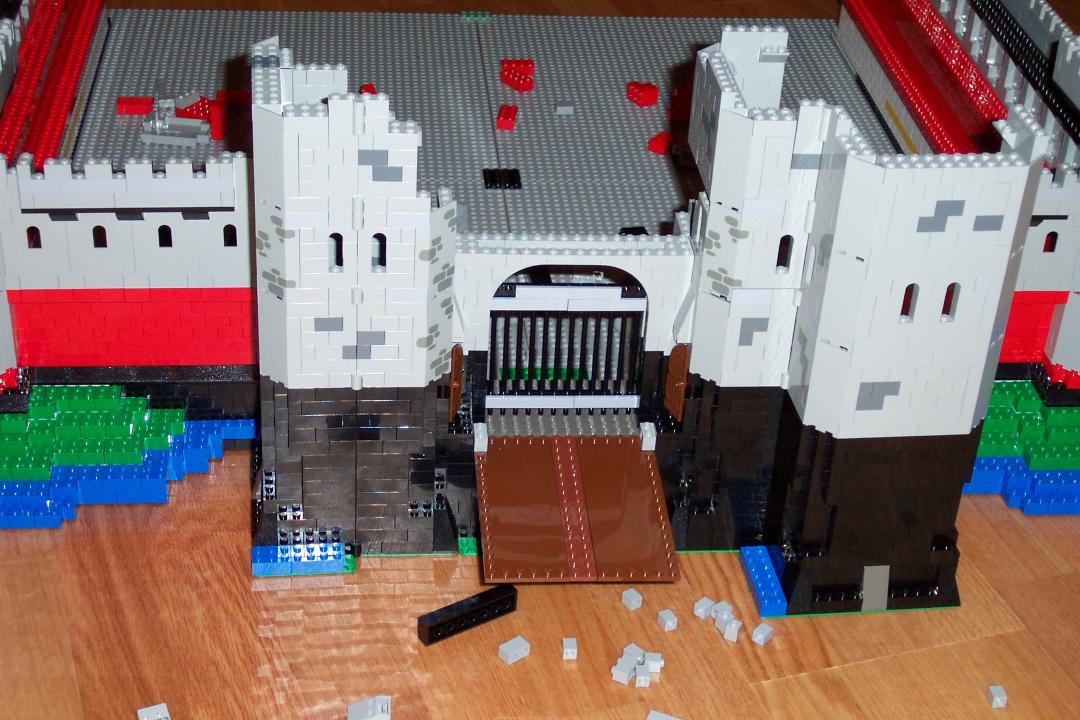
Drawbridge assembled. Still needs major reconstructive work.
Main gate complete. Shot from back.
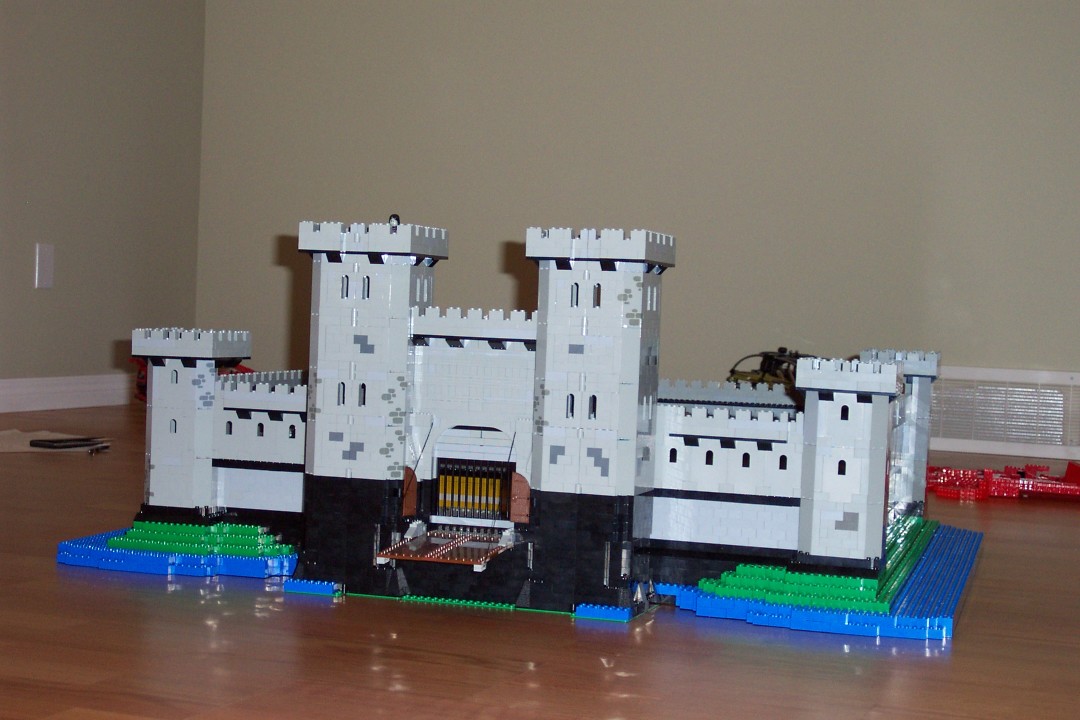
Main gate complete -- front shot.
Same shot, taken slightly lower.
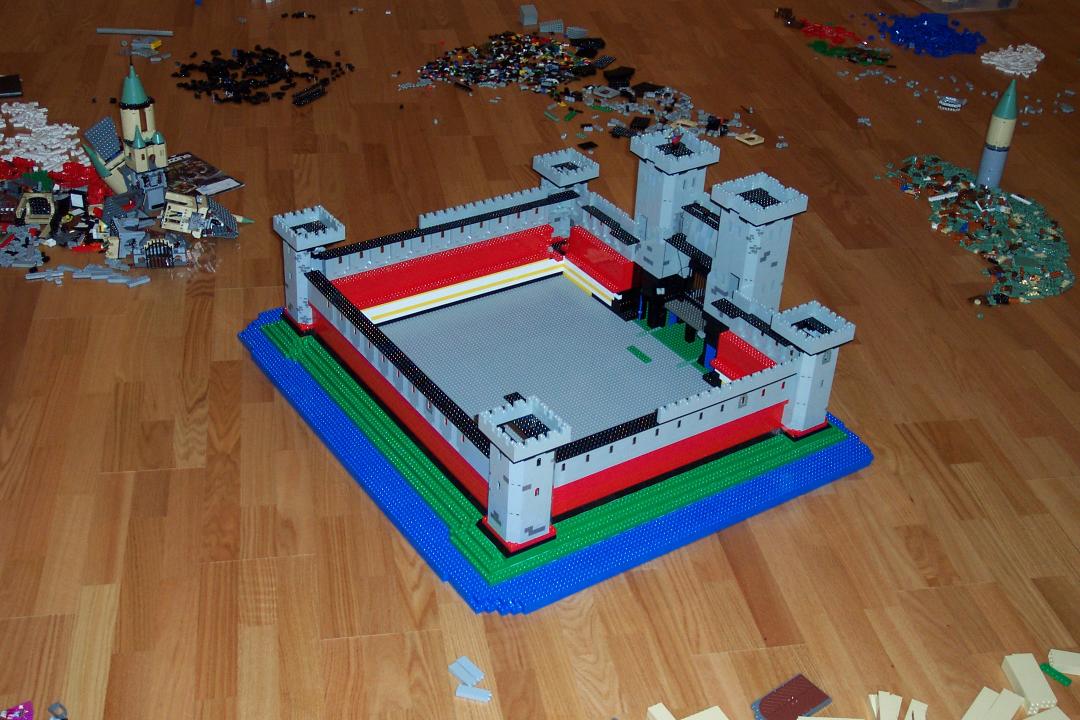
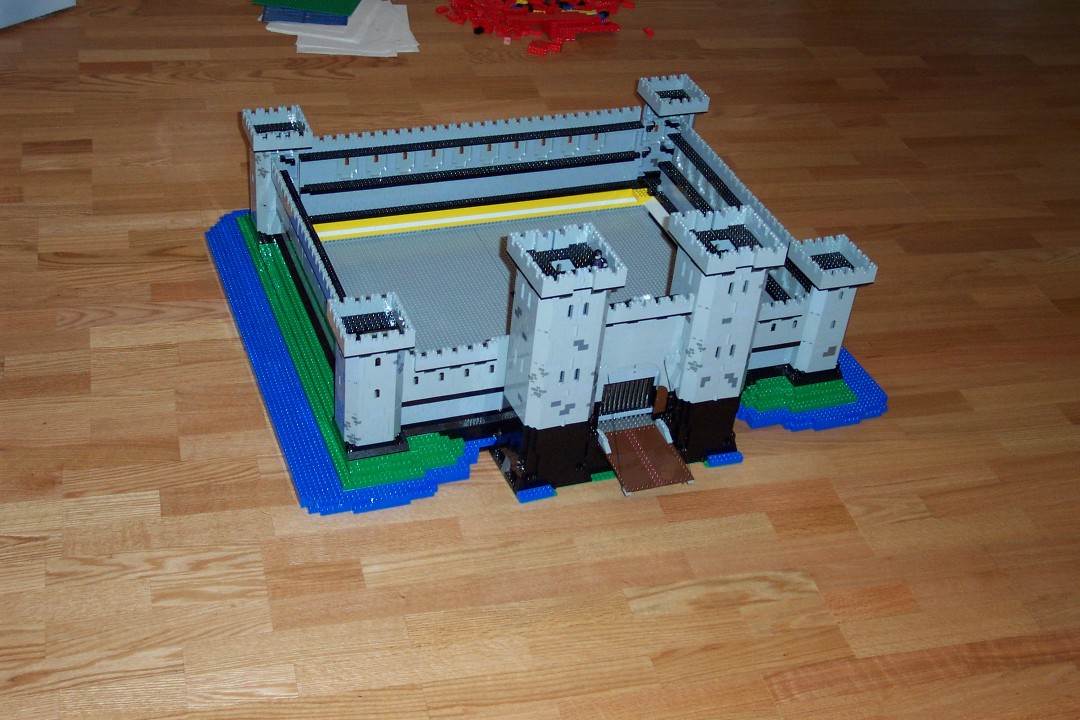
Back wall added! Running desparately short on regular bricks at this point. Note the lack of grey bricks to complete the top of the walls.
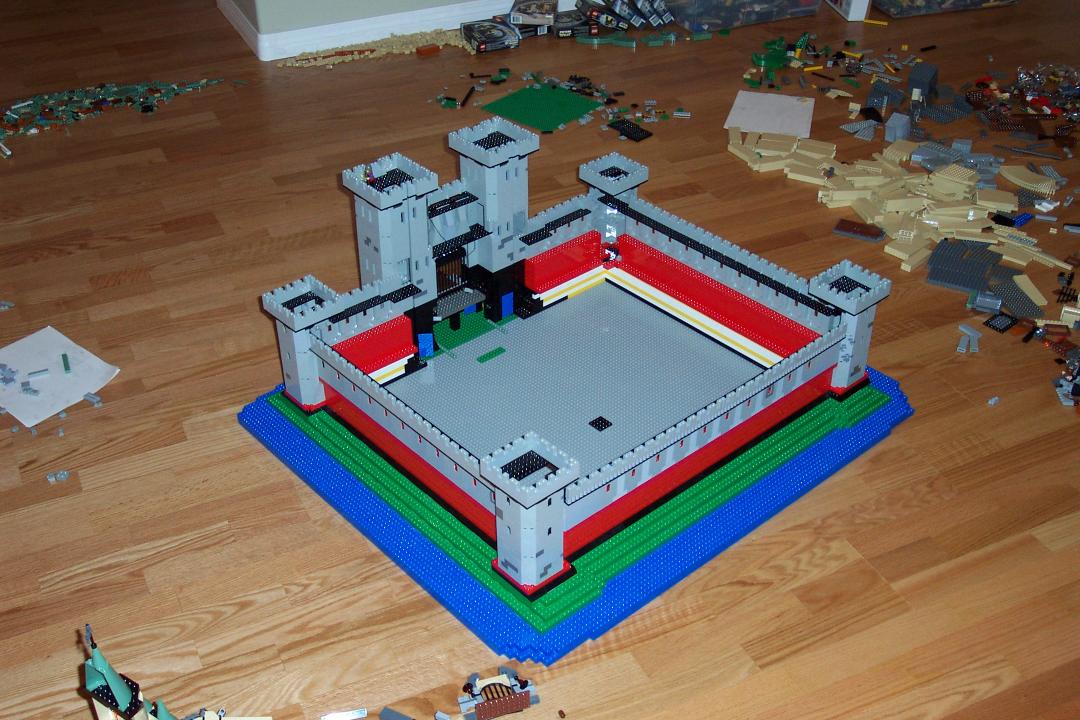
Different angle.
And another angle.
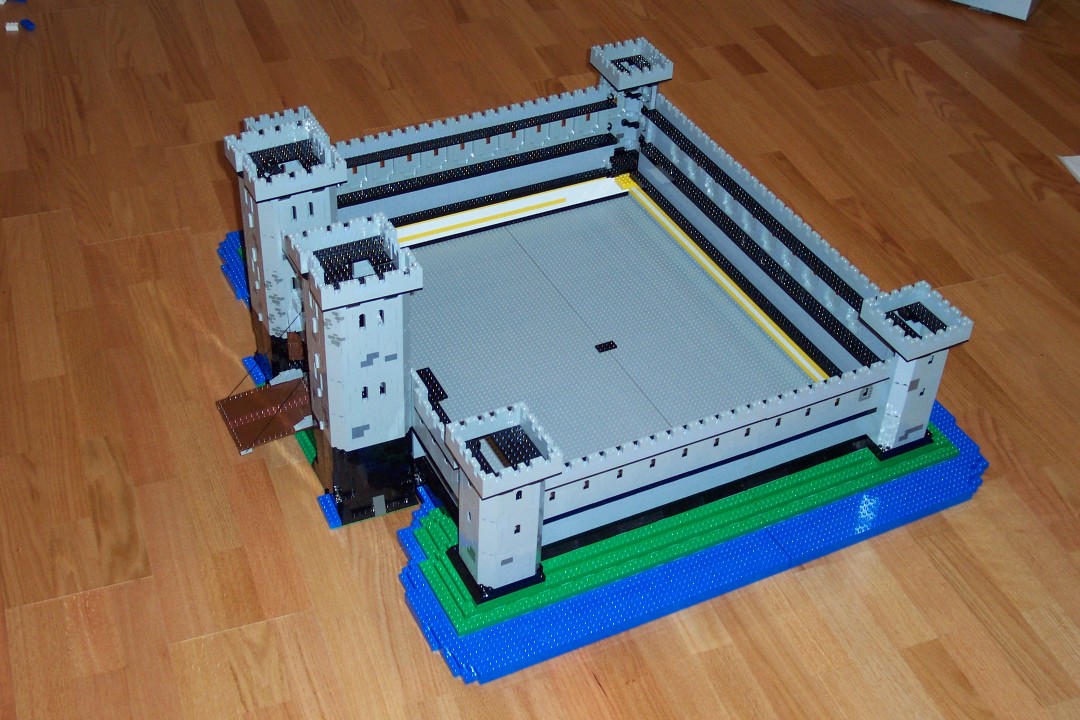
From the back again.
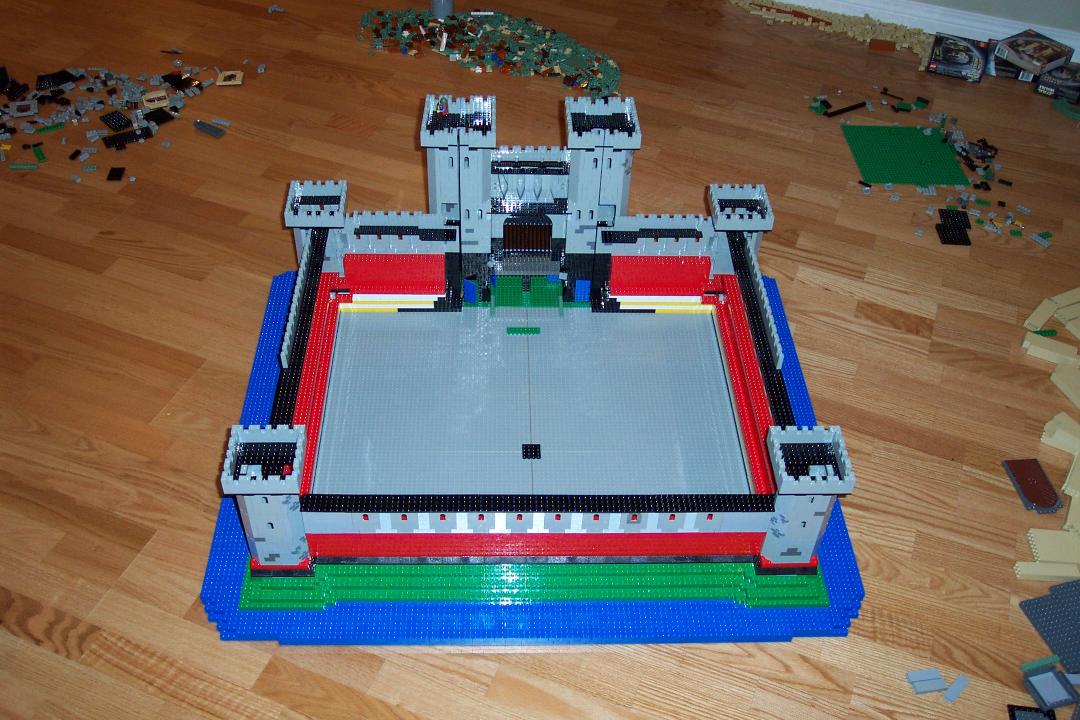
Another shot from the back.
foo
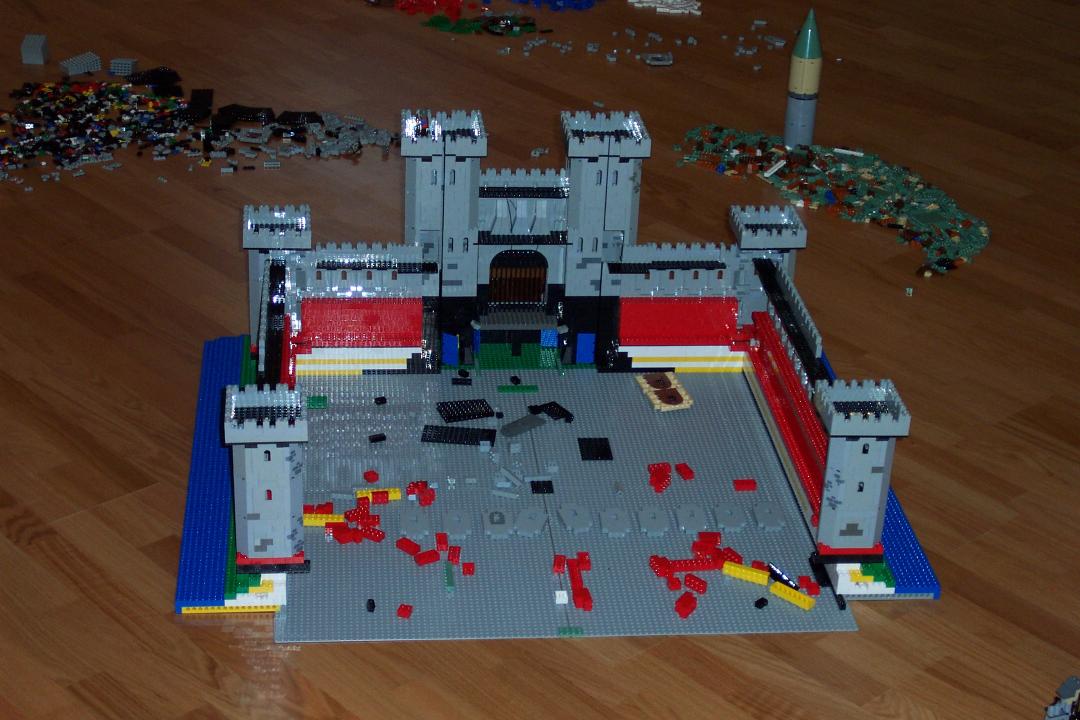
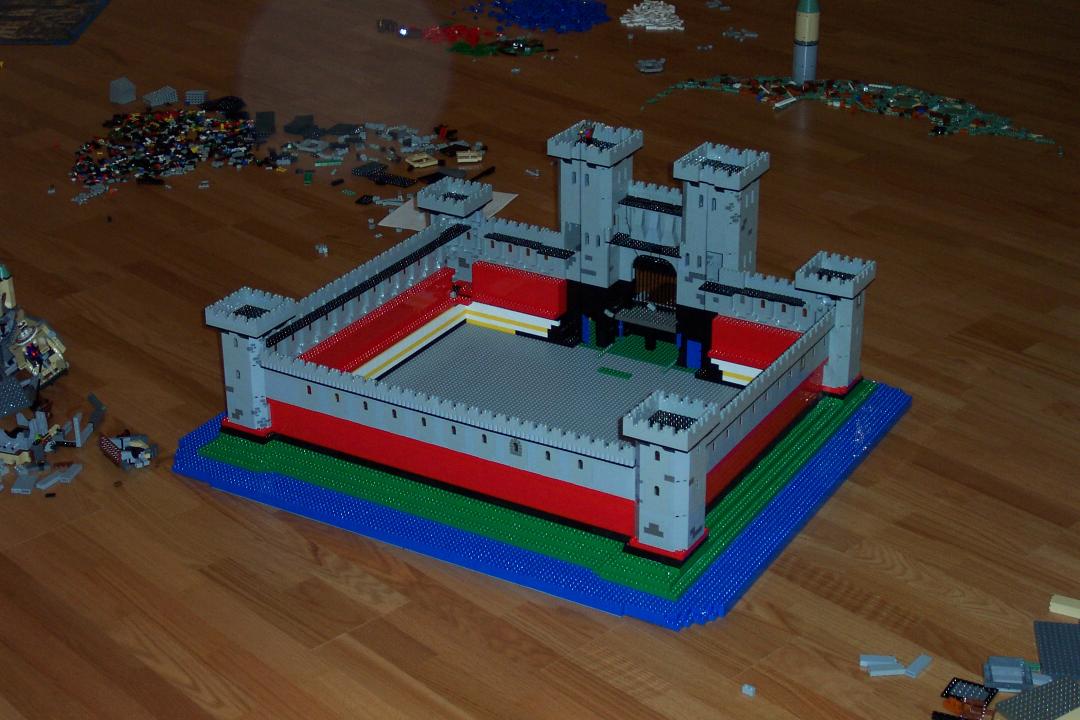
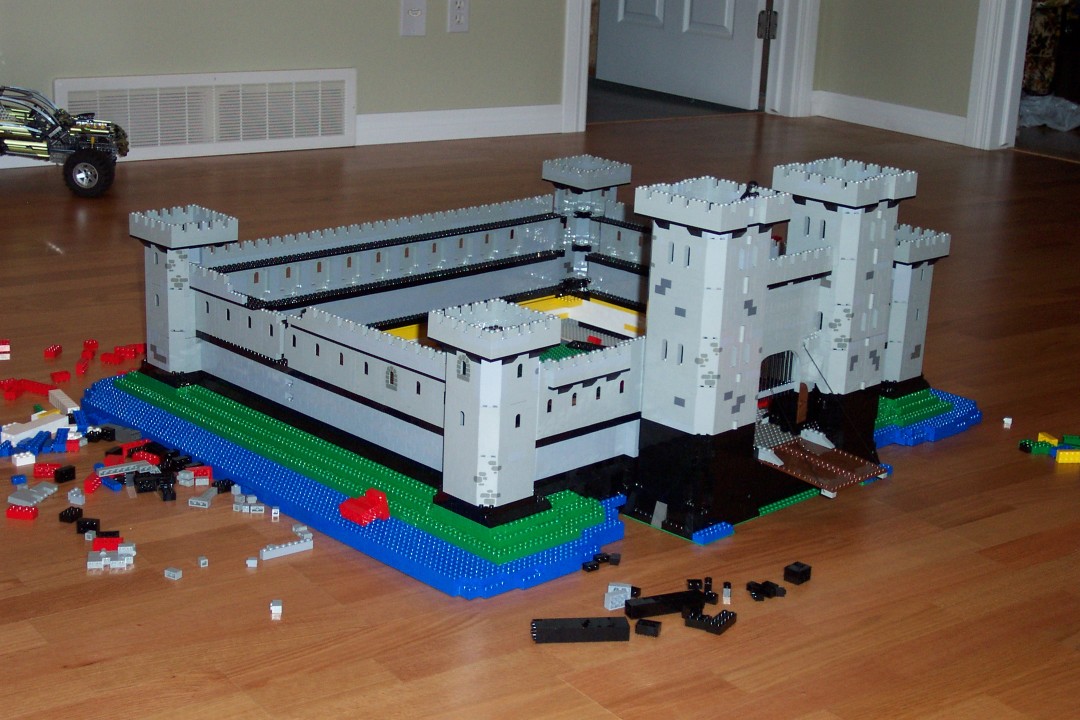
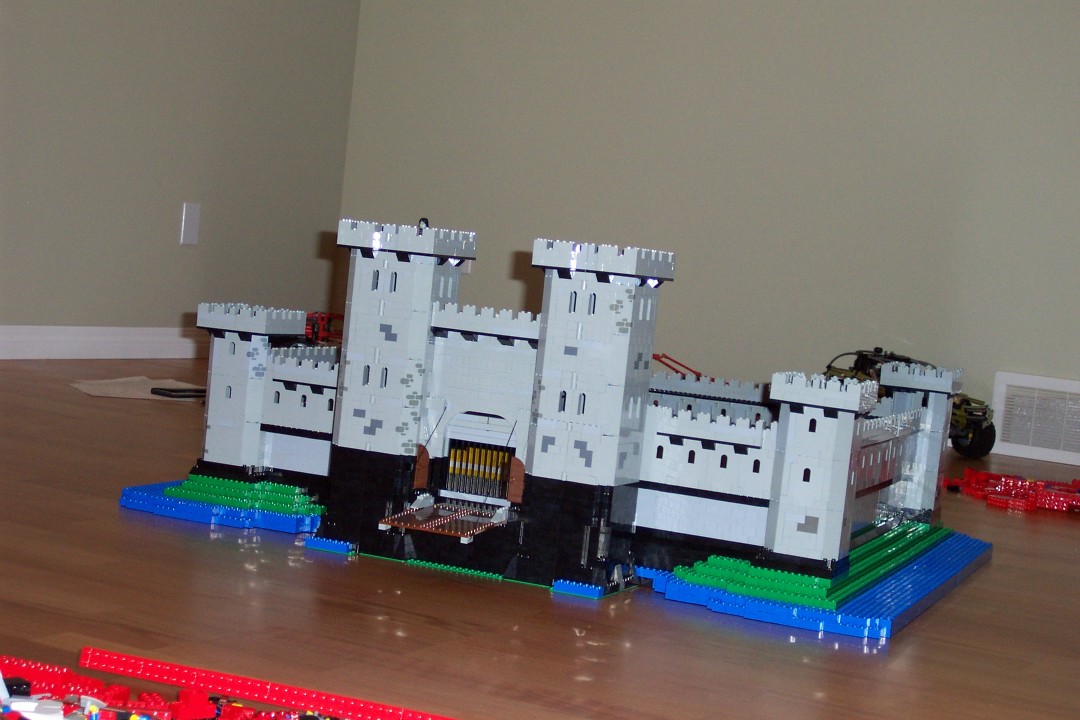
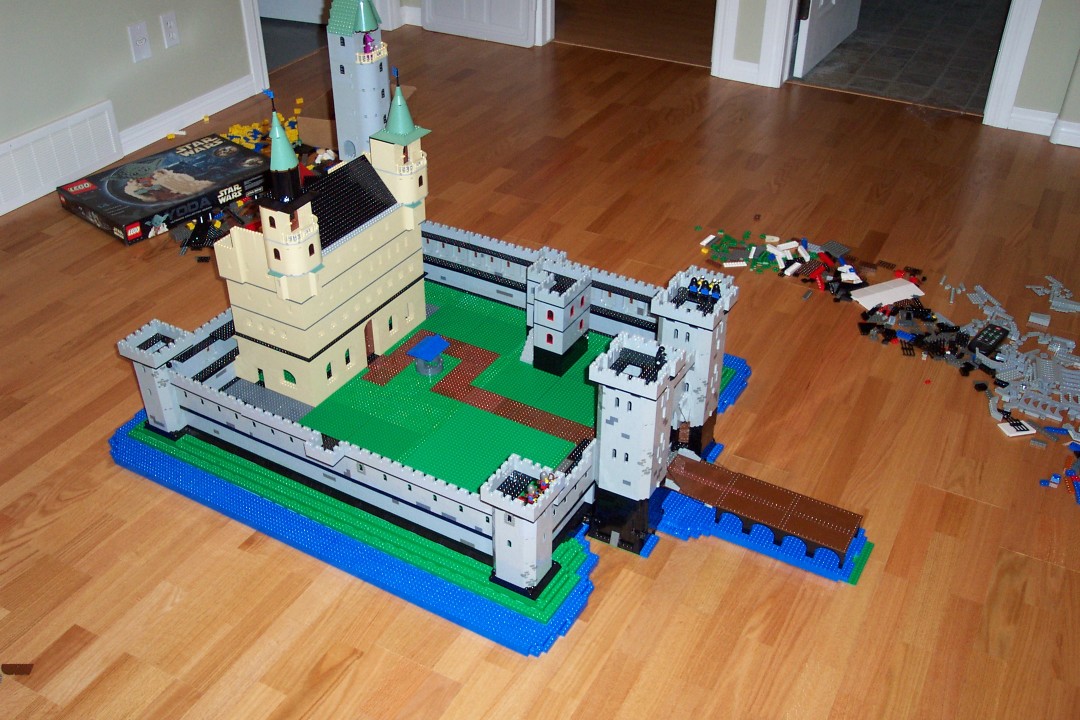
Another shot of the 'finished' castle.
One last view. Now I need to complete the insides. To this point, it's taken one week, 'working' about 8-10 hours per day to get the castle to what is seen in this picture.
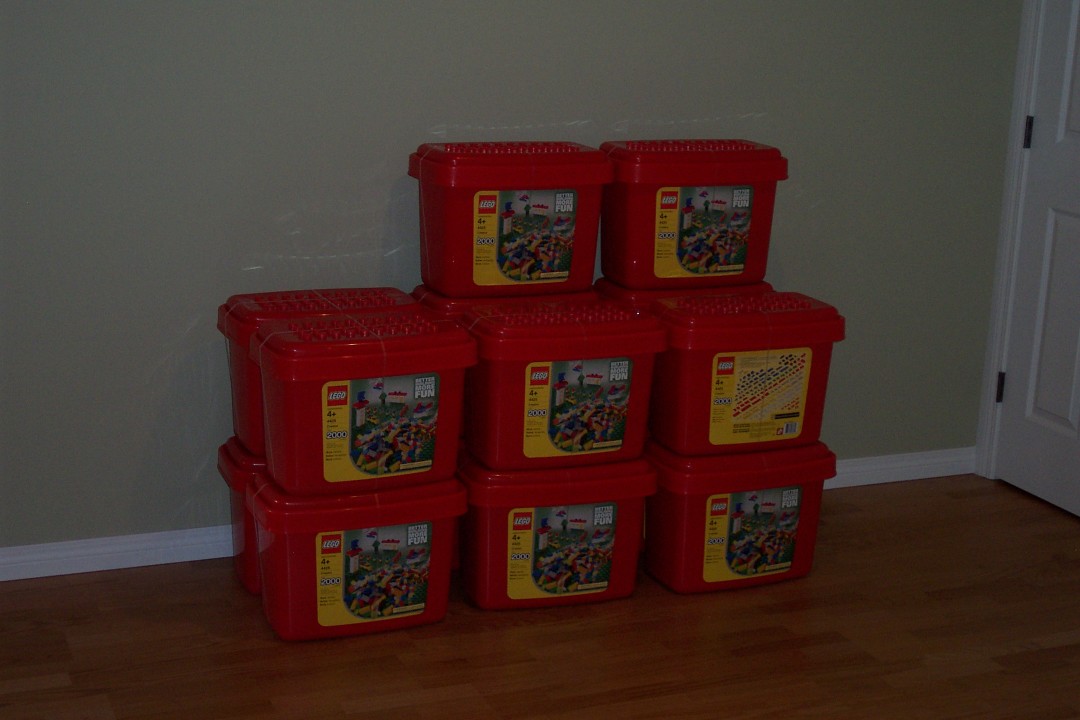
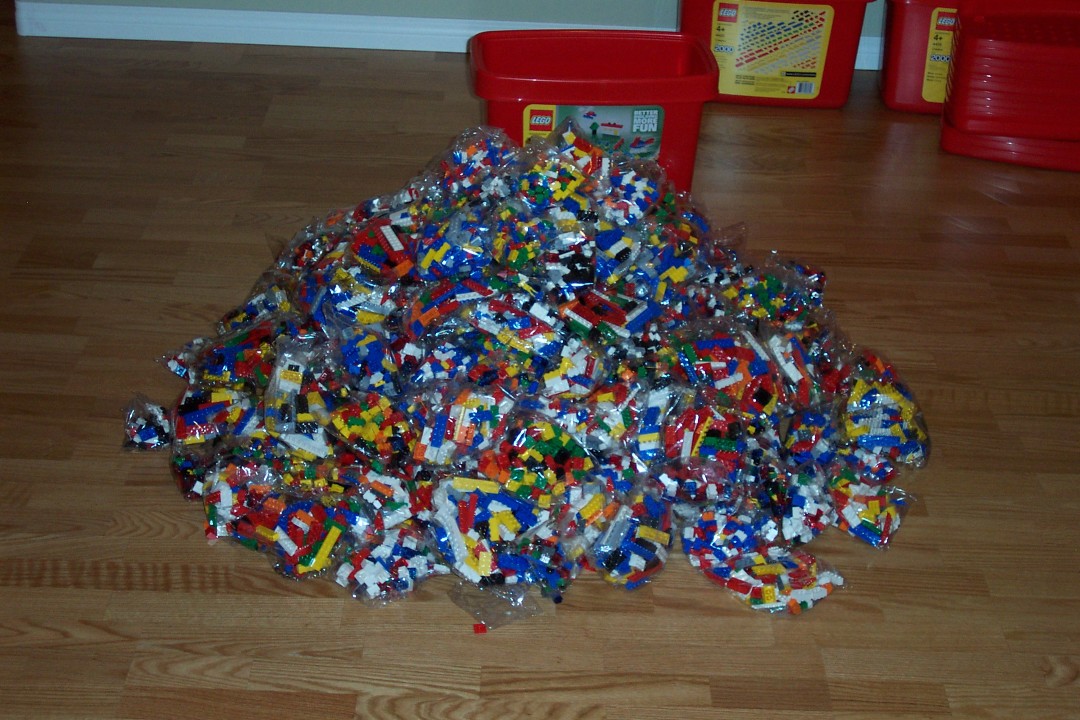
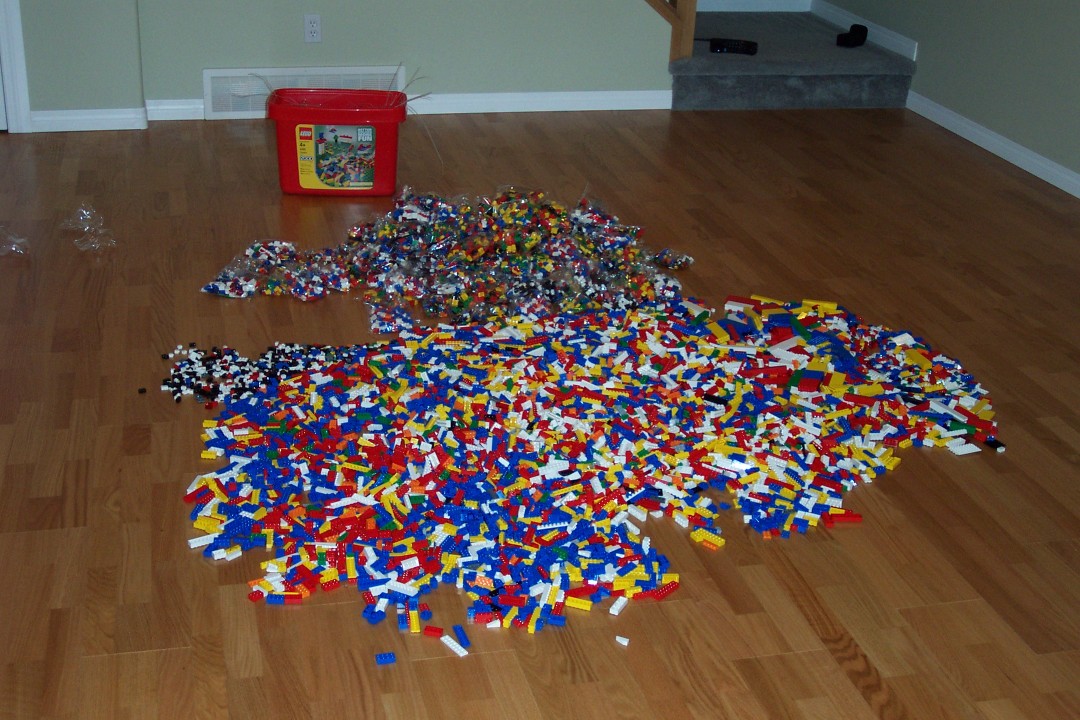
Bulk bricks by the busload! 2000 piece buckets, at a mere $28.45 each after taxes! Yes, I was good, and left lots of buckets for other kids to buy.
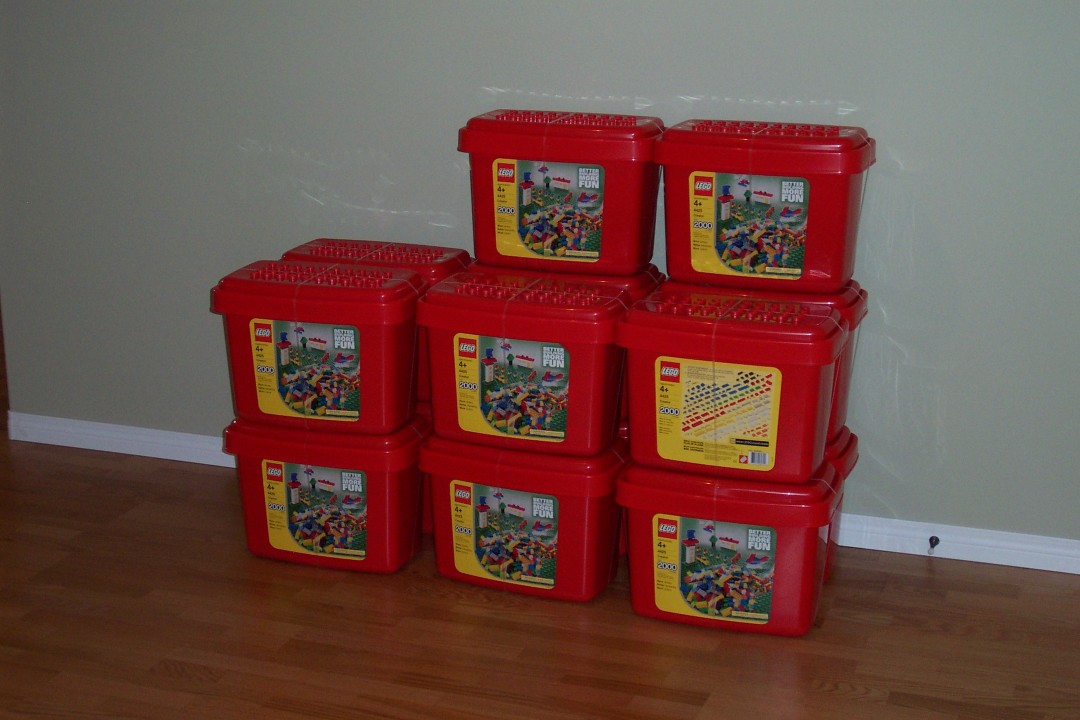
another view of the buckets.
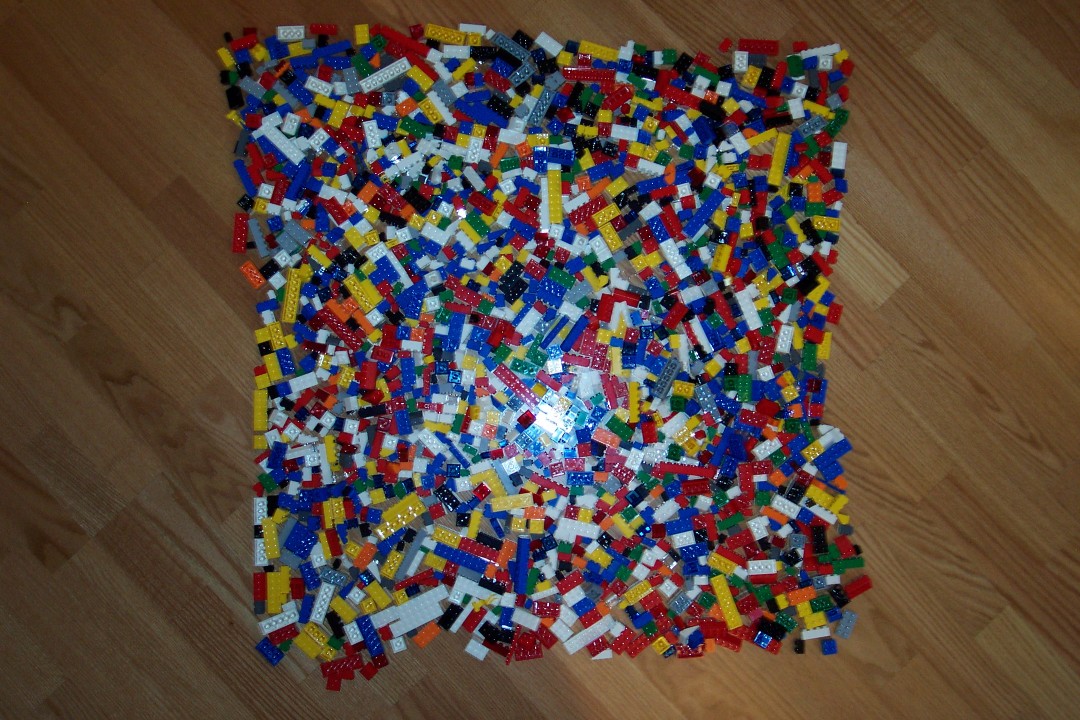
Top view of contents of one bucket.
another view of contents of one bucket.
contents of 14 buckets.
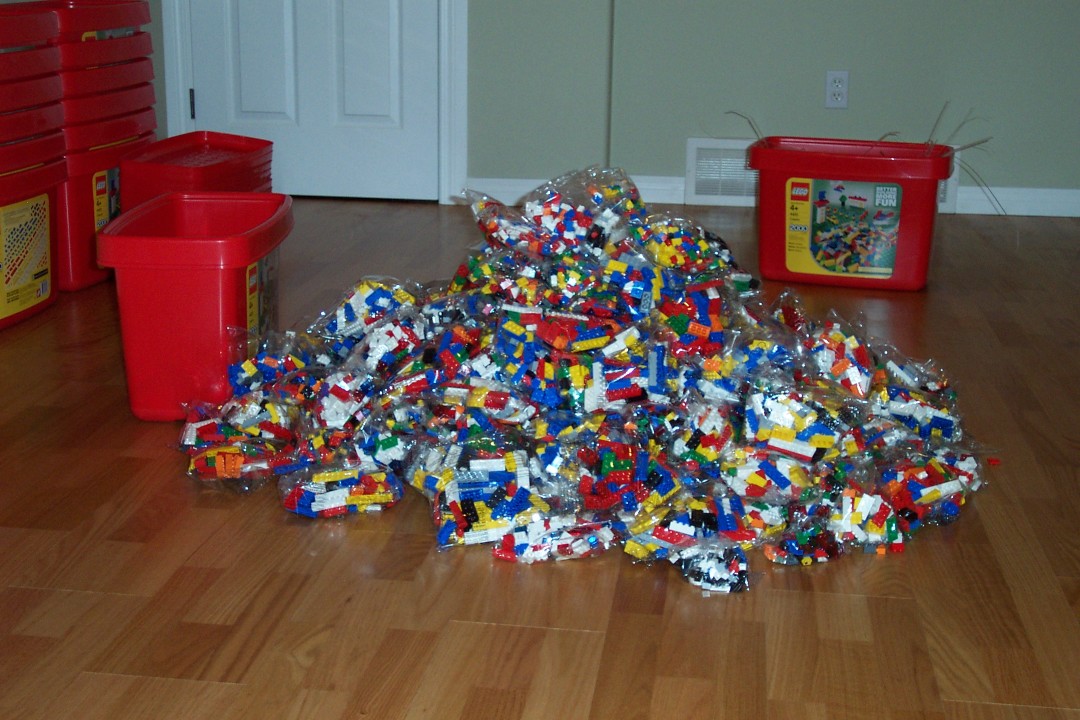
and again.
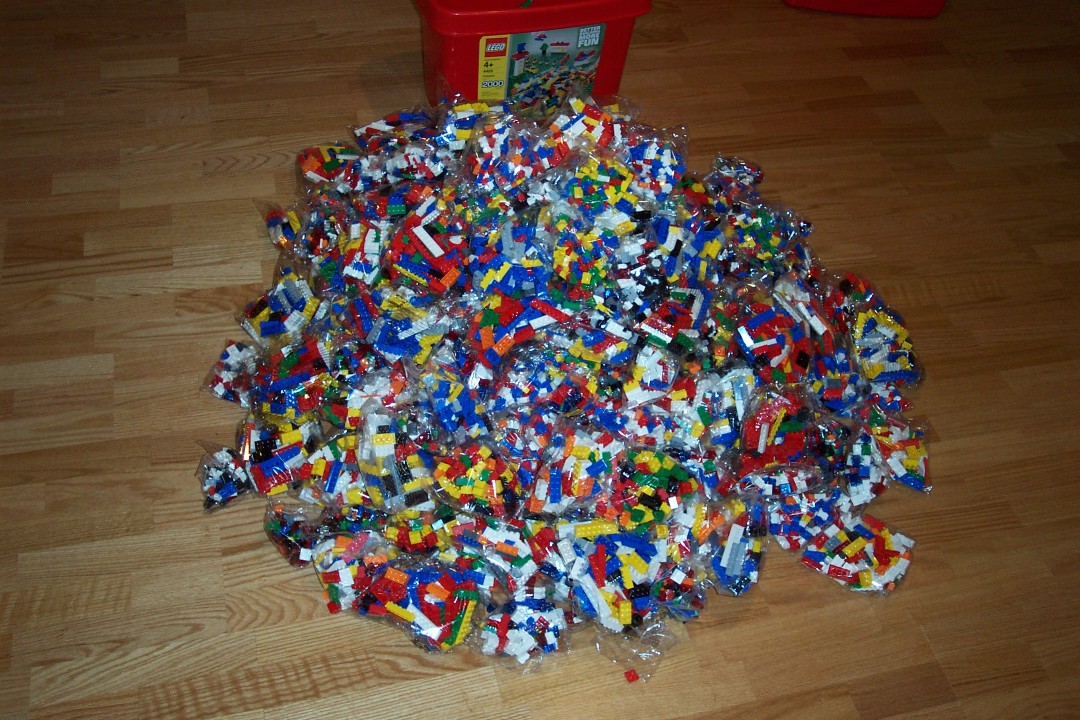
top shot. Yes, that's a few feet deep.
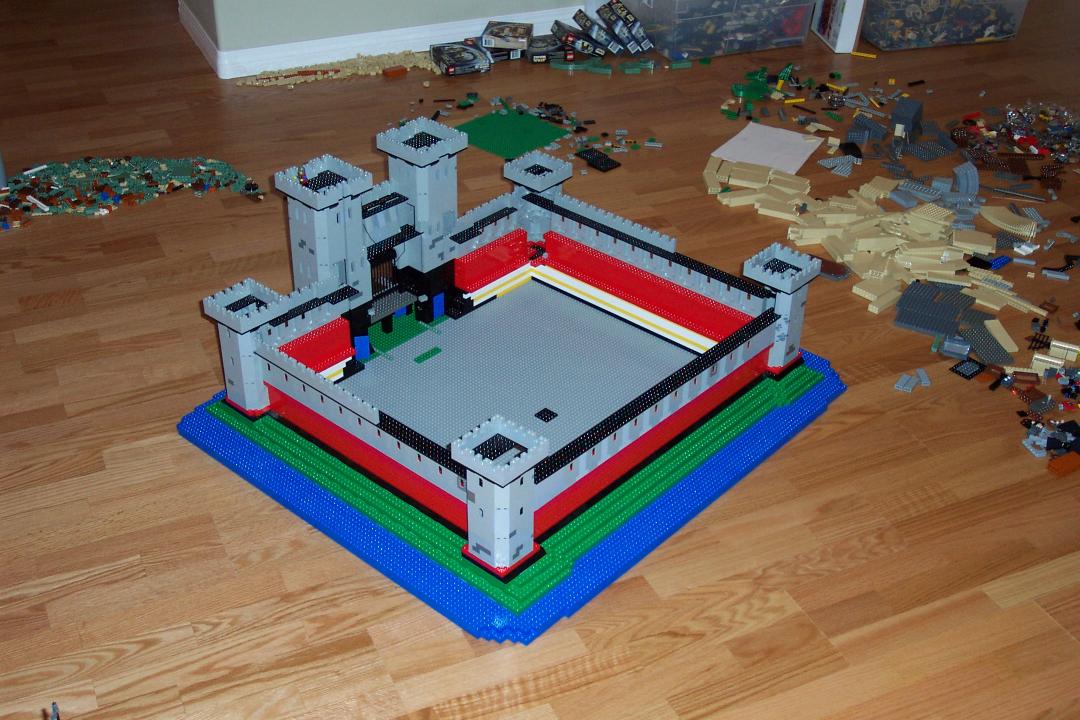
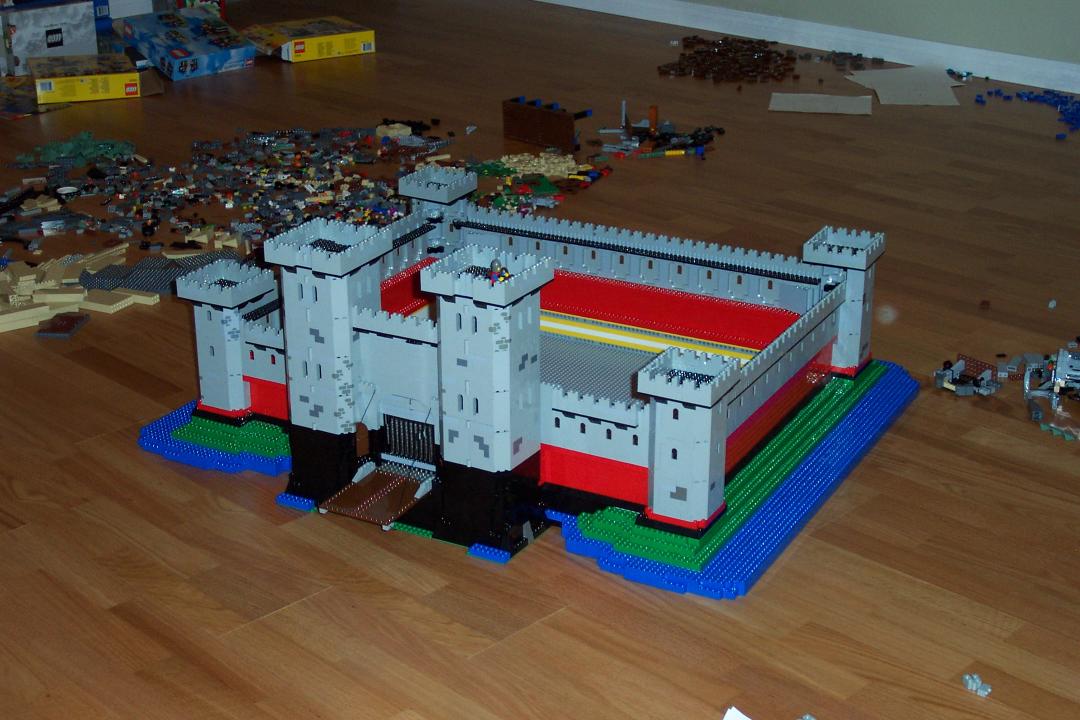
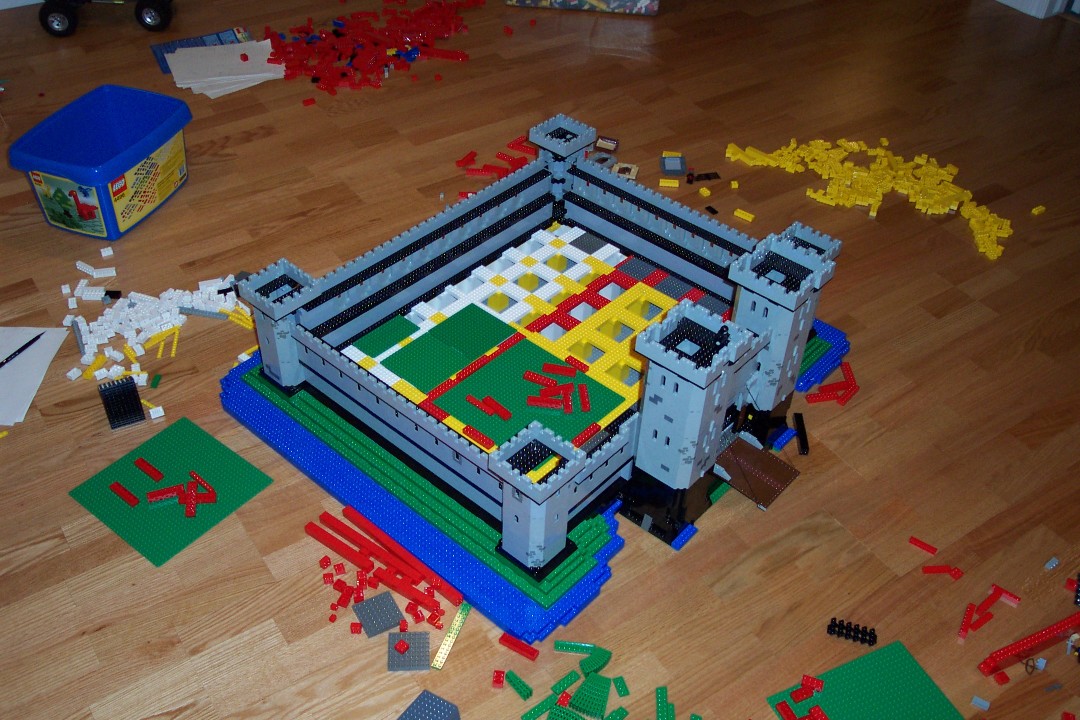
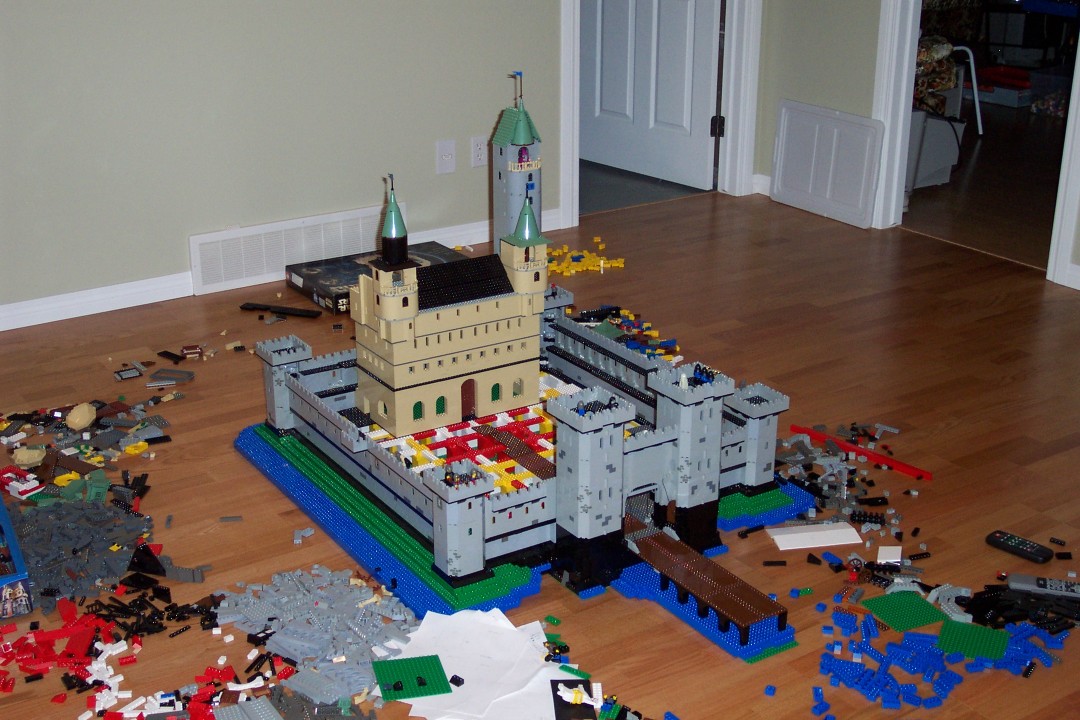
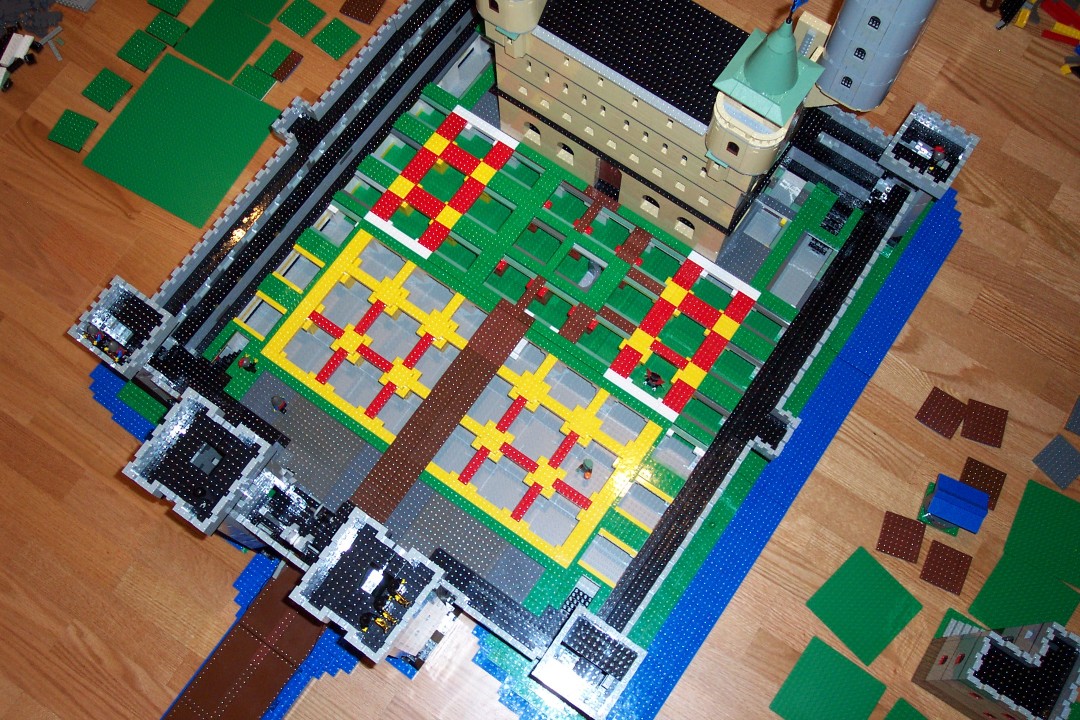
After a quick consultation with the inventory specialists, the king orders the removal of the red brick from the castle. Here we see the deconstruction of the walls, and starting to rebuild.
Closeup of starting to re-do the red bits of the castle. Care was taken to not wreck any more of the upper walls than was necessary.
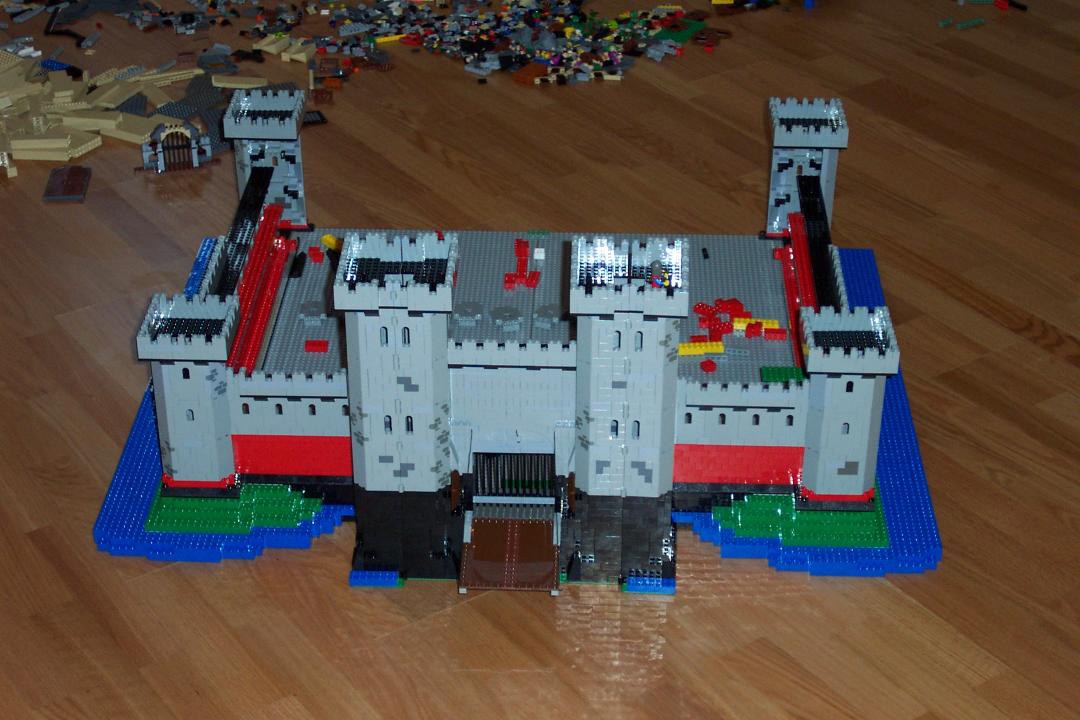
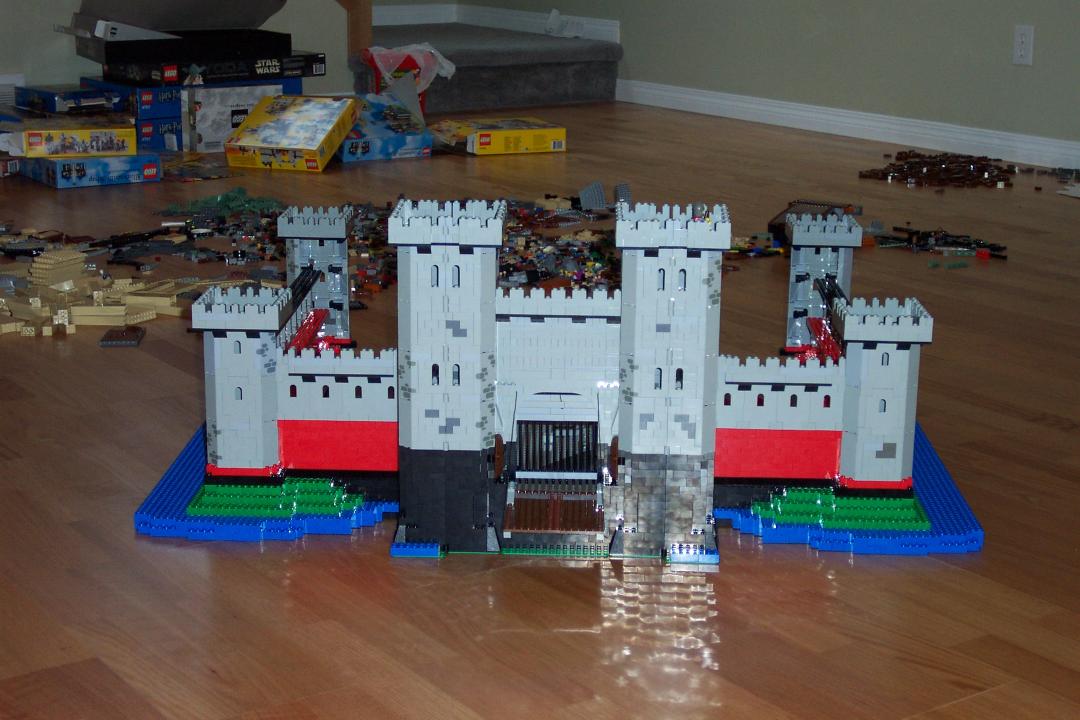
Tada! Freshly constructed castle, looking much more like a castle.
Yes, it took some time to un-bag all that LEGO. Still more to go.
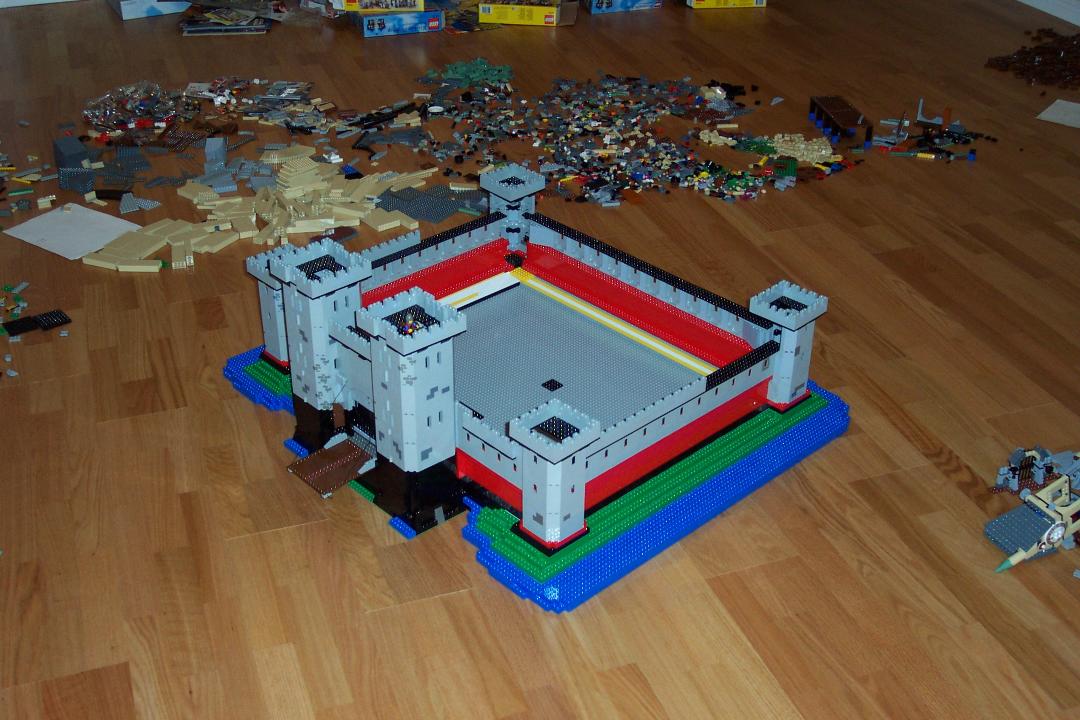
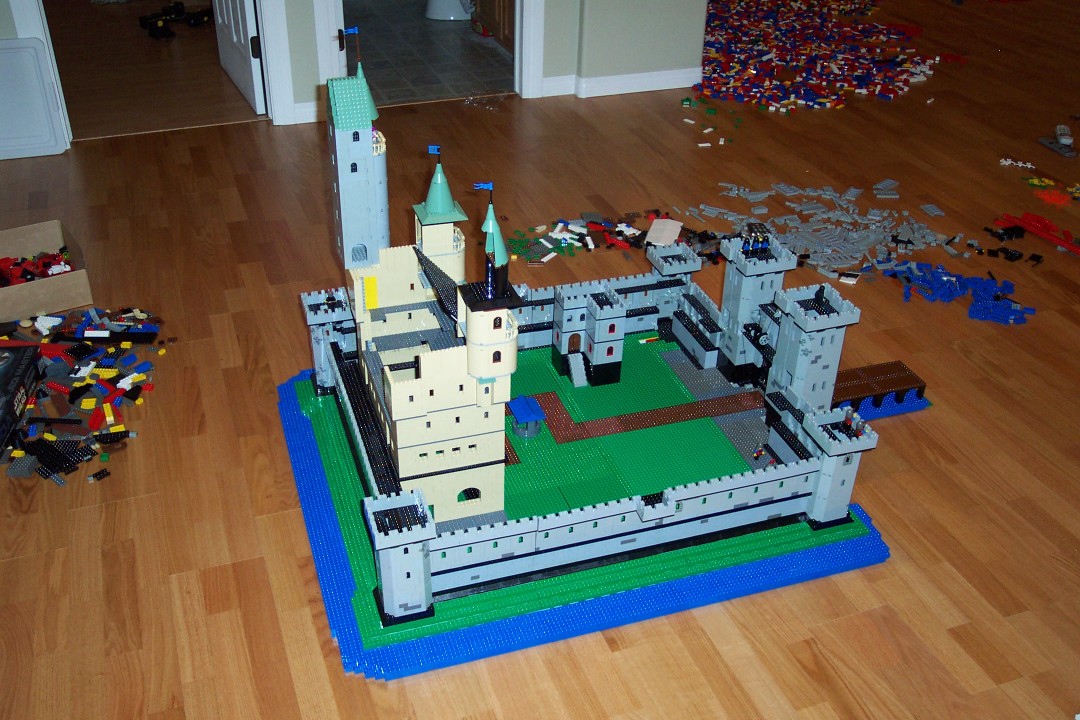
the new-look castle.
and a side view. Looking much better than the 'red' version.
new castle, from the front.
another front shot.
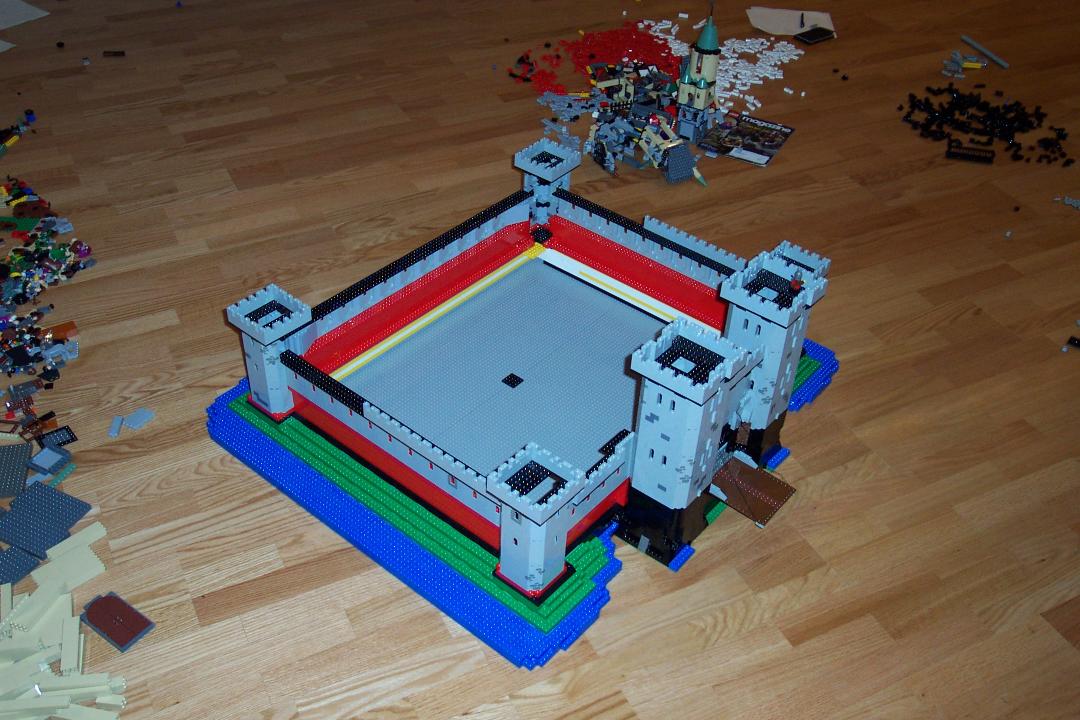
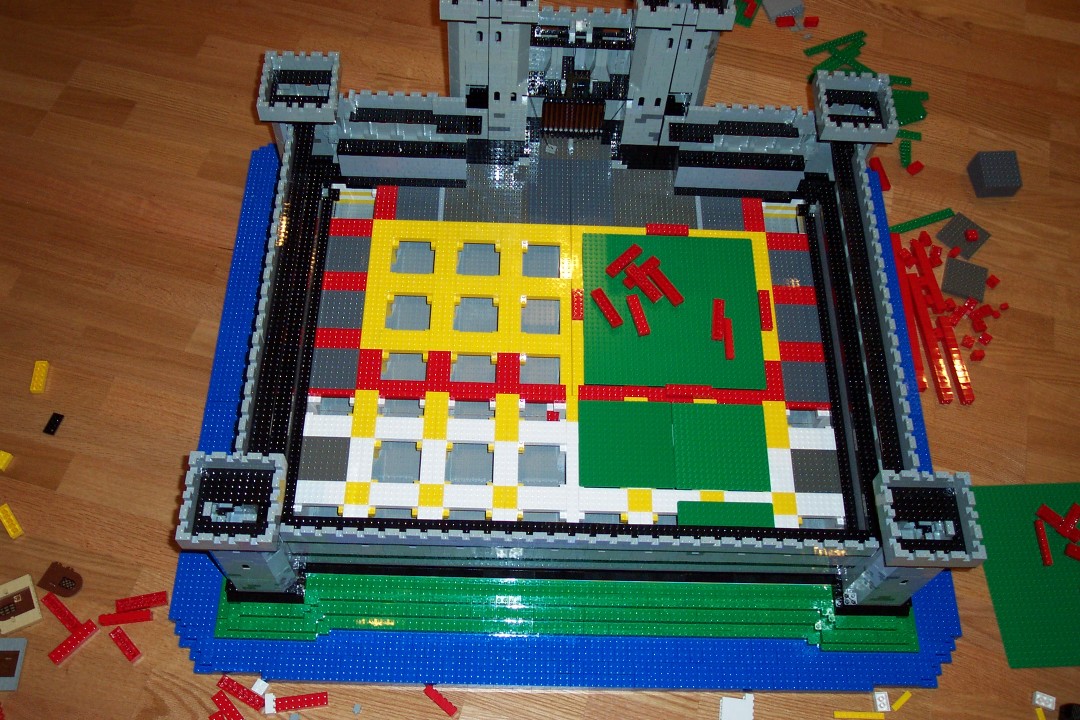
a view from the top (duh).
starting to build the dungeon/catacomb layer.
another shot of the dungeon. This part was over-built. No problem for a full-sized adult to stand on the pillars. Since this was a bit of overkill, the dungeon has been weakened somewhat now, but it still strong enough to support an adult standing on it.
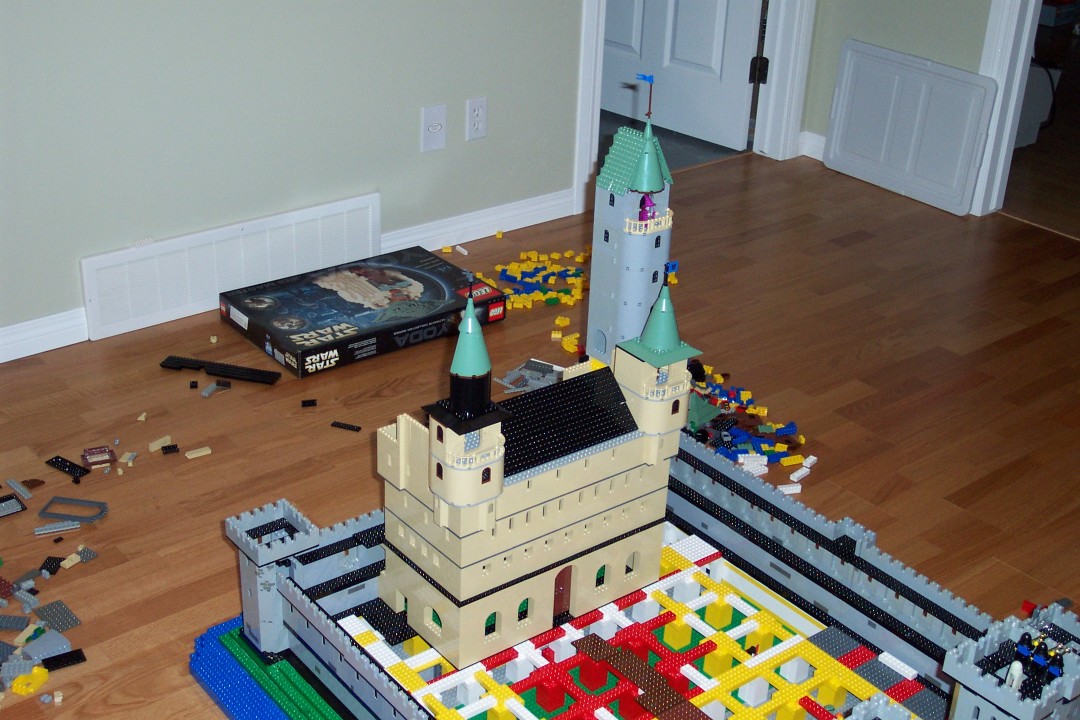
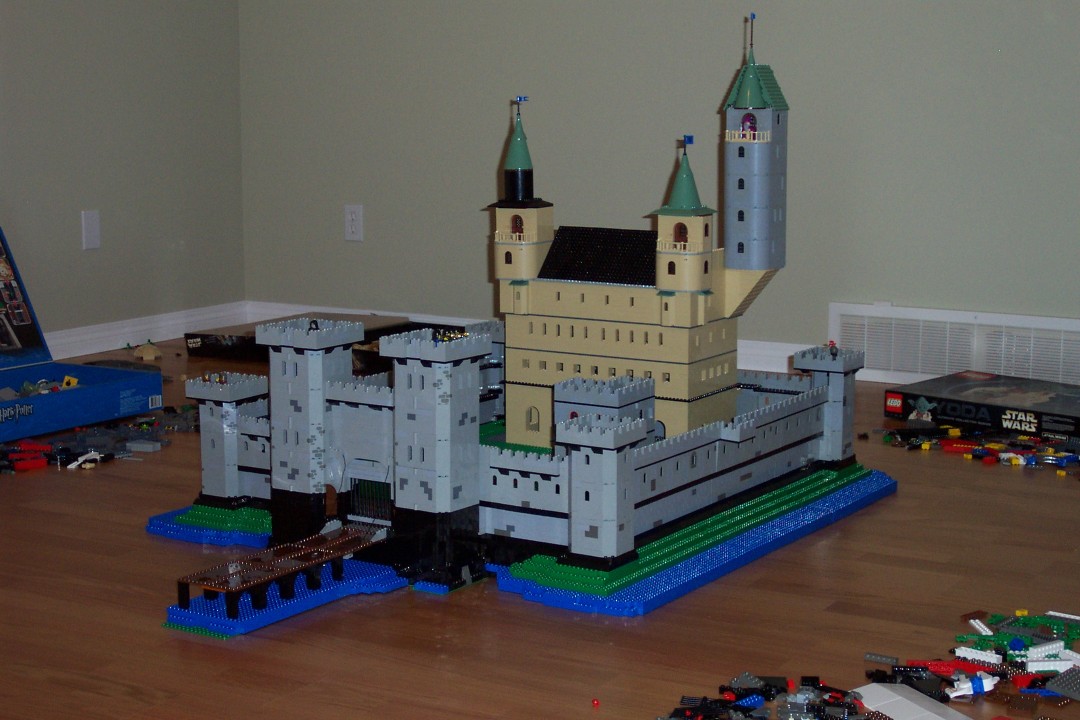
Ah yes, the kings castle, complete with a couple of small towers and a larger wizard's tower.

If you look closely, you can see the wizard standing in his doorway. (More on him later)
another shot from the side. Things seem to be a bit cramped in the courtyard.
A view from the back. In this shot, you can see the pieces used to support the canti-levering of the wizard's tower. Without the extra support, the tower would simply fall over under its own weight.
A better view of the inside of the wizard's tower, of the kings quarters, and of the canti-lever support.

The wizard in his tower.
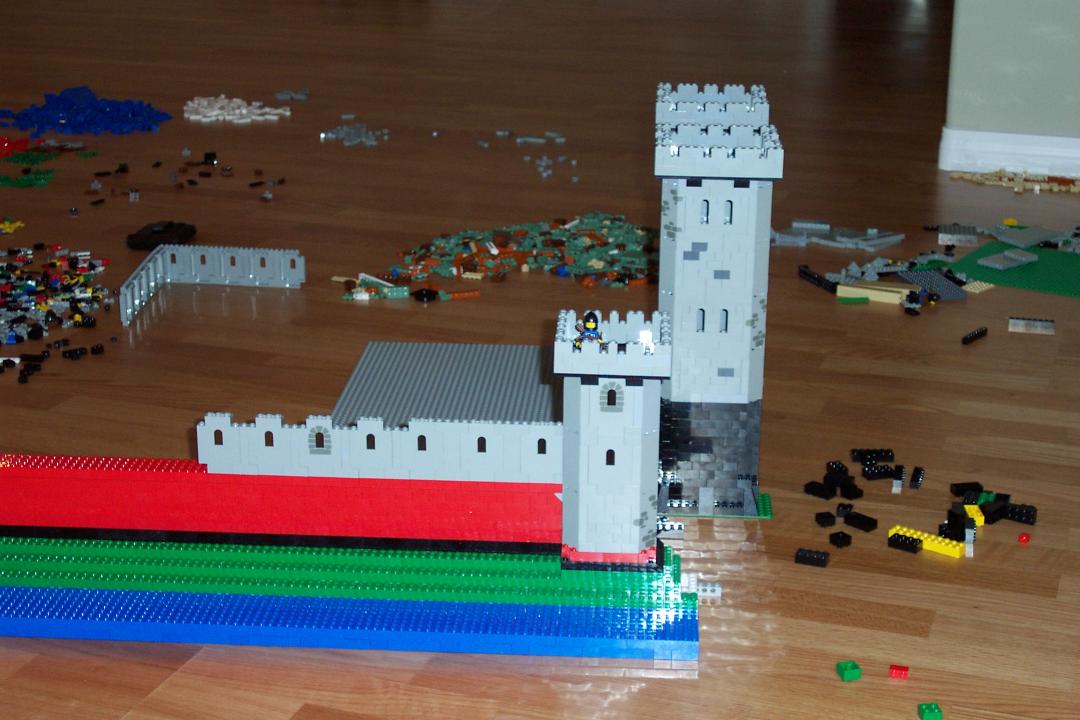
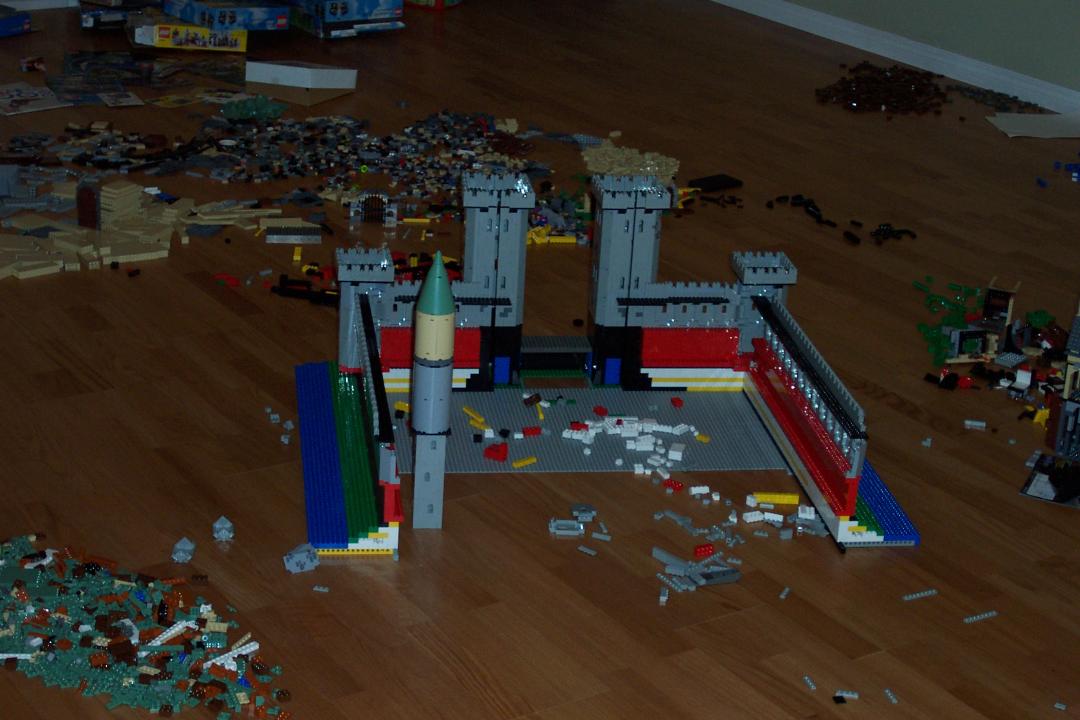
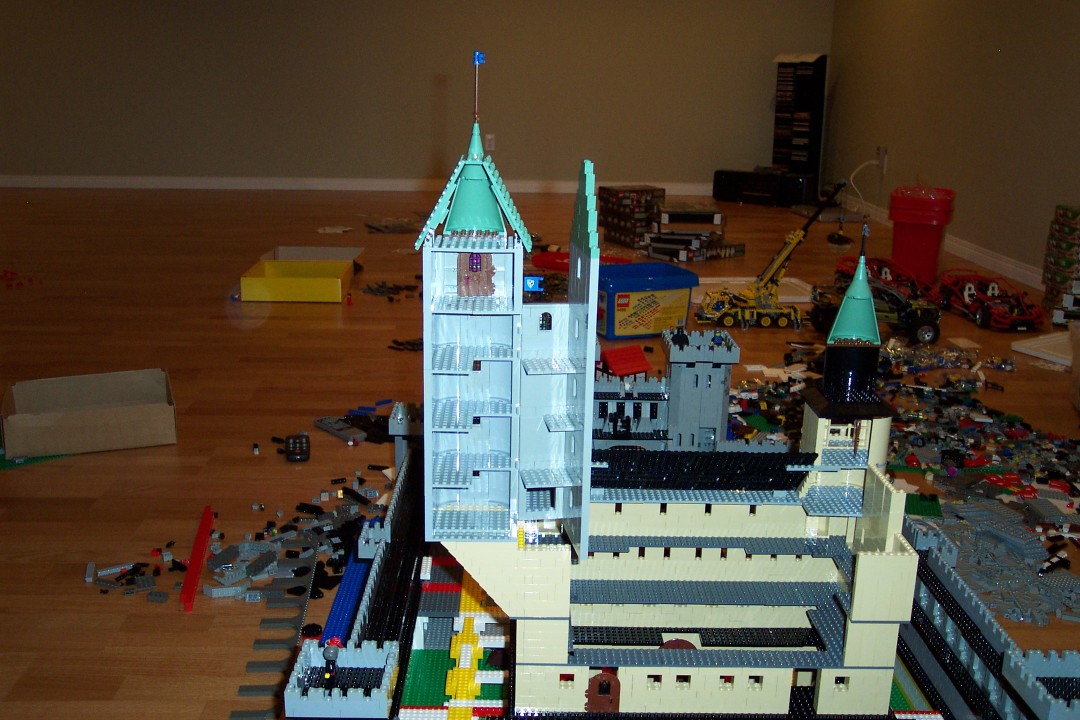
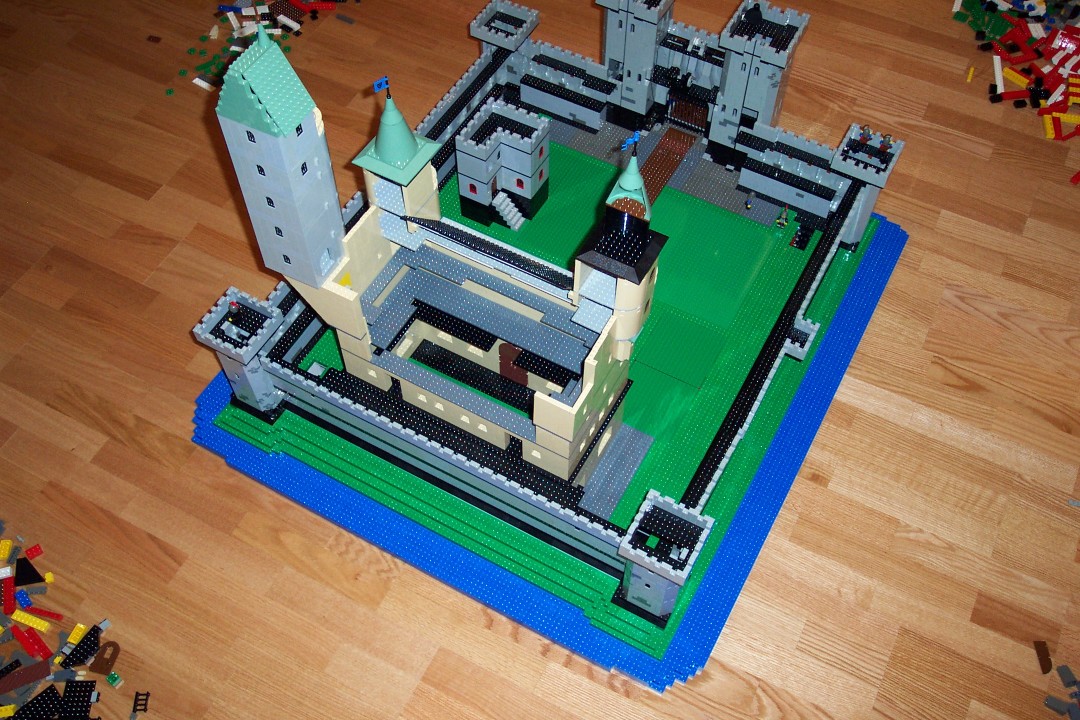
Finally getting some height to this castle.
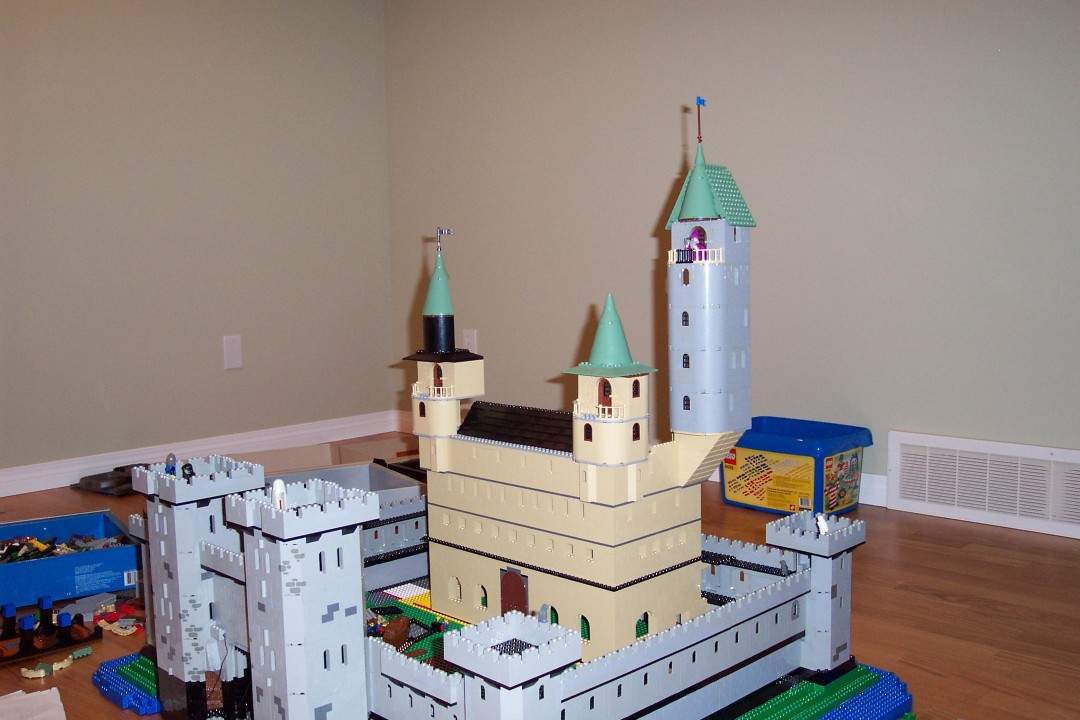
top of the flagpole on the wizard's castle is about 1 metre high.
Countryside around the castle looks like a construction zone.
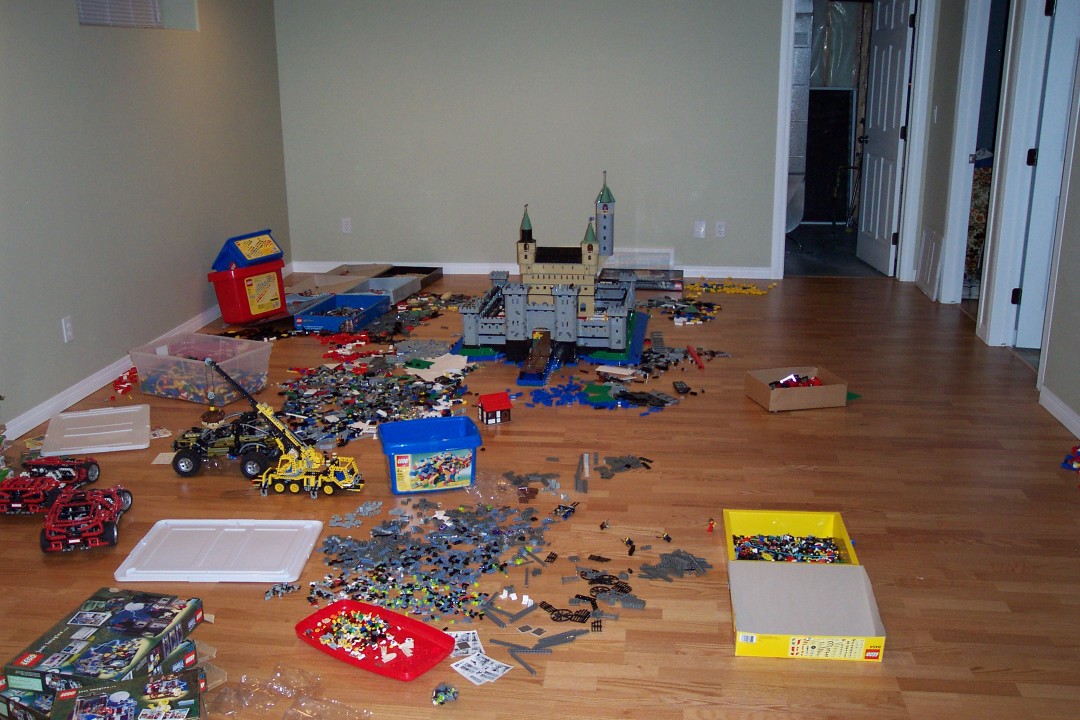
More raw materials.

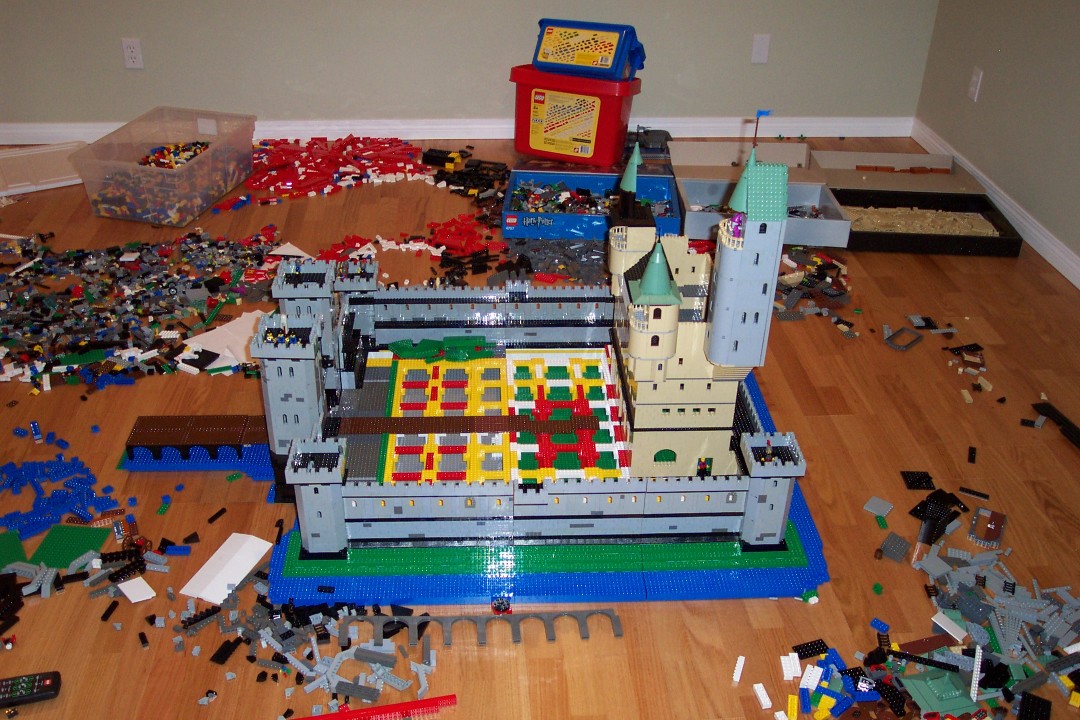
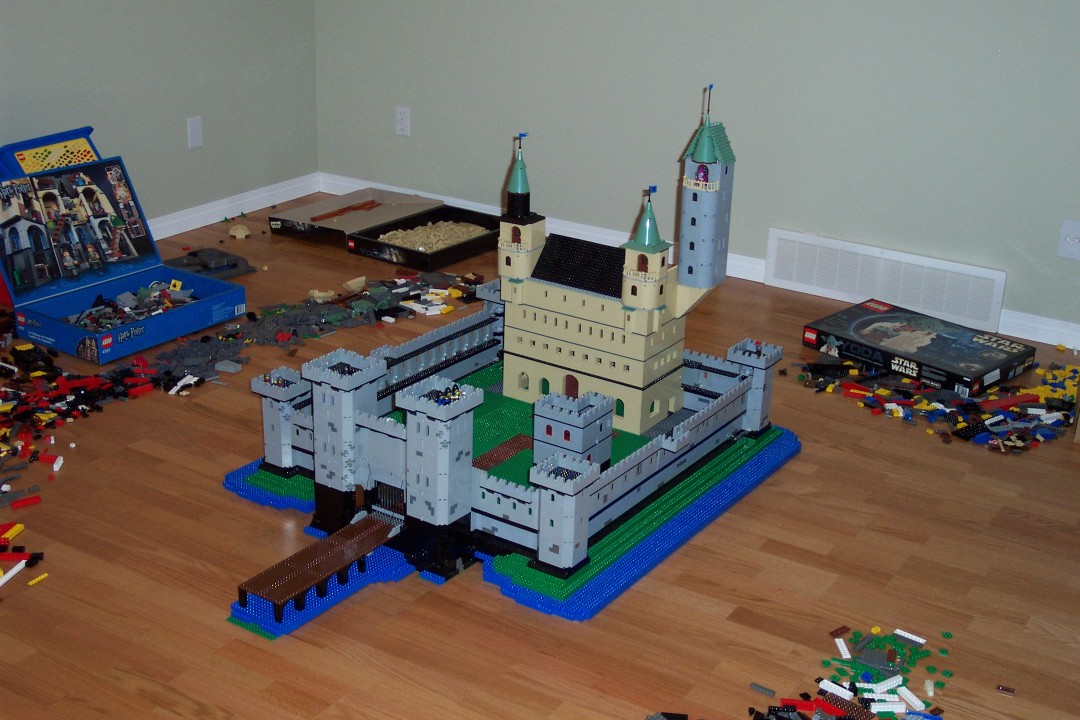
First shot of the castle with the new, expanded courtyard.
Still hard to see the expansion here, but it's there... The expansion adds an extra 30cm or so to the depth of the castle.
A bit easier to see the expansion piece. Yes, the expansion can be removed.
Wizard's tower is now closed in with a hinged door. Canti-lever bits are now hidden inside the castle making the outside appear more normal.
Wizard's tower with the door open.
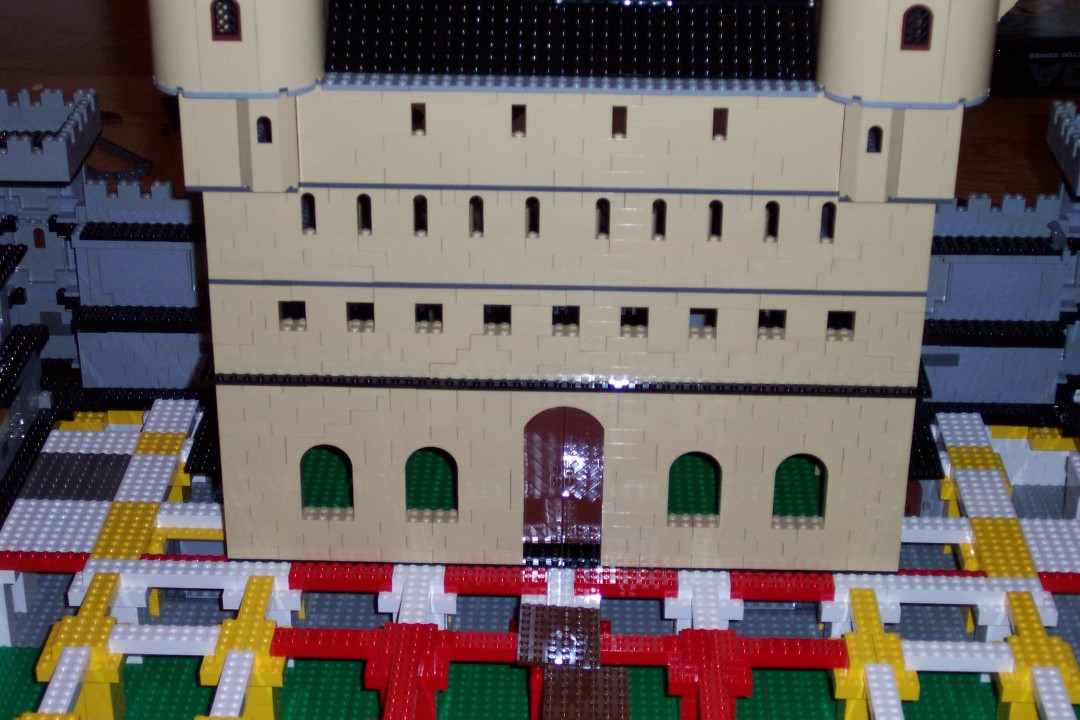
Front view of the main doors.
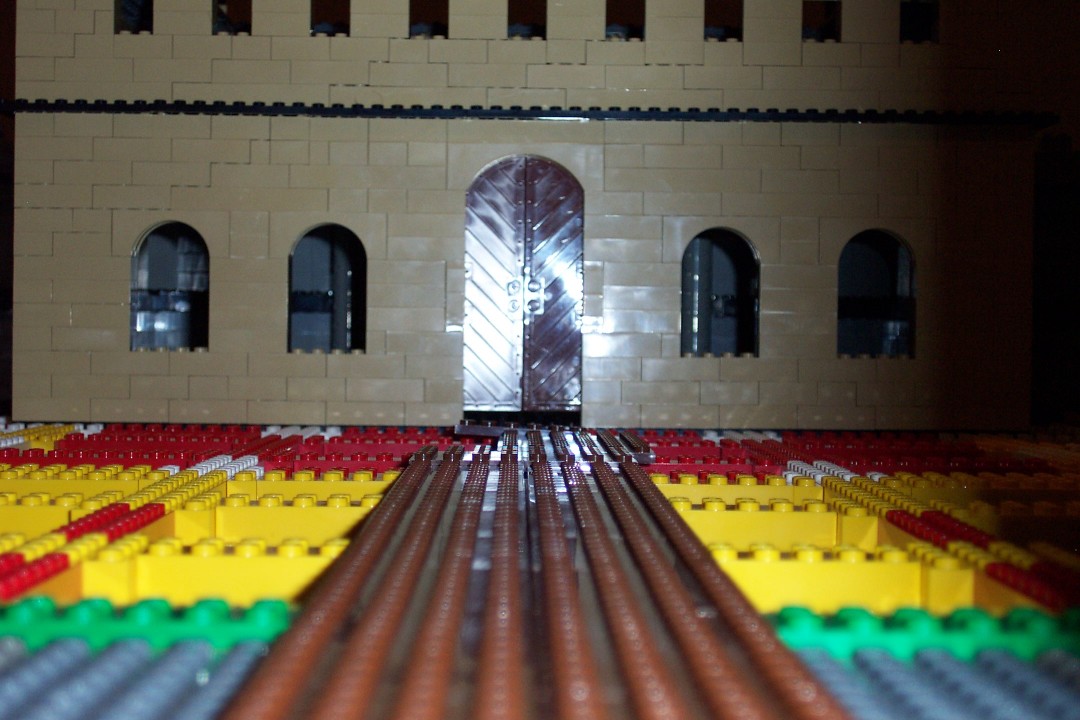
What you'd see were you mini-fig sized, and just walking into the castle.
a better shot showing the expansion of the castle.
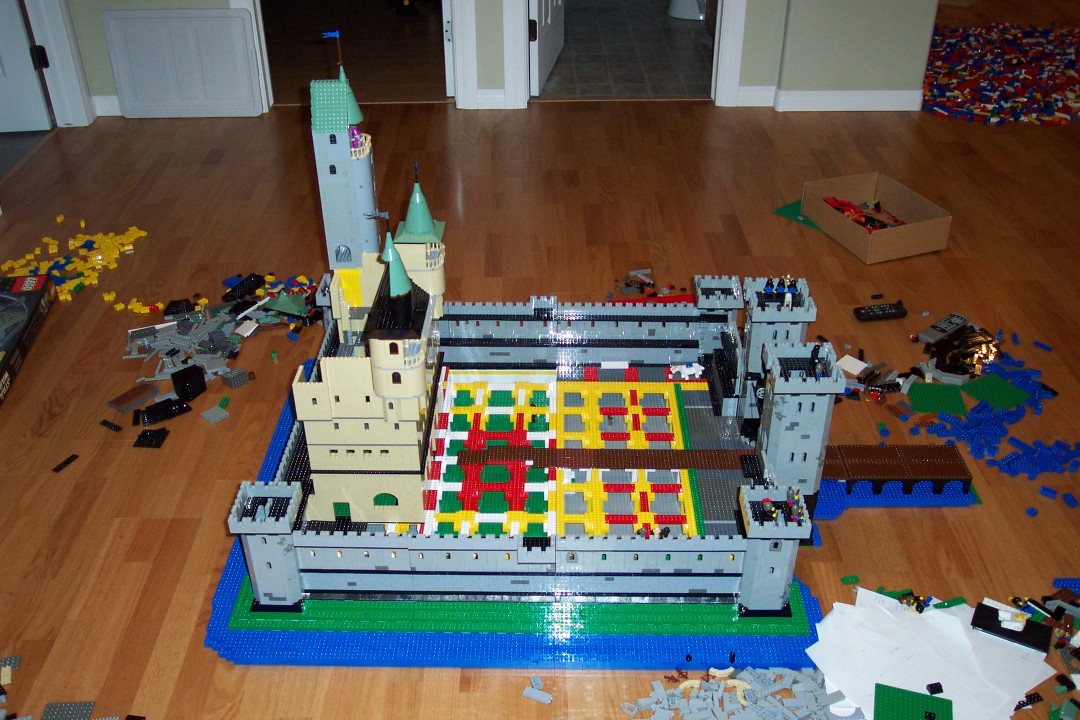
expansion, from the other side.
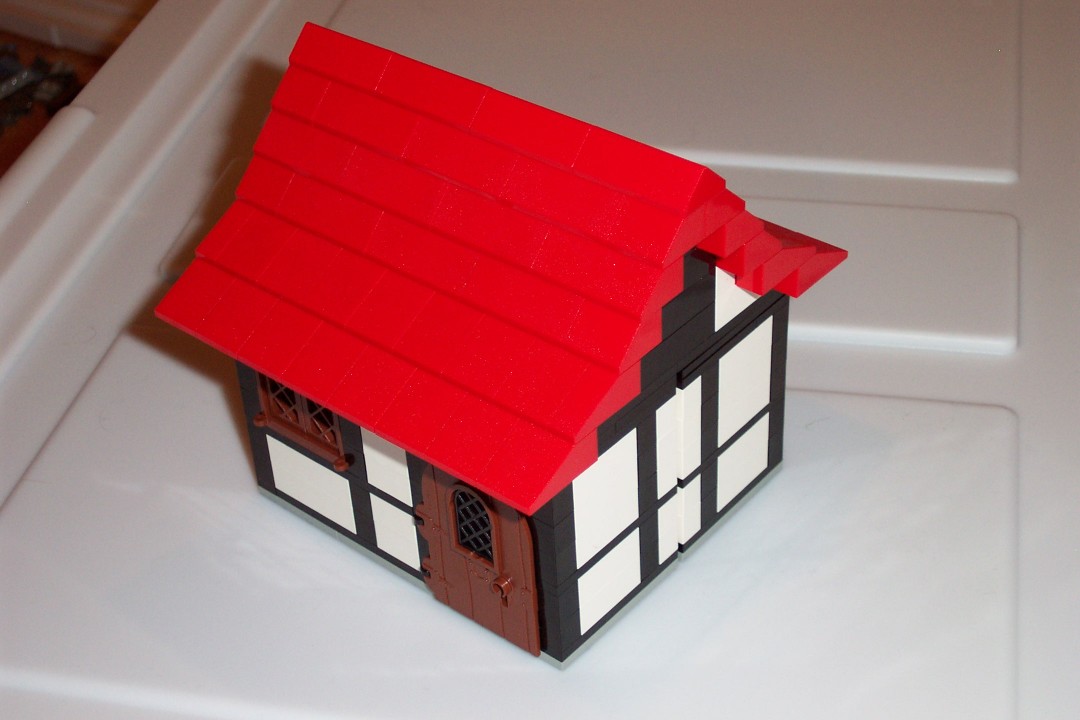
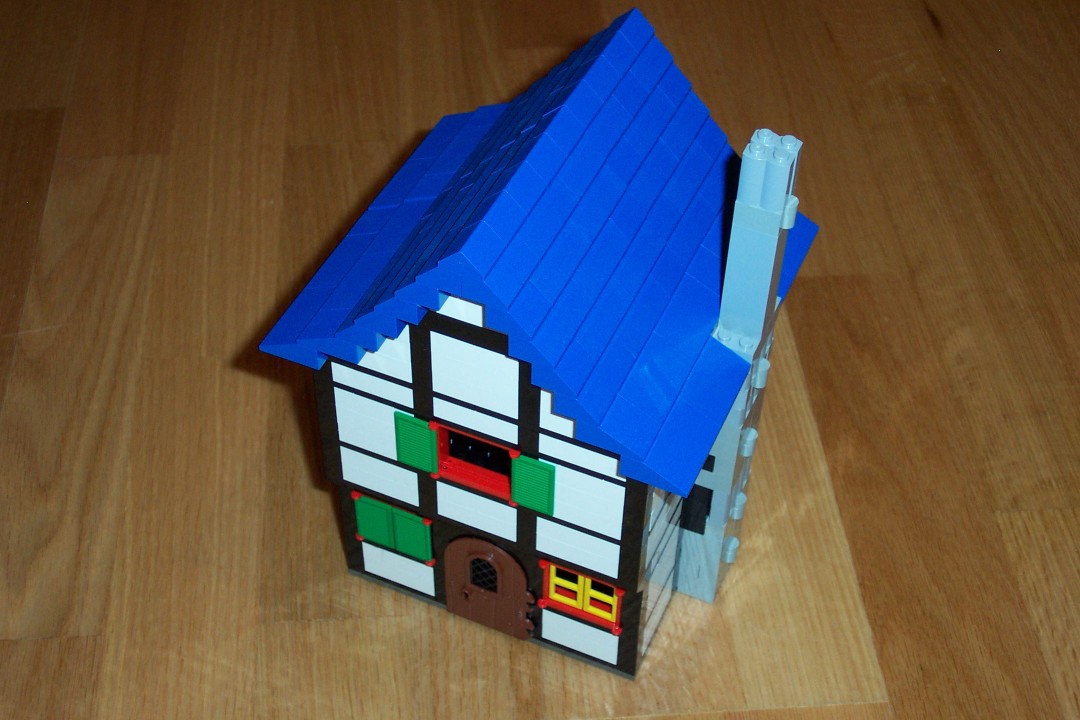
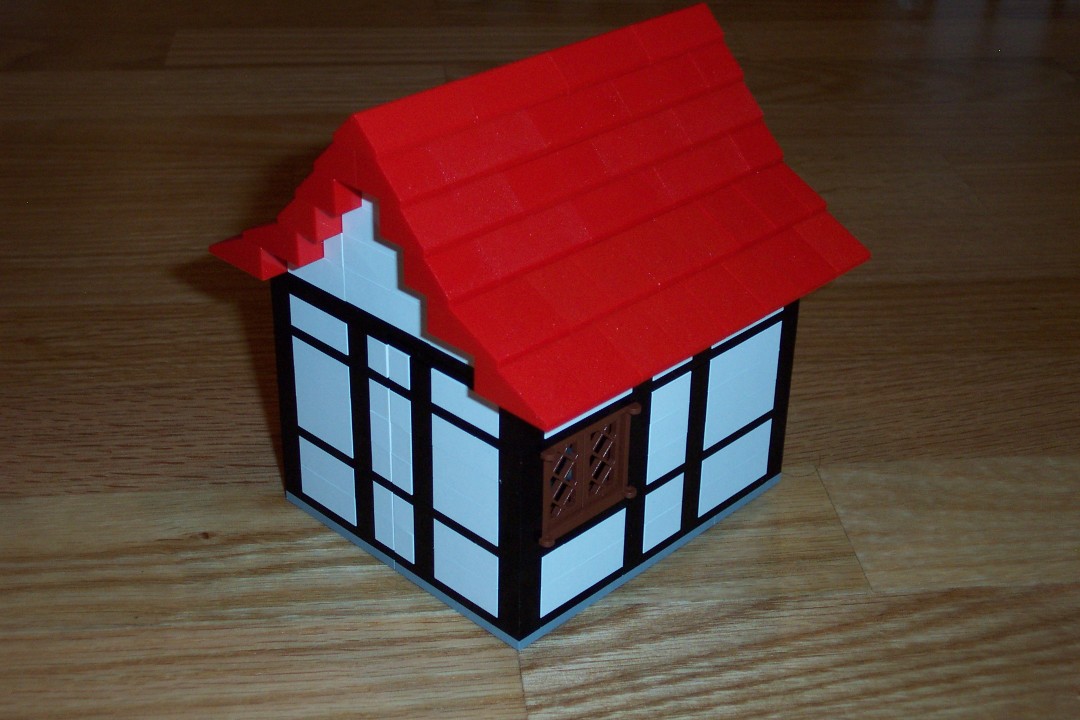
First kick at a peasant's hut. While it is mini-fig sized, it's still a bit big for a peasant!
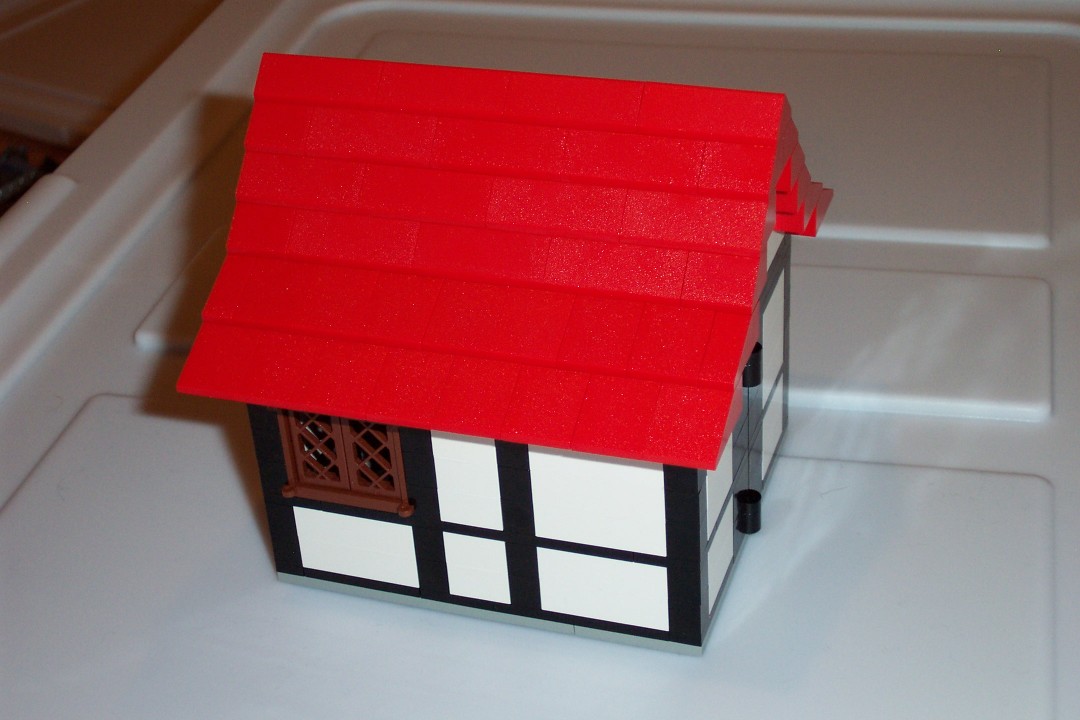
Peasant hut, rear view.
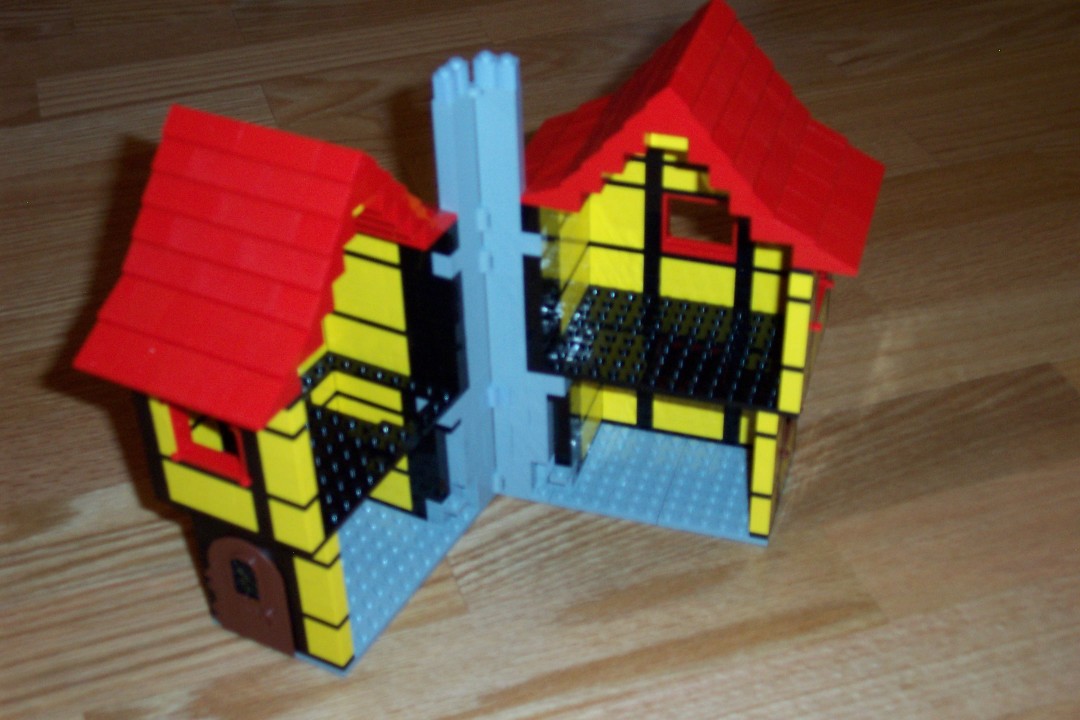
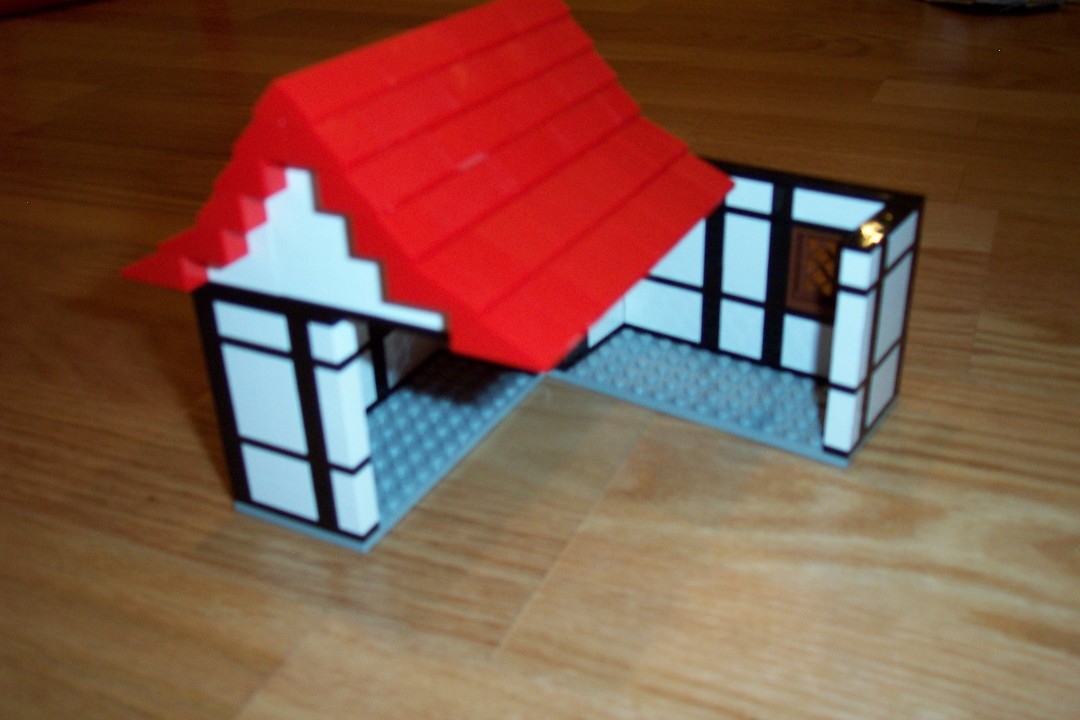
Peasant hut, opened up.
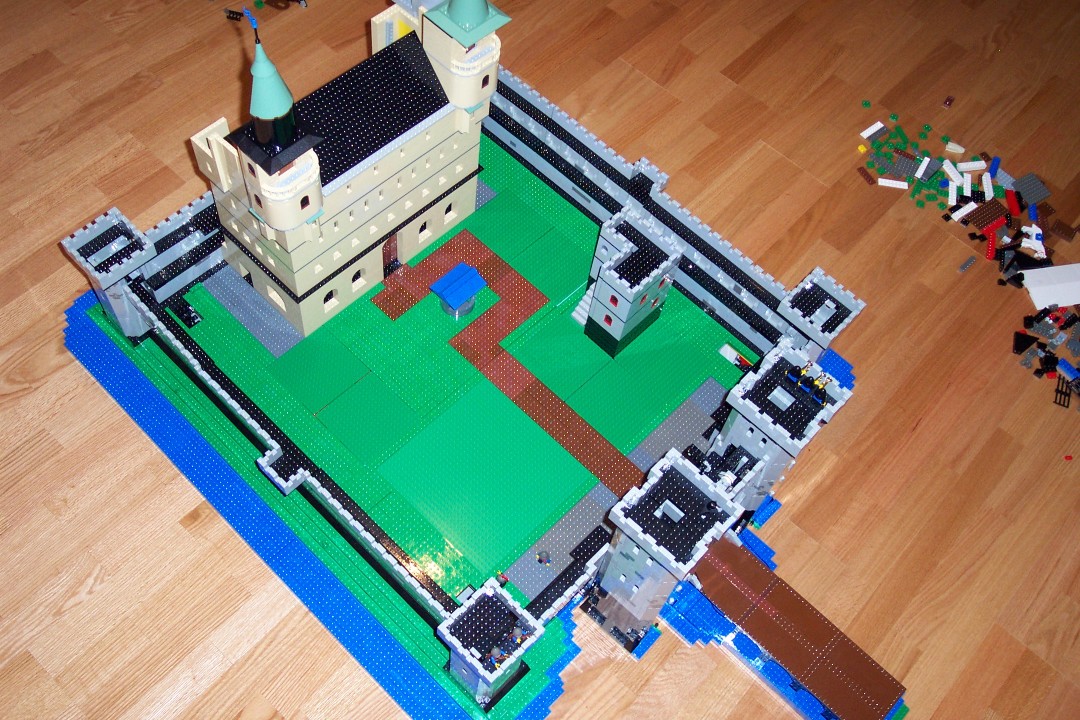
Castle with things tidied up a bit along the outside. Note a little captain's quarters or keep-type building in the courtyard.
Slightly better view of the keep in the courtyard. At this point, most of the courtyard has 'grass'.
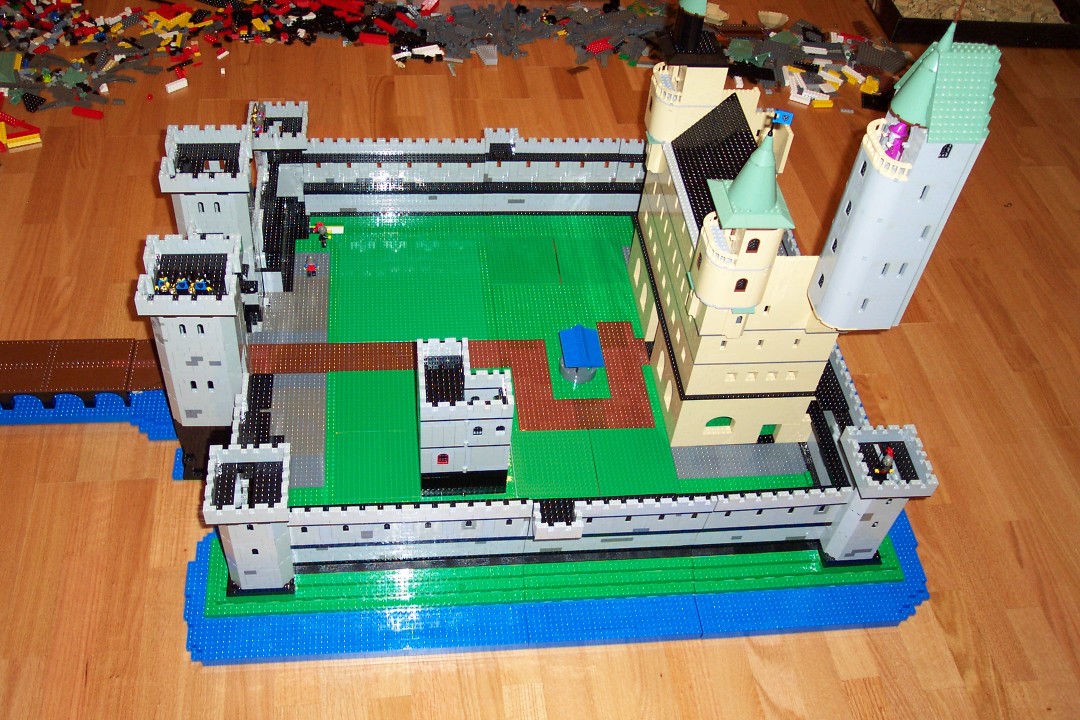
Interior of the castle, including roadway to the main
doors, and a little well.
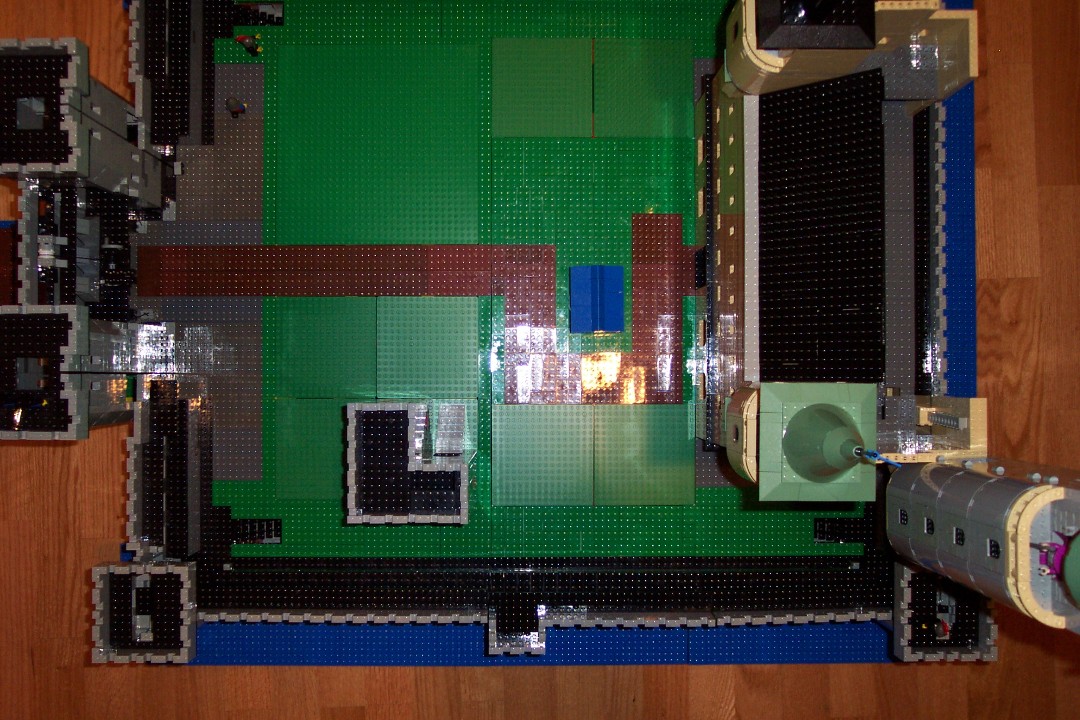
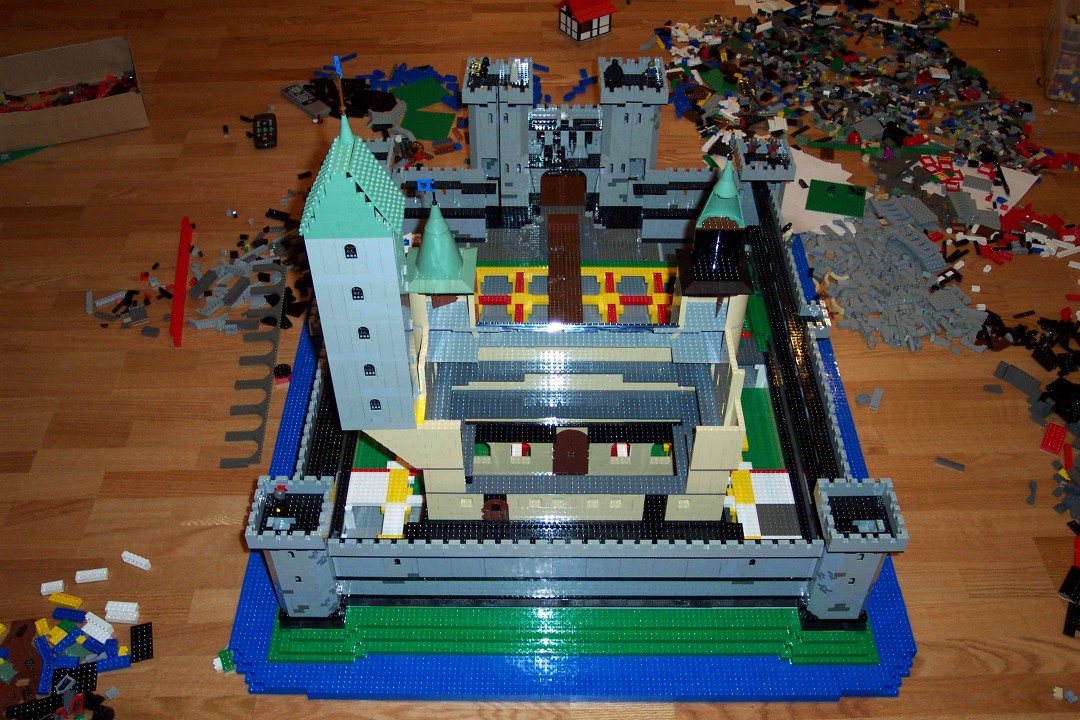
top view of courtyard
rear view of castle
Better view of the keep structure.
and from the other side.
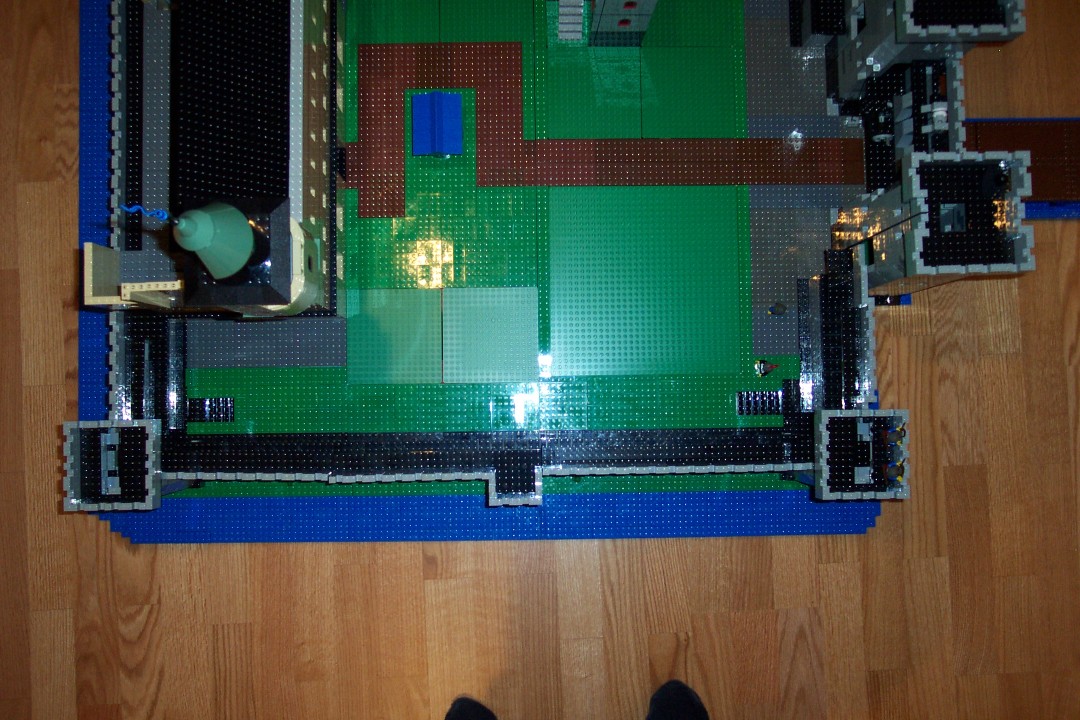
top-down from the other side. Stairs to the dungeon can be seen in each corner. Almost all of the green bits can be removed to reveal the dungeon contents below.
another top-view.

courtyard, without the 'top structures'. Dungeon is viewable.
another view of the duneon.
up-close with the keep
opening up the keep to reveal the insides.
back view of the keep
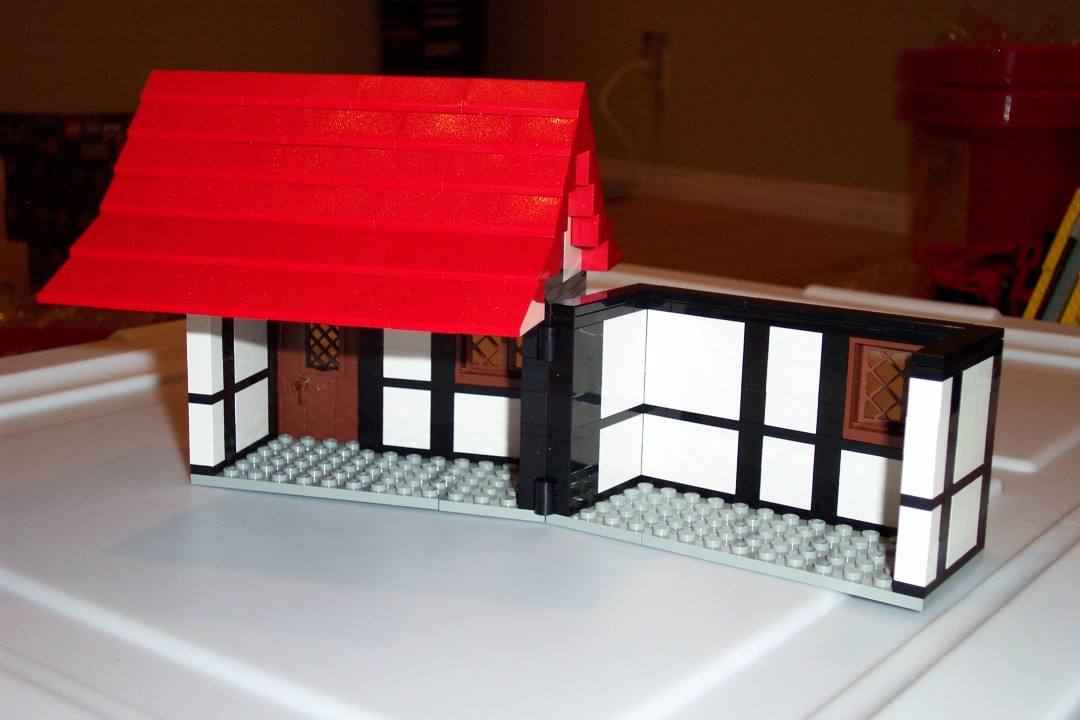
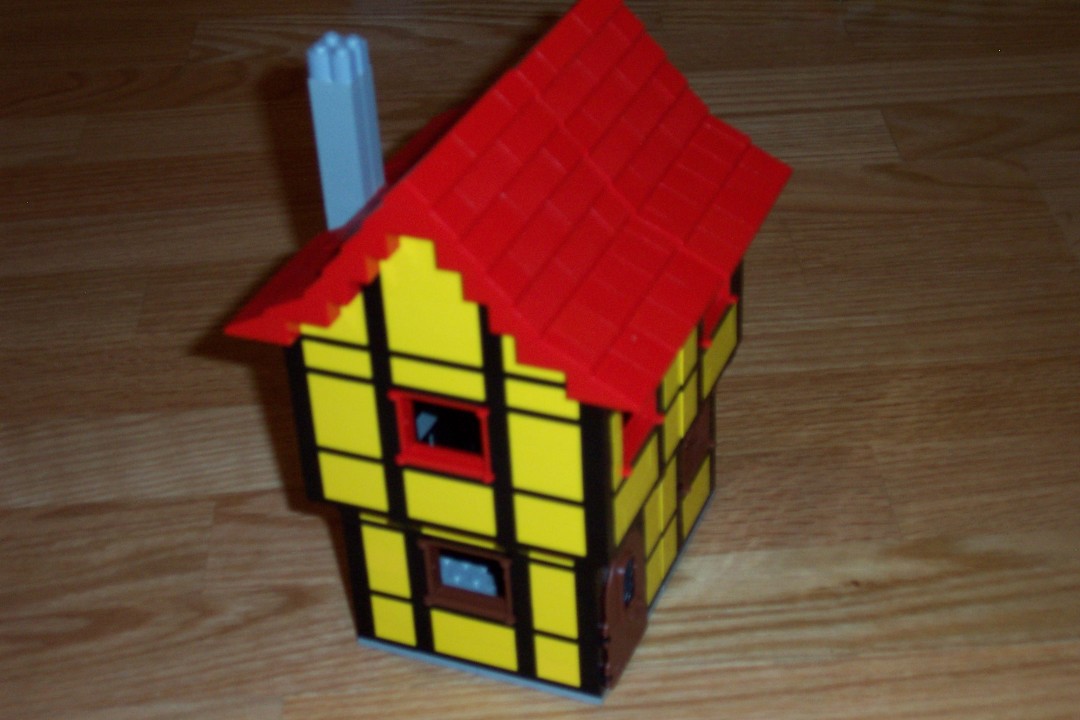
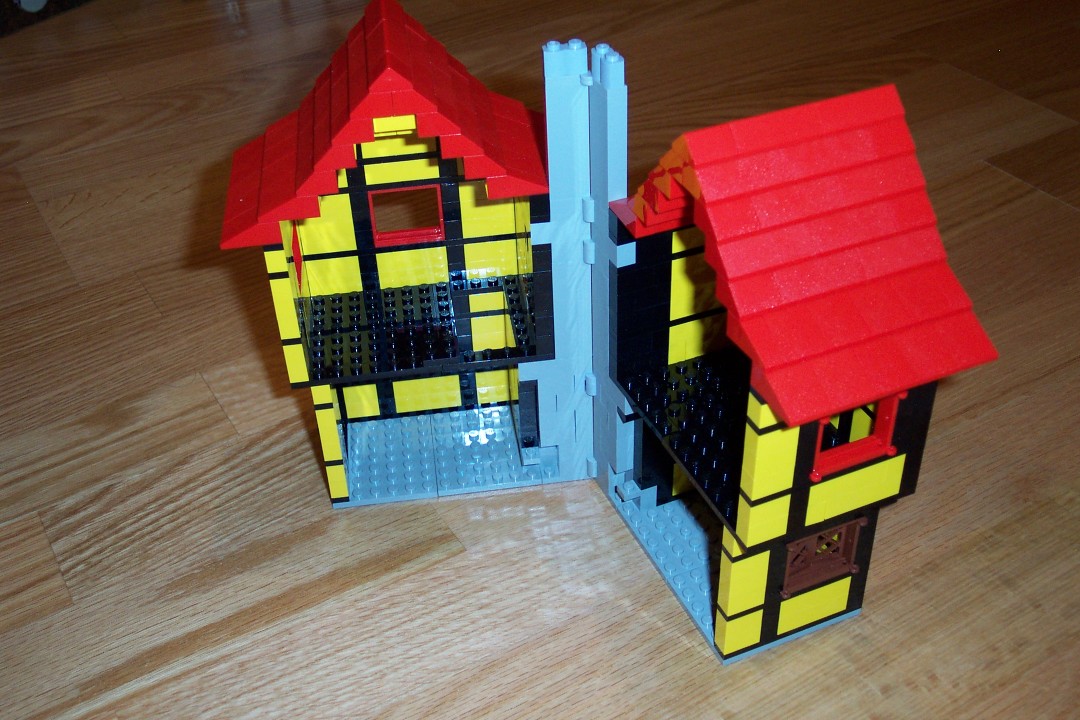
Peasant hut number two. A two-story model this time. Again, to mini-fig scale, but far too big to look realistic next to the castle.
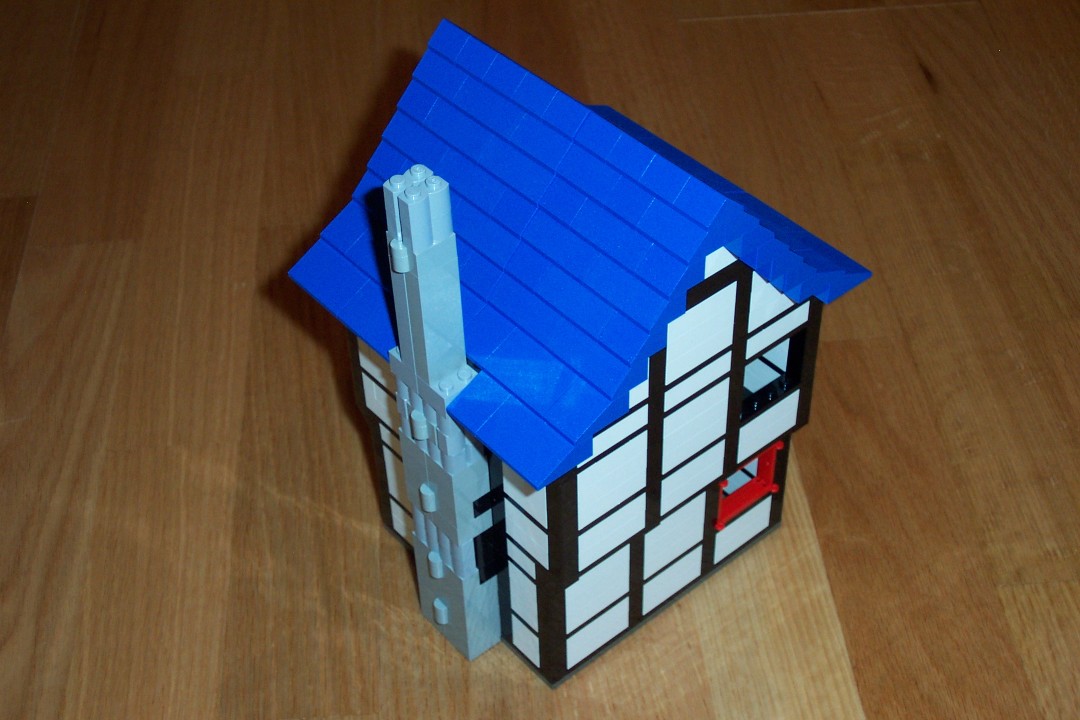
back view of hut number two.
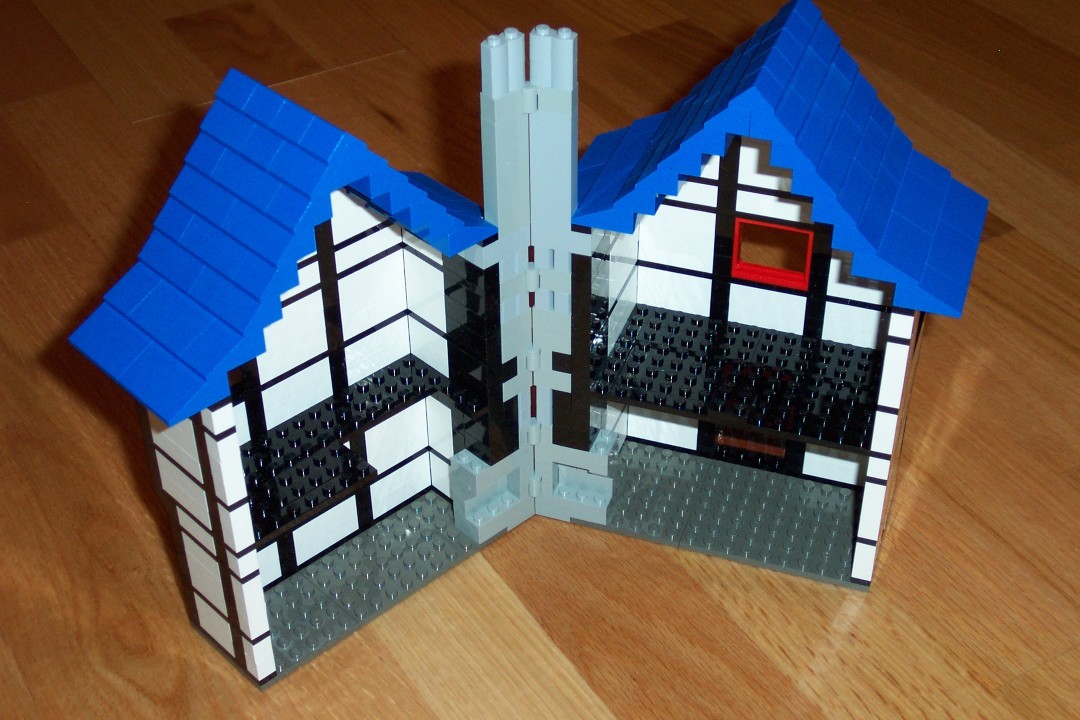
Inside view of hut number two.
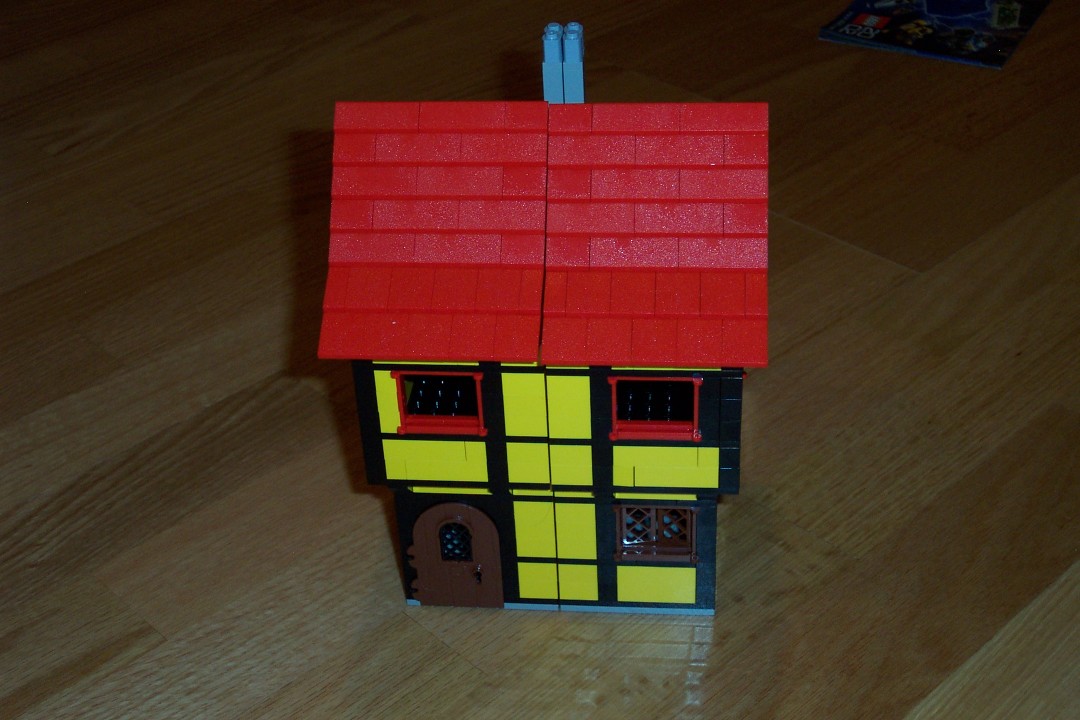
A tavern. Or, at least, what I think would have the right layout for a little tavern.
back view of the tavern.
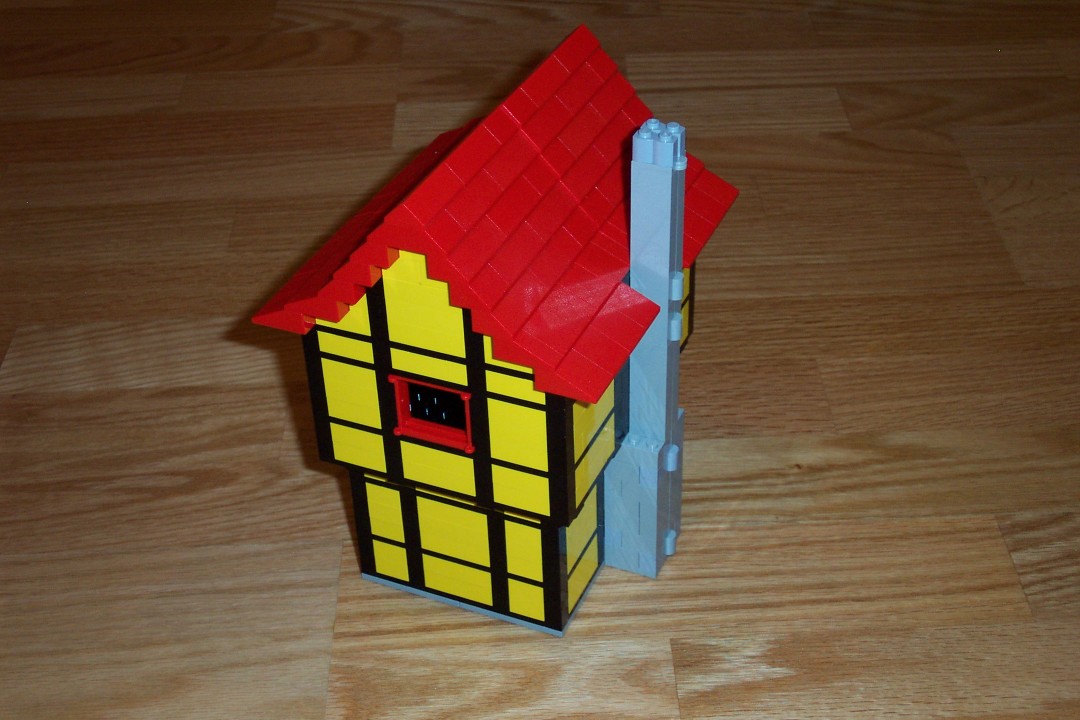
side view of tavern.
Inside the tavern. (Yes, I really need to add some details to everything!)
Another shot inside the tavern.
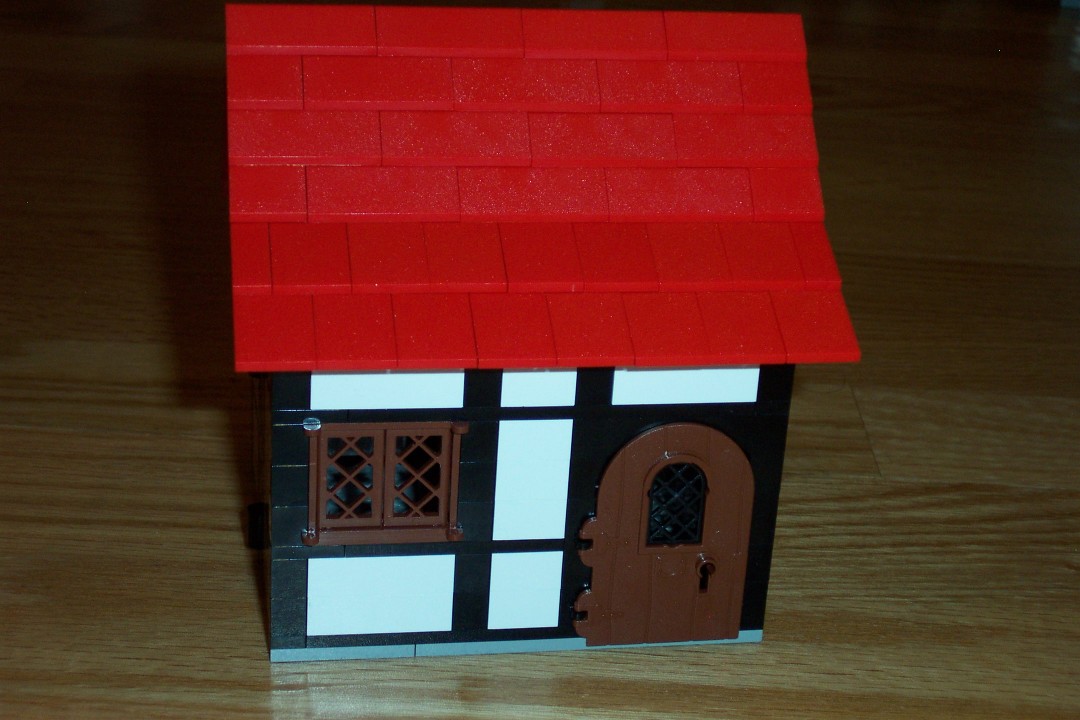
Back to the original peasant hut.
back view of peasant hut
and inside view again.